Web video compatibility is usually simple until it is not.
Most of the time, you reach for the native <video> element, encode an MP4, and move on. But some real-world mobile browsers complicate that story. Certain Android browsers add their own floating controls on top of video, such as download or fullscreen buttons. These overlays can sit above everything else on the page, including bullet comments, subtitles, or custom UI.
That is where JavaScript video decoding becomes interesting.
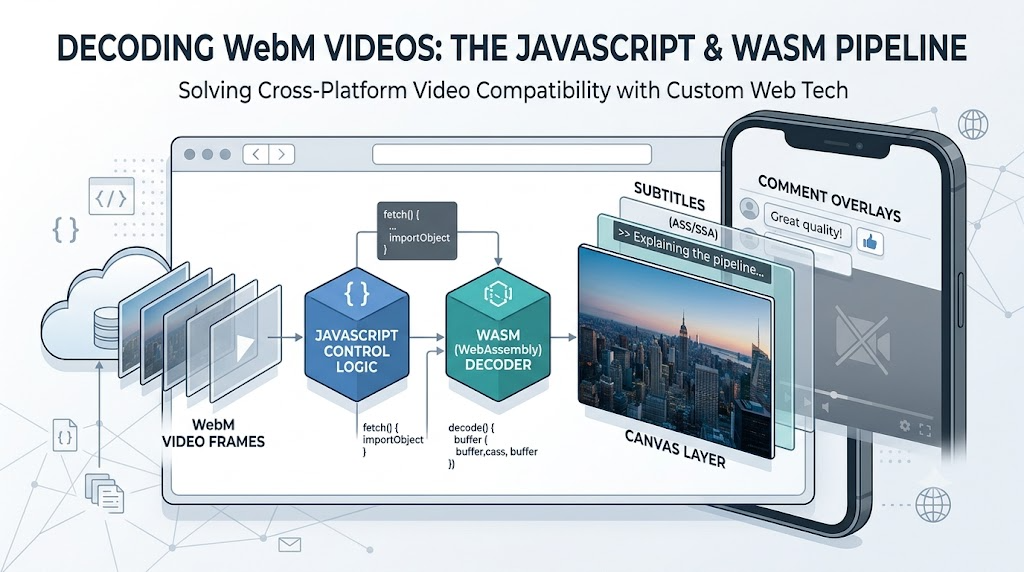
ogv.js is a JavaScript/WebAssembly-powered media decoder that can play formats such as WebM and Ogg by decoding frames manually and rendering them into a <canvas>. It is not a drop-in replacement for every video use case, but it opens up a useful possibility: playing WebM on platforms where native WebM playback is missing, including iPhone Safari and WeChat on iOS.
Why Use ogv.js?
The original motivation was not WebM on iPhone. It was Android browser behavior.
On some devices, native video playback brings manufacturer-added controls that cannot be styled or layered below page content. If your product depends on overlays, bullet comments, or custom interaction layers, those native controls can break the experience.
A JavaScript decoder changes the rendering path:
- The browser downloads the media file.
ogv.jsdecodes the media in JavaScript/WebAssembly.- Decoded frames are painted into a normal
<canvas>. - Your page controls the visual layering.
That last point matters. A canvas behaves like regular page content, so comments, buttons, labels, and effects can be layered around it using normal CSS.
Mounting an OGV-Style Player
The basic setup is intentionally small: add a container, create a player instance, assign a source, set the dimensions, and append the player to the page.
The demo code below uses DemoOGVPlayer as a stand-in for the actual OGVPlayer, but the structure mirrors how you would mount an ogv.js player.
<div id="player"></div>

<script>
var debugFilter;
var player = new DemoOGVPlayer({
  debug: true,
  debugFilter: debugFilter
});

player.src = './01.webm';
player.width = 667;
player.height = 375;

var container = document.getElementById('player');
container.appendChild(player);
</script>
Once mounted, the player can expose familiar controls such as play() and pause(). That makes it possible to build a custom player UI around the decoded canvas output instead of relying on browser video controls.
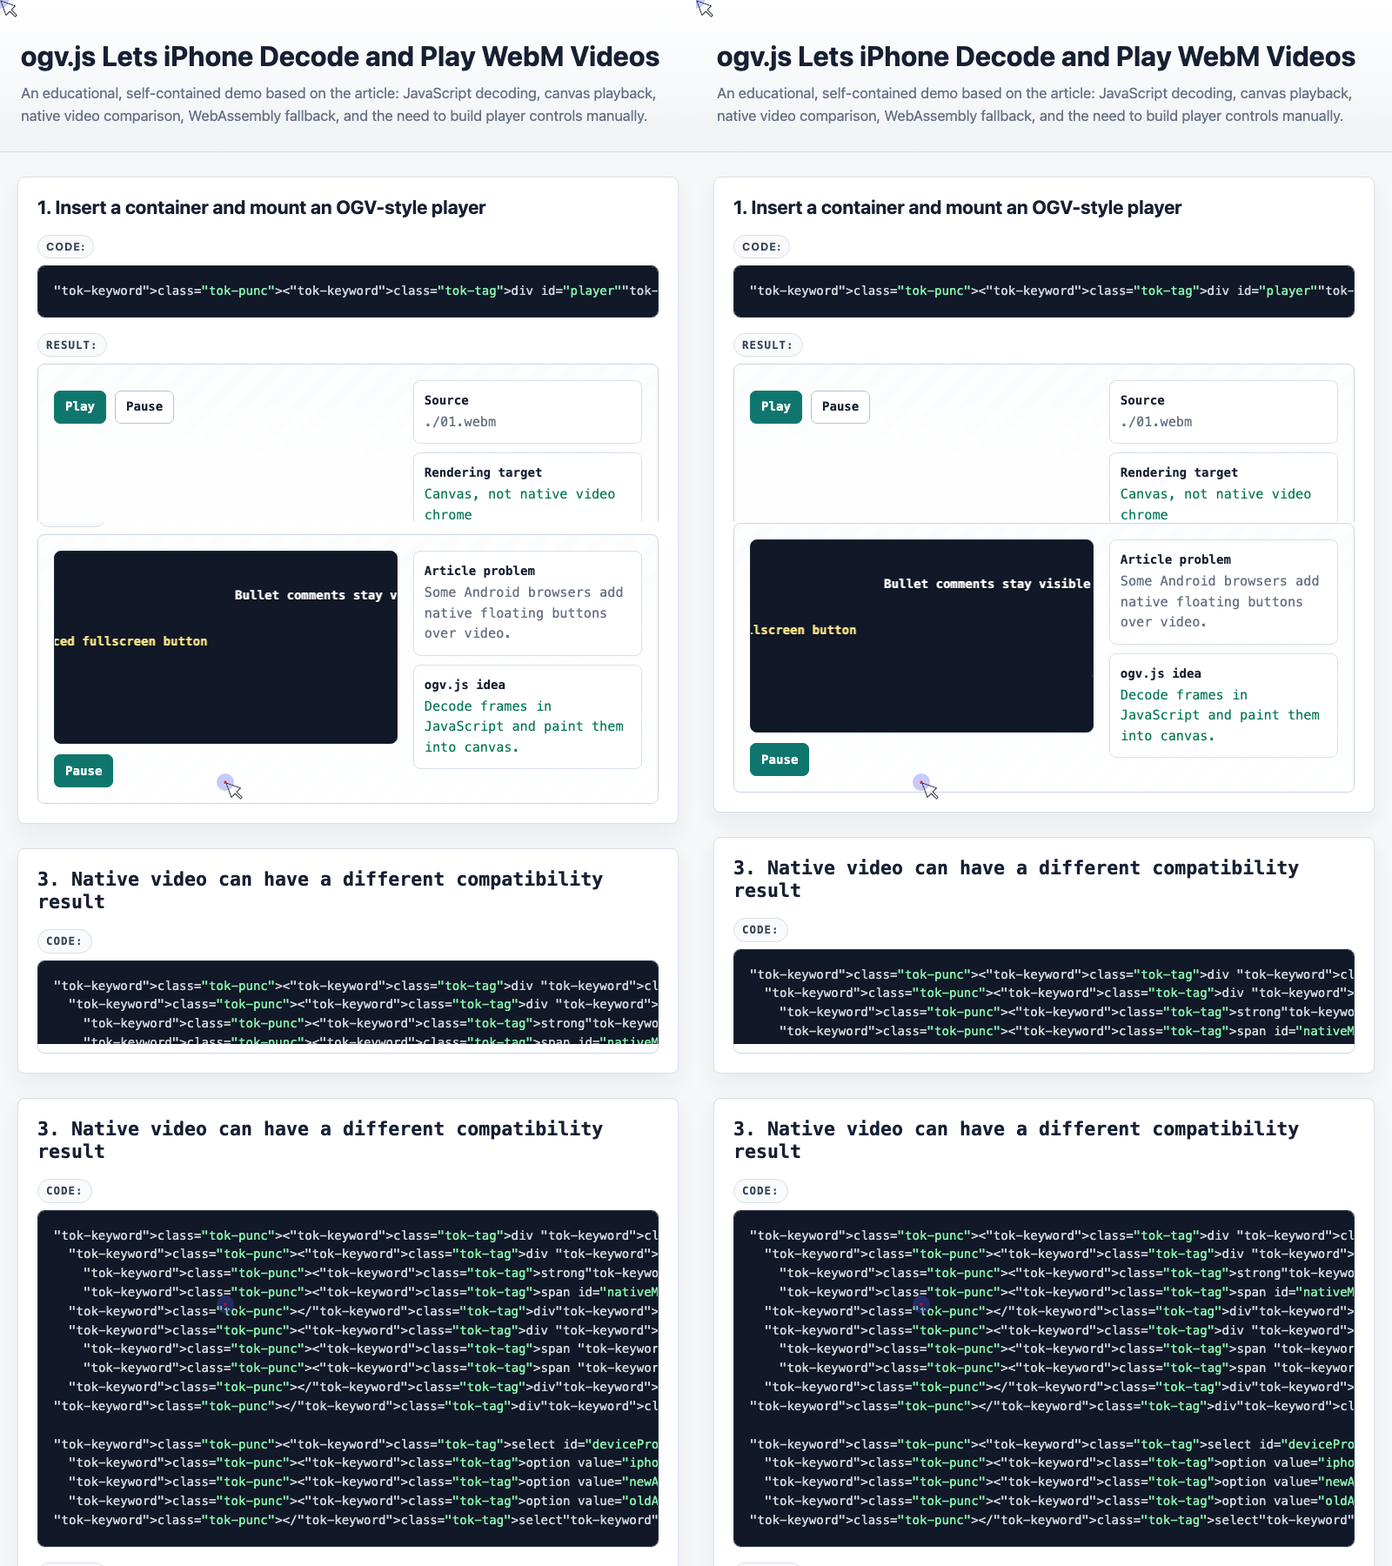
🎮 Try it live: Open the interactive demo to experience this yourself.
Canvas Playback Avoids Native Video Chrome
The main practical advantage is that the decoded video is rendered into a canvas. That means your overlay layer is no longer fighting the browser’s native video UI.
Here is the demo structure: a canvas for decoded frames, plus a comment layer positioned above it.
<div class="player-shell">
  <canvas id="canvasDecode" width="667" height="375"></canvas>

  <div class="comment-layer">
    <span class="bullet">Bullet comments stay visible</span>
    <span class="bullet">No forced fullscreen button</span>
    <span class="bullet">Canvas is just normal page content</span>
  </div>
</div>

<button id="canvasToggle">Pause</button>
The key idea is not the animation itself. The key idea is ownership. Once the video is drawn to canvas, the page controls the stacking context, pointer behavior, and visual composition.
That makes ogv.js especially relevant for interactive H5 campaigns, custom video effects, comment overlays, and experiences where native video UI is too restrictive.
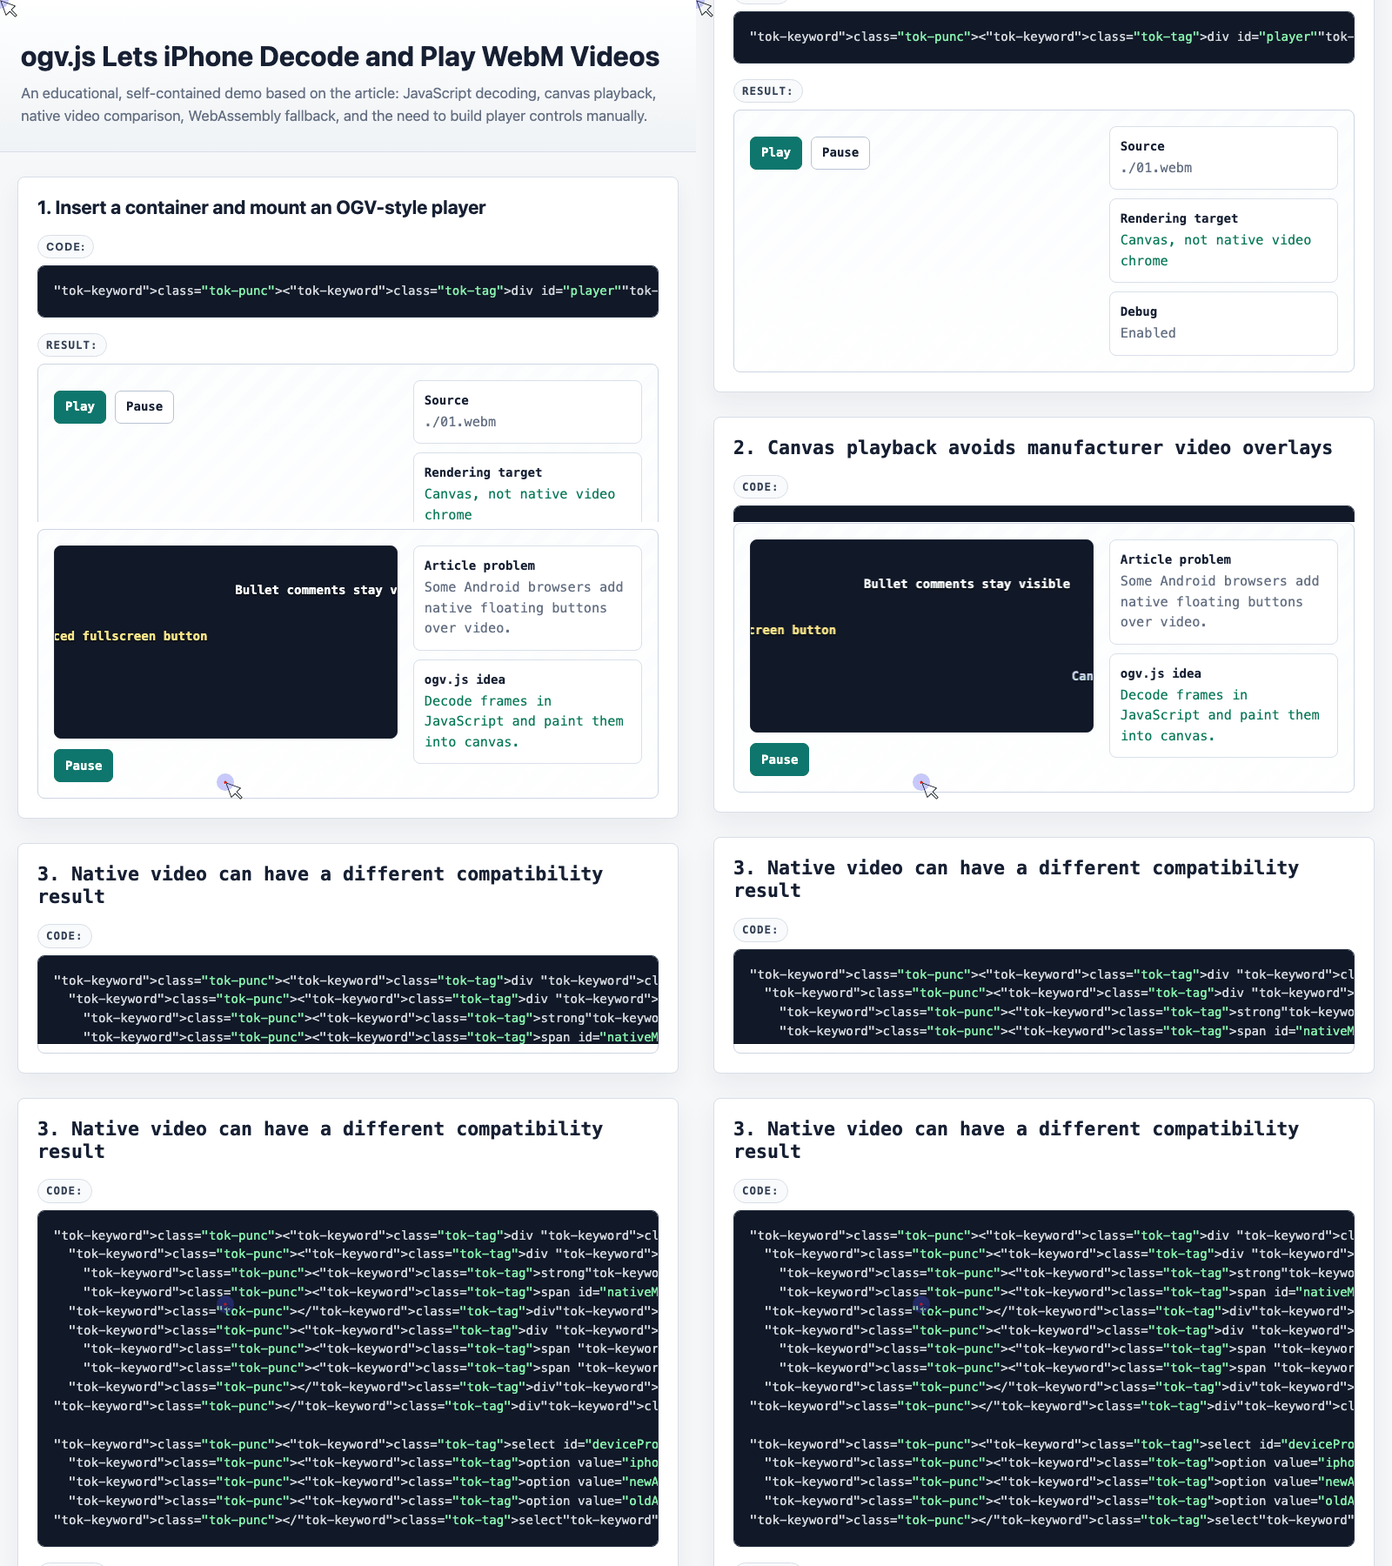
🎮 Try it live: Open the interactive demo to experience this yourself.
Compatibility Is Still the Hard Part
The tradeoff is performance and runtime support.
On newer Android devices, JavaScript/WebAssembly decoding can work well. On older Android systems, it may fail or perform poorly. In that case, the native <video> element may still be more reliable.
On iPhone, the situation is different: native WebM playback is historically unavailable, but ogv.js can decode WebM and display it through canvas.
A practical product implementation should not assume one path always wins. It should detect capability and choose the best available playback mode.
function choosePlaybackMode(hasWebAssembly) {
  if (hasWebAssembly) {
    return {
      mode: 'ogv.js canvas decoder',
      detail: 'Use JavaScript/WebAssembly decoding for WebM.'
    };
  }

  return {
    mode: 'native <video> fallback',
    detail: 'Avoid the decoder and let the browser try normal playback.'
  };
}

var support = document.getElementById('wasmSupport');
var output = document.getElementById('fallbackOutput');

support.addEventListener('change', function () {
  var result = choosePlaybackMode(support.checked);
  output.innerHTML =
    '<strong>' + result.mode + '</strong><br>' + result.detail;
});
This fallback strategy is important. ogv.js can solve specific compatibility gaps, but it should not become a blind replacement for native playback on every device.
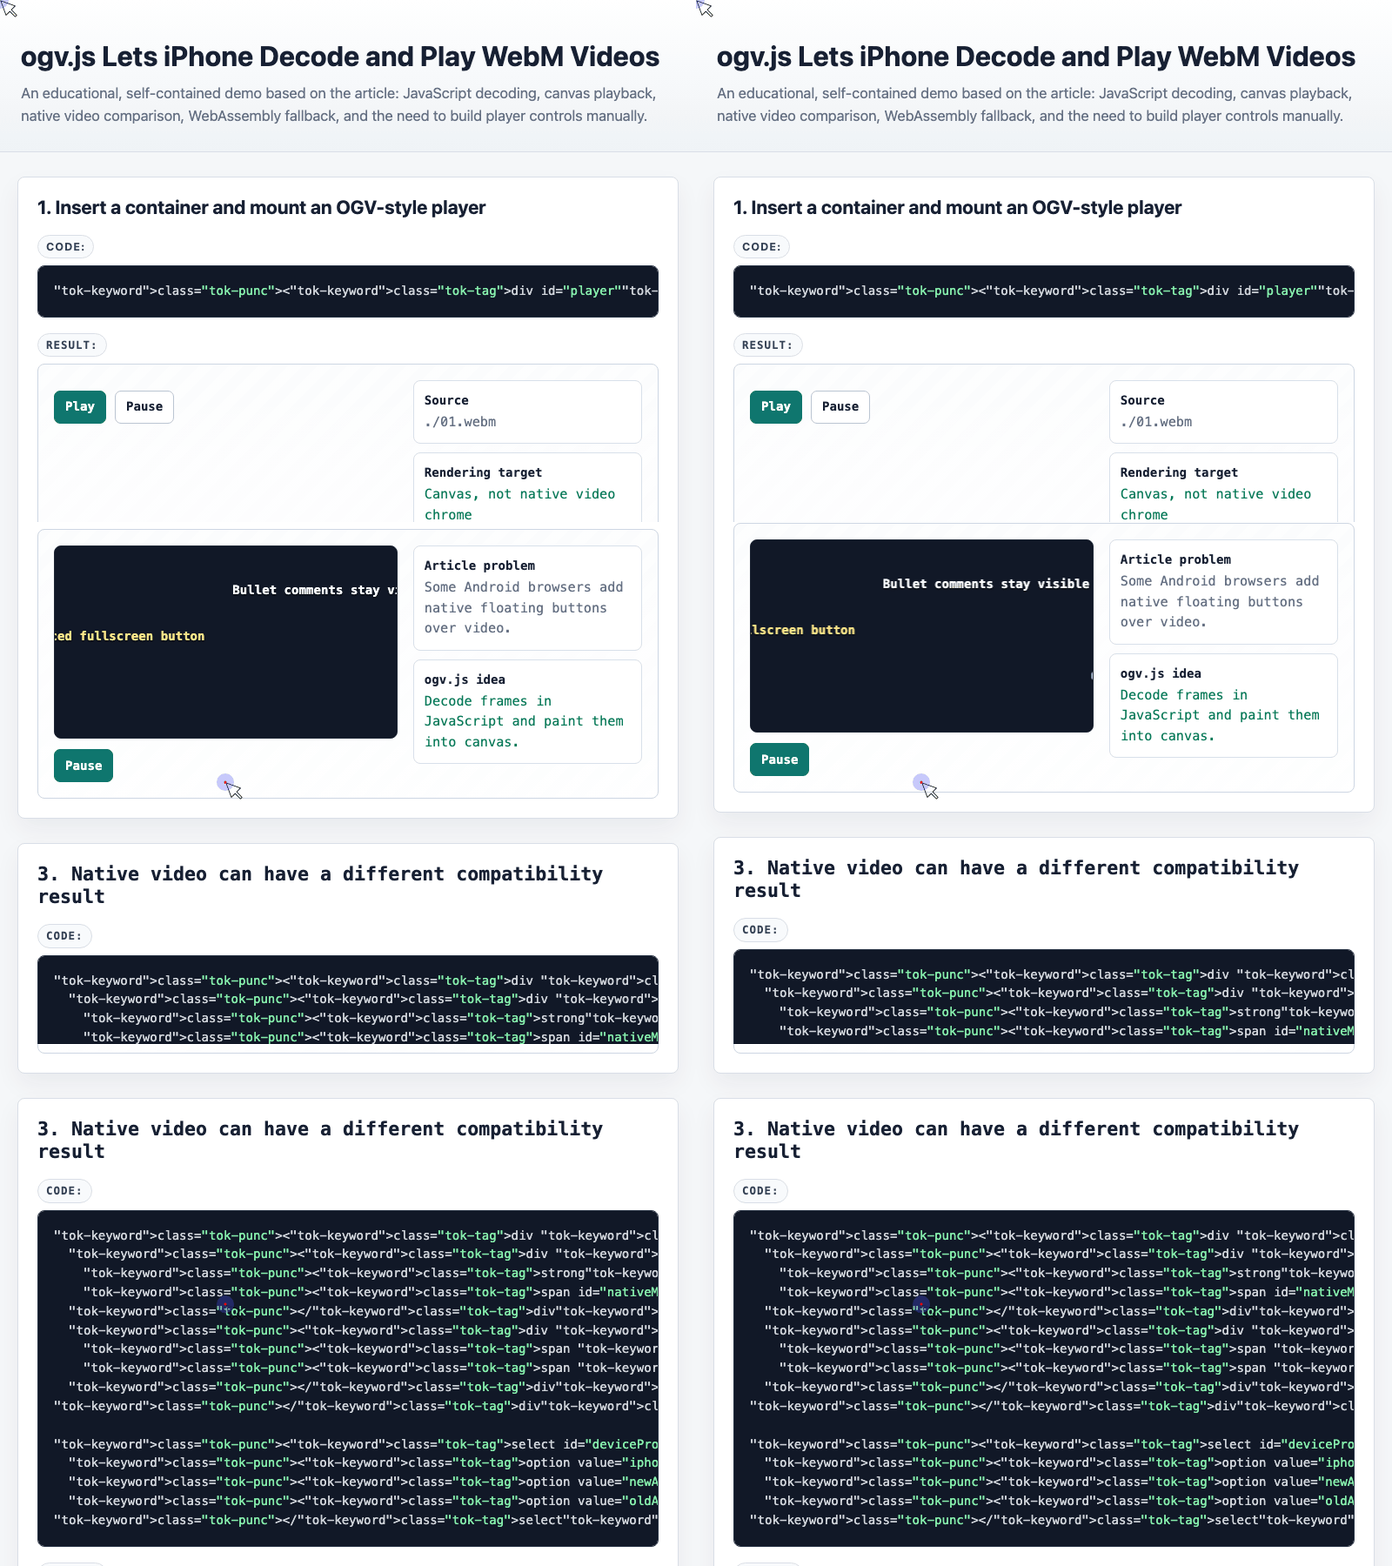
🎮 Try it live: Open the interactive demo to experience this yourself.
You Need to Build the Player Yourself
One reason ogv.js may feel less approachable is that it does not give you a polished video player UI out of the box. It gives you the decoding and playback foundation, but the product controls are your responsibility.
That means building the expected pieces manually:
- Play and pause buttons
- Timeline and seeking
- Loading states
- Error states
- Volume controls
- Fullscreen behavior, if needed
- Poster frames or placeholders
For experienced frontend developers, this is manageable. For quick product work, it is still extra effort.
A minimal custom control layout can look like this:
<div class="manual-player">
  <div class="player-shell">
    <canvas id="manualCanvas" width="667" height="375"></canvas>
  </div>

  <div class="control-bar">
    <button id="manualPlay" class="primary">Play</button>
    <button id="manualPause">Pause</button>

    <div class="timeline">
      <span class="time-text" id="currentTime">0:00</span>
      <input id="seekBar" type="range" min="0" max="100" value="0">
      <span class="time-text">0:20</span>
    </div>
  </div>
</div>
This is the point where ogv.js becomes less of a “video tag replacement” and more of a media rendering primitive. You get more control, but you also inherit more product responsibility.
WebM, MP4, and HEVC: Choosing the Right Format
The WebM story is appealing because it is open and royalty-free. It can also be generated directly in browser-based workflows from image sequences or canvas frames.
But that does not automatically make it the best default.
MP4 remains the most practical choice for broad compatibility. HEVC/H.265 can produce very small files with strong visual quality, but browser support is uneven and often centered around Safari.
The more realistic takeaway is this:
WebM is useful when you specifically need its properties, such as openness, browser-side generation, or compatibility through a JavaScript decoder. MP4 is still the safest default for most product video. HEVC is powerful, but support constraints make it harder to rely on universally.
When ogv.js Makes Sense
ogv.js is worth considering when:
- You need WebM playback on iOS.
- Native video overlays break your UI.
- You want canvas-based composition with video frames.
- You can tolerate a fallback strategy for older devices.
- You are willing to build custom controls.
It is less attractive when:
- MP4 already solves the product need.
- You need maximum battery efficiency.
- You must support old Android devices reliably.
- You do not have time to build and test custom player controls.
Final Thoughts
ogv.js is not a universal video solution, but it is a useful tool for a specific class of frontend media problems.
Its biggest surprise is simple: it can make WebM playable on iPhone by skipping native WebM support entirely and decoding into canvas. That does not mean every campaign or web app should switch to WebM. It means frontend engineers have another option when native video behavior gets in the way.
For production use, the best approach is pragmatic: use native video when it works, use ogv.js when it solves a real compatibility or UI layering problem, and always provide a fallback path.
Try It Yourself
Want to see these concepts in action? I’ve created an interactive demo where you can experiment with the code and see real-time results.
Explore more demos from my previous articles in the Demo Gallery.
Happy coding!