
Keep images, controls, and small interactive interfaces visible while users work elsewhere.
Adapted from zhangxinxu’s original article, with practical examples from the supplied demo.
Picture-in-picture used to mean a floating video player. In 2018, when zhangxinxu first wrote about the feature, video was the central use case.
The Document Picture-in-Picture API expands that idea to ordinary HTML content. An image with a caption, a timer, or a compact control panel can occupy its own floating window.
The essential method is documentPictureInPicture.requestWindow(). The implementation revolves around three tasks: opening the window, preparing its content and styles, and restoring the content when it closes.
A Floating Window With Its Own Document
Document Picture-in-Picture opens an always-on-top window containing a separate document. You can populate that document with HTML and add interactive controls.
The browser manages the window’s placement; a website cannot guarantee that it appears in a particular screen corner. Its lifetime also depends on the opening window. Chrome’s API guide explains these constraints.
Moving an existing element is particularly useful. You preserve the element itself, its current content, and its attached event listeners, instead of maintaining a second copy.
Styles require separate attention because the floating window has its own document.
Open the Window—and Restore the Element on Close
The original example uses three elements: a <figure> containing an image and caption, an entry button with the ID inPicBtn, and a hidden status paragraph with the ID inPicMsg.
The following excerpt adapts that example to async/await. It also checks for API availability and copies embedded styles into the new document.
const figure = document.querySelector("figure");
const inPicBtn = document.getElementById("inPicBtn");
const inPicMsg = document.getElementById("inPicMsg");

inPicBtn.disabled = !("documentPictureInPicture" in window);

inPicBtn.addEventListener("click", async () => {
  try {
    const pipWindow = await window.documentPictureInPicture.requestWindow({
      width: figure.clientWidth + 32,
      height: figure.clientHeight + 72,
    });

    document.querySelectorAll("style").forEach((style) => {
      pipWindow.document.head.append(style.cloneNode(true));
    });

    pipWindow.addEventListener("pagehide", () => {
      inPicMsg.hidden = true;
      inPicMsg.after(figure);
    }, { once: true });

    inPicMsg.hidden = false;
    pipWindow.document.body.append(figure);
  } catch (error) {
    console.error("Could not open Picture-in-Picture:", error);
  }
});
🎮 Try it live: Open the interactive demo to experience this yourself.
Appending figure to the floating window moves the existing DOM node. The status message marks its absence from the main page.
The pagehide handler completes the lifecycle. When the floating window closes, the figure returns immediately after that message, and the message becomes hidden again.
The requested dimensions include extra space around the figure. Treat these values as sizing preferences: the browser may adjust them. Call requestWindow() directly from a user interaction, such as this button click, and serve the page in a secure context. The method’s documentation covers these requirements.
Give the Floating Content Its Own Presentation
The excerpt above copies embedded <style> elements. A page that also uses external stylesheets needs to make those styles available in the floating document.
In the original example, zhangxinxu fetched an external CSS file and inserted its contents into a <style> element after a direct <link> attempt failed. That was an observation from that implementation. Stylesheet links are also a supported approach, as shown in Chrome’s stylesheet-copying example.
For a more compact presentation, use the CSS media query @media (display-mode: picture-in-picture). In the original demo, it changes the figure from a dark background with light text to a light background with dark text.
The same technique can reduce padding or simplify typography for the smaller window. The relevant stylesheet must be present in that document for the rules to apply.
Add Interactive Behavior With Custom Events
The supplied working HTML demo demonstrates custom events, rather than opening a Picture-in-Picture window. Its two JavaScript examples are useful for understanding how an interactive component sends data and updates its interface.
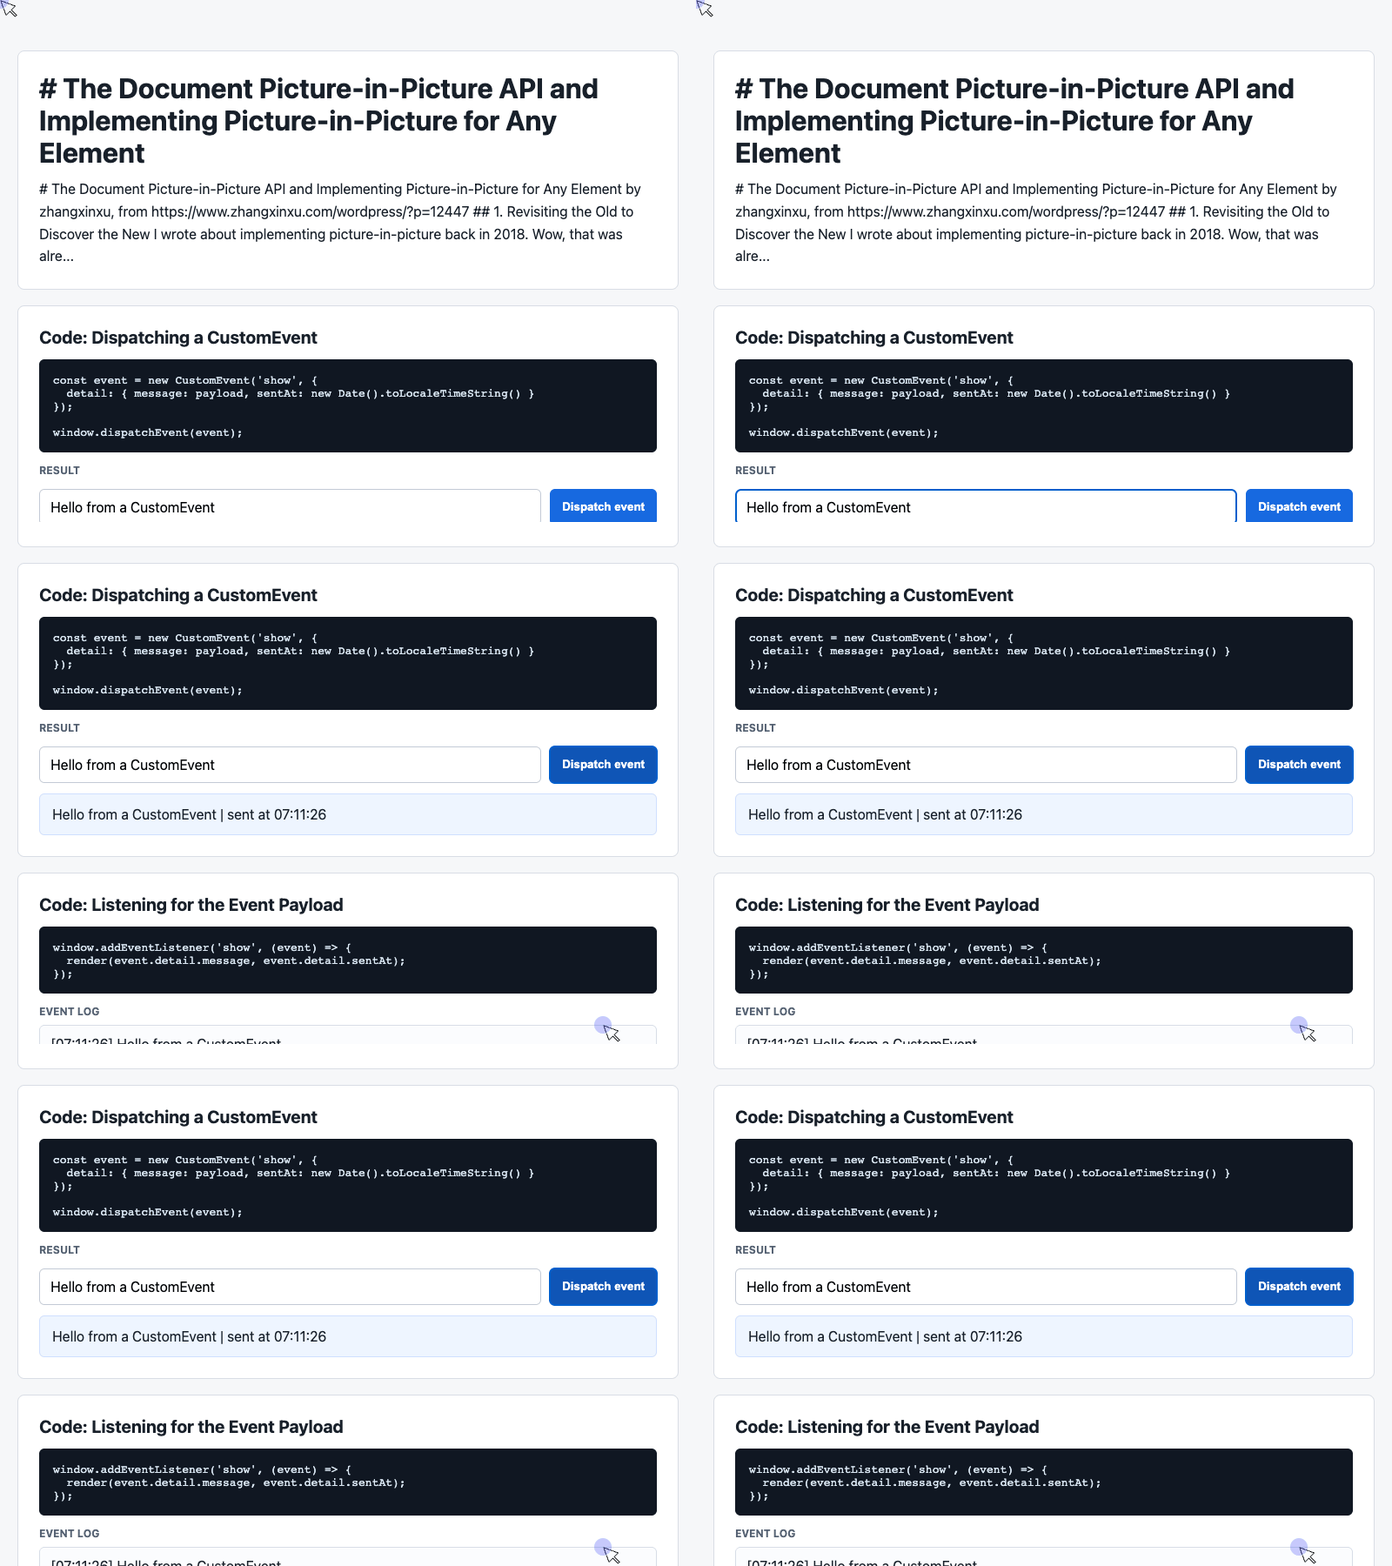
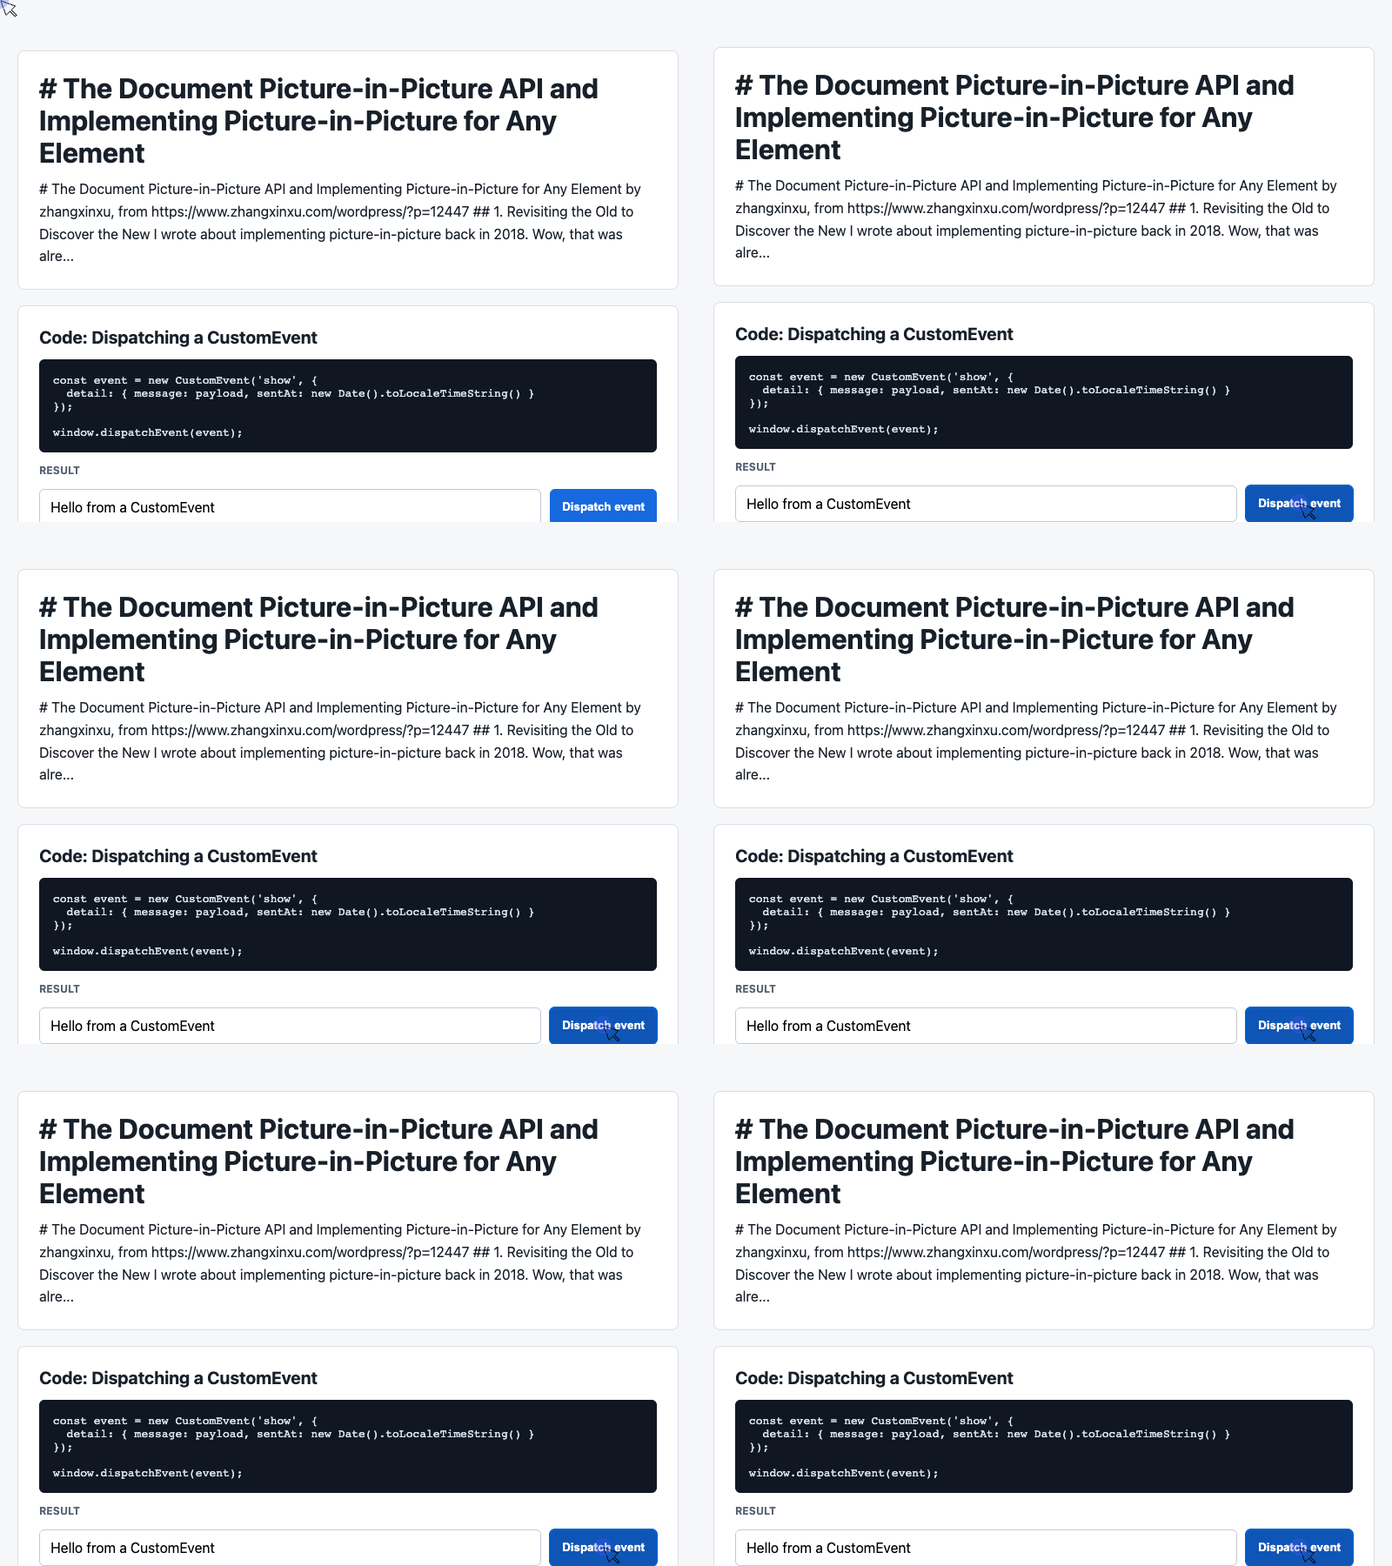
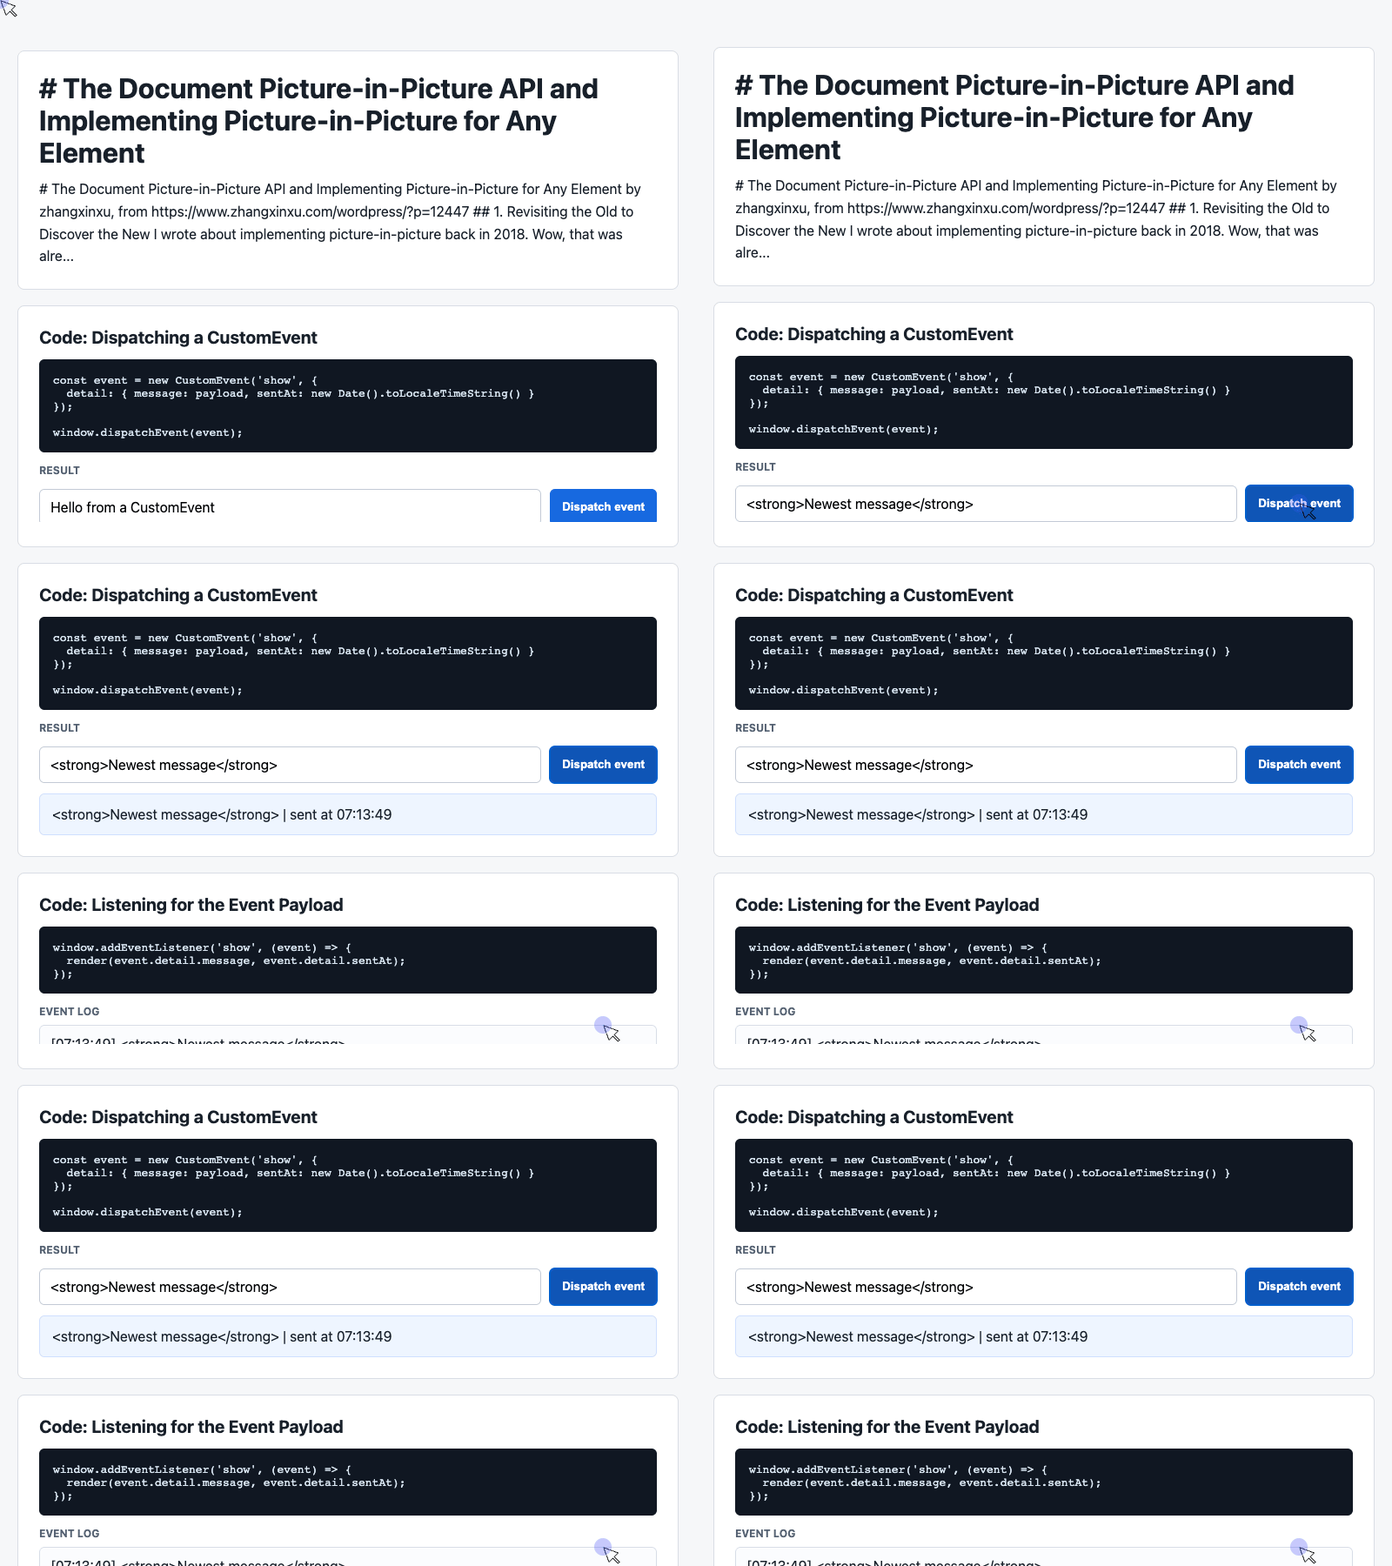
These examples run together in the supplied demo. A button dispatches a message; a listener renders that message into a card and an event log.
Dispatch a Message From a Button
This snippet comes directly from the demo’s script. It reads the input, supplies a fallback for an empty value, and includes a timestamp in the event payload.
const input = document.querySelector('#payload');

document.querySelector('#dispatch').addEventListener('click', () => {
  const message = input.value.trim() || 'Default CustomEvent payload';
  const event = new CustomEvent('show', {
    detail: { message, sentAt: new Date().toLocaleTimeString() }
  });
  window.dispatchEvent(event);
});
🎮 Try it live: Open the interactive demo to experience this yourself.
The detail property carries application-specific data. Here, its structure is simple: a message and a sentAt timestamp.
The dispatch handler leaves rendering to the listener. In the complete demo, that listener produces the visible card update shown above.
The event name show is chosen by the application. It is separate from the Picture-in-Picture API’s native enter event.
Render the Payload and Display Recent Activity
The receiving half of the demo updates two elements: the latest-message card and a log of recent messages.
const latest = document.querySelector('#latest');
const log = document.querySelector('#event-log');
const history = [];

window.addEventListener('show', (event) => {
  const detail = event.detail || {};
  latest.textContent = detail.message + ' | sent at ' + detail.sentAt;
  history.unshift('[' + detail.sentAt + '] ' + detail.message);
  log.textContent = history.slice(0, 6).join('\n');
});
🎮 Try it live: Open the interactive demo to experience this yourself.
Using textContent displays the message as text, so entered HTML is not interpreted as markup.
The newest entry is added to the beginning of history. The interface displays six entries, although the array itself continues growing as more events arrive.
This behavior could support a floating status panel, but an integration needs to choose its event target deliberately. Dispatching an event on the main window does not automatically dispatch it on the Picture-in-Picture window. If existing card elements are moved into PiP, retained references can still update those same elements.
Finish the Lifecycle Before Shipping
An exit button inside the floating document can call pipWindow.close(). The same pagehide handler then restores the content.
The optional disallowReturnToOpener setting concerns the browser’s return-to-tab control. It does not provide arbitrary customization of the window’s close button. The options reference explains its scope.
Browser support remains limited, so use feature detection and keep the main-page experience usable when the API is unavailable. MDN’s compatibility reference provides the current support details.
Document Picture-in-Picture makes a useful part of a page available beyond its tab. Choose a compact component, bring its styling with it, and give it a reliable path back when the floating window closes.
Try It Yourself
Want to see these concepts in action? I’ve created an interactive demo where you can experiment with the code and see real-time results.
Explore more demos from my previous articles in the Demo Gallery.
Happy coding!