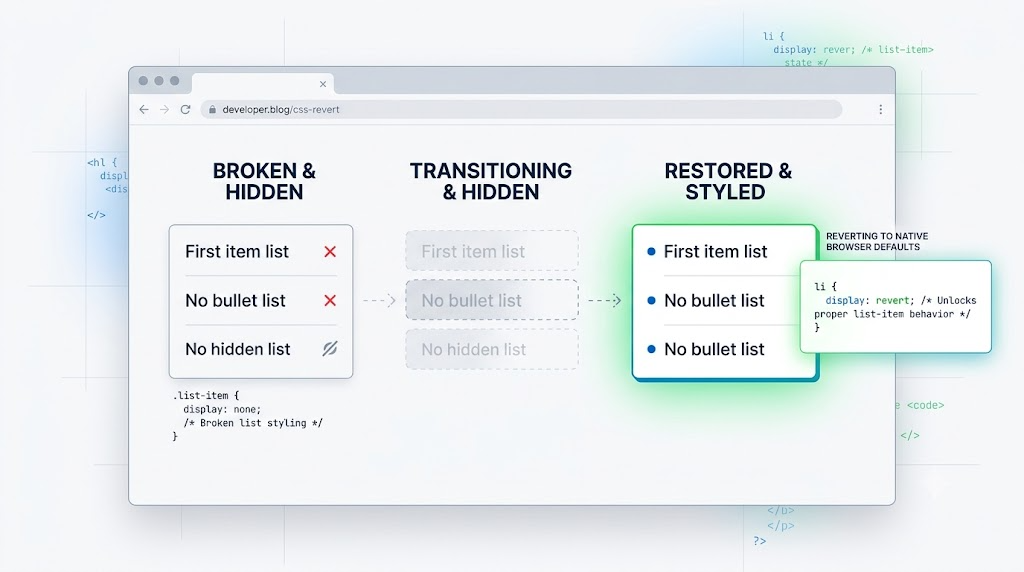
Small CSS details often cause the most confusing UI bugs.
Here is a common front-end requirement: show only the first three list items by default, then reveal the remaining items after the user clicks a More button.
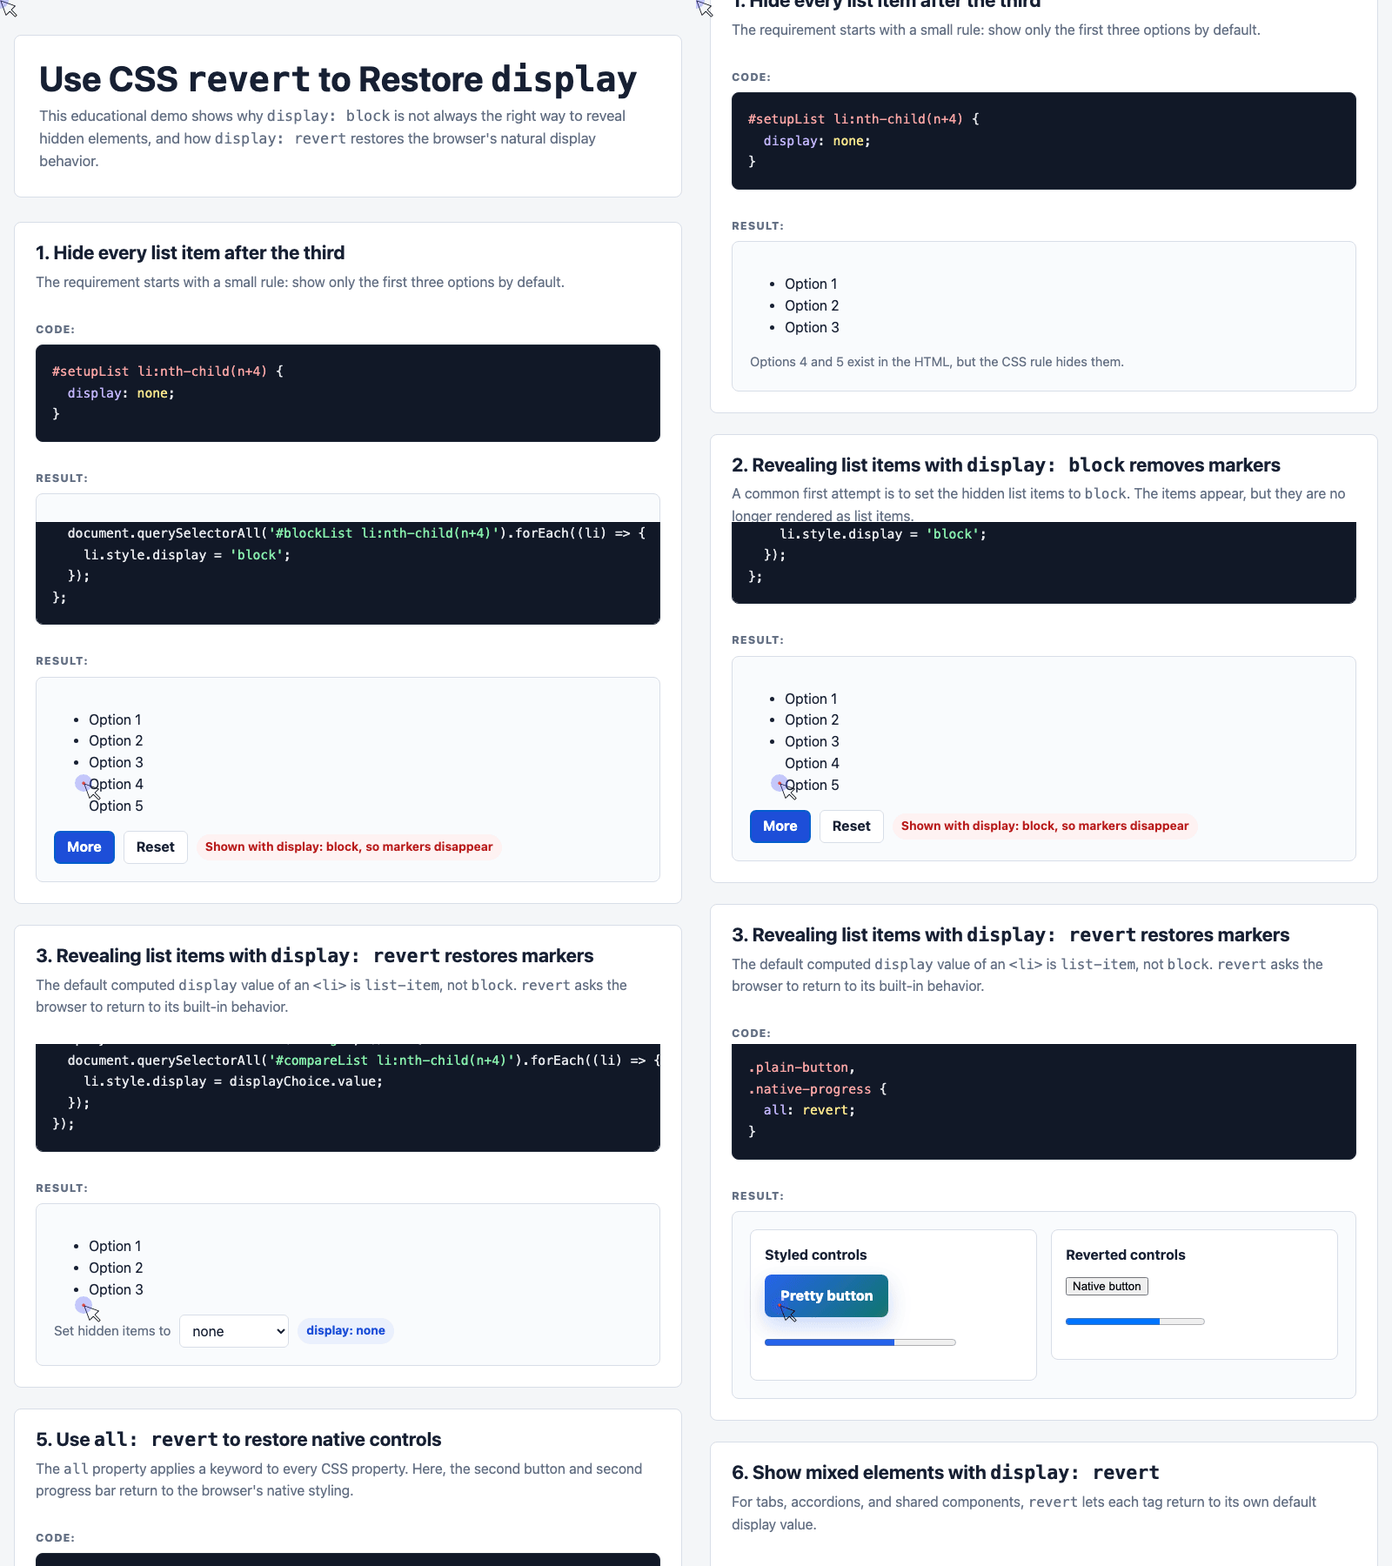
That sounds simple enough. But if you reveal hidden <li> elements with display: block, you may accidentally remove their bullet markers.
The fix is small, elegant, and easy to reuse:
li.style.display = 'revert';
Let’s look at why.
The Requirement: Hide Items After the Third
Suppose we start with a normal unordered list:
<ul id="setupList">
  <li>Option 1</li>
  <li>Option 2</li>
  <li>Option 3</li>
  <li>Option 4</li>
  <li>Option 5</li>
</ul>
To show only the first three items, we can hide every <li> starting from the fourth child:
#setupList li:nth-child(n+4) {
  display: none;
}
This works exactly as expected. Options 4 and 5 still exist in the DOM, but they are not rendered.
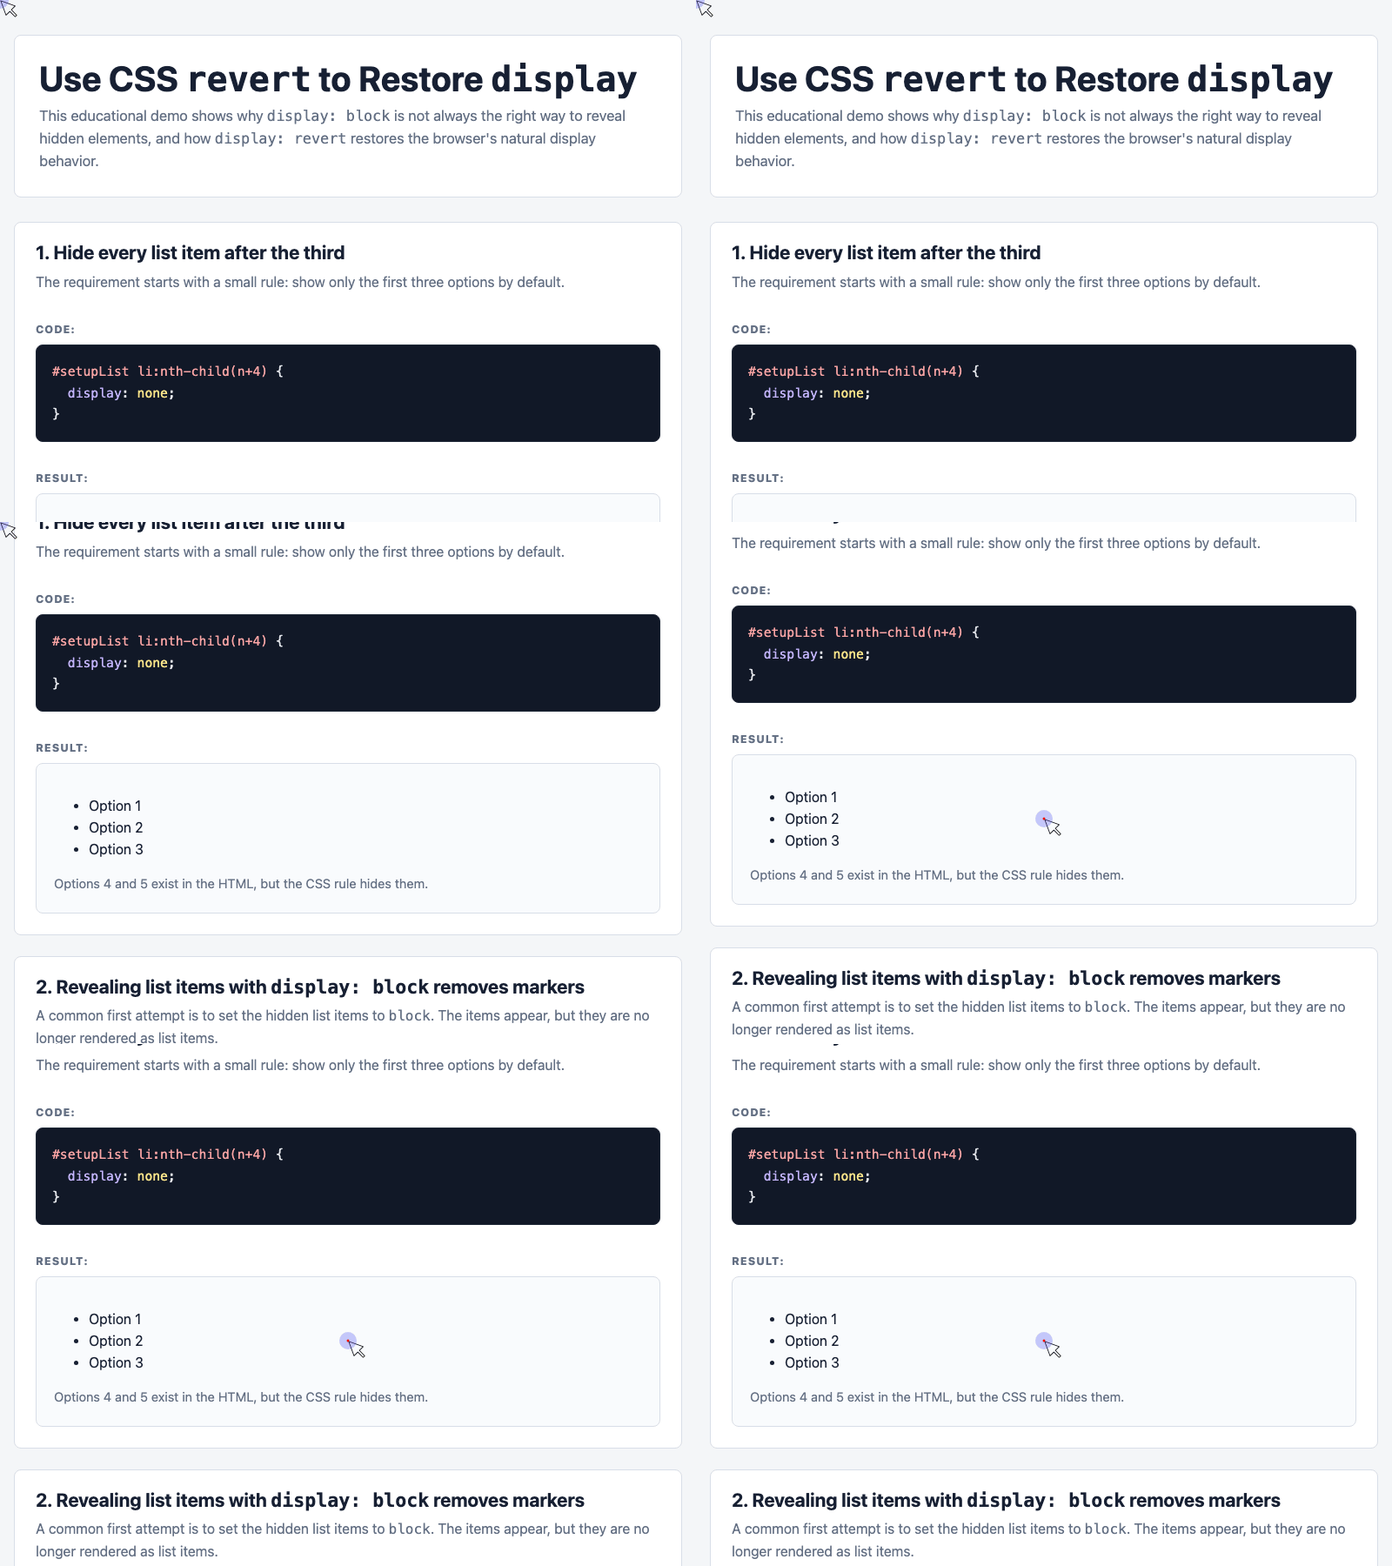
🎮 Try it live: Open the interactive demo to experience this yourself.
The Common Mistake: Revealing <li> Elements With display: block
When it is time to show the hidden items, many developers naturally reach for this:
const showBlockItems = () => {
  document.querySelectorAll('#blockList li:nth-child(n+4)').forEach((li) => {
    li.style.display = 'block';
  });
};
At first glance, this seems reasonable. The elements were hidden with display: none, so setting them to display: block should make them visible again.
And it does make them visible.
But there is a visual problem: the bullet markers disappear from the restored list items.
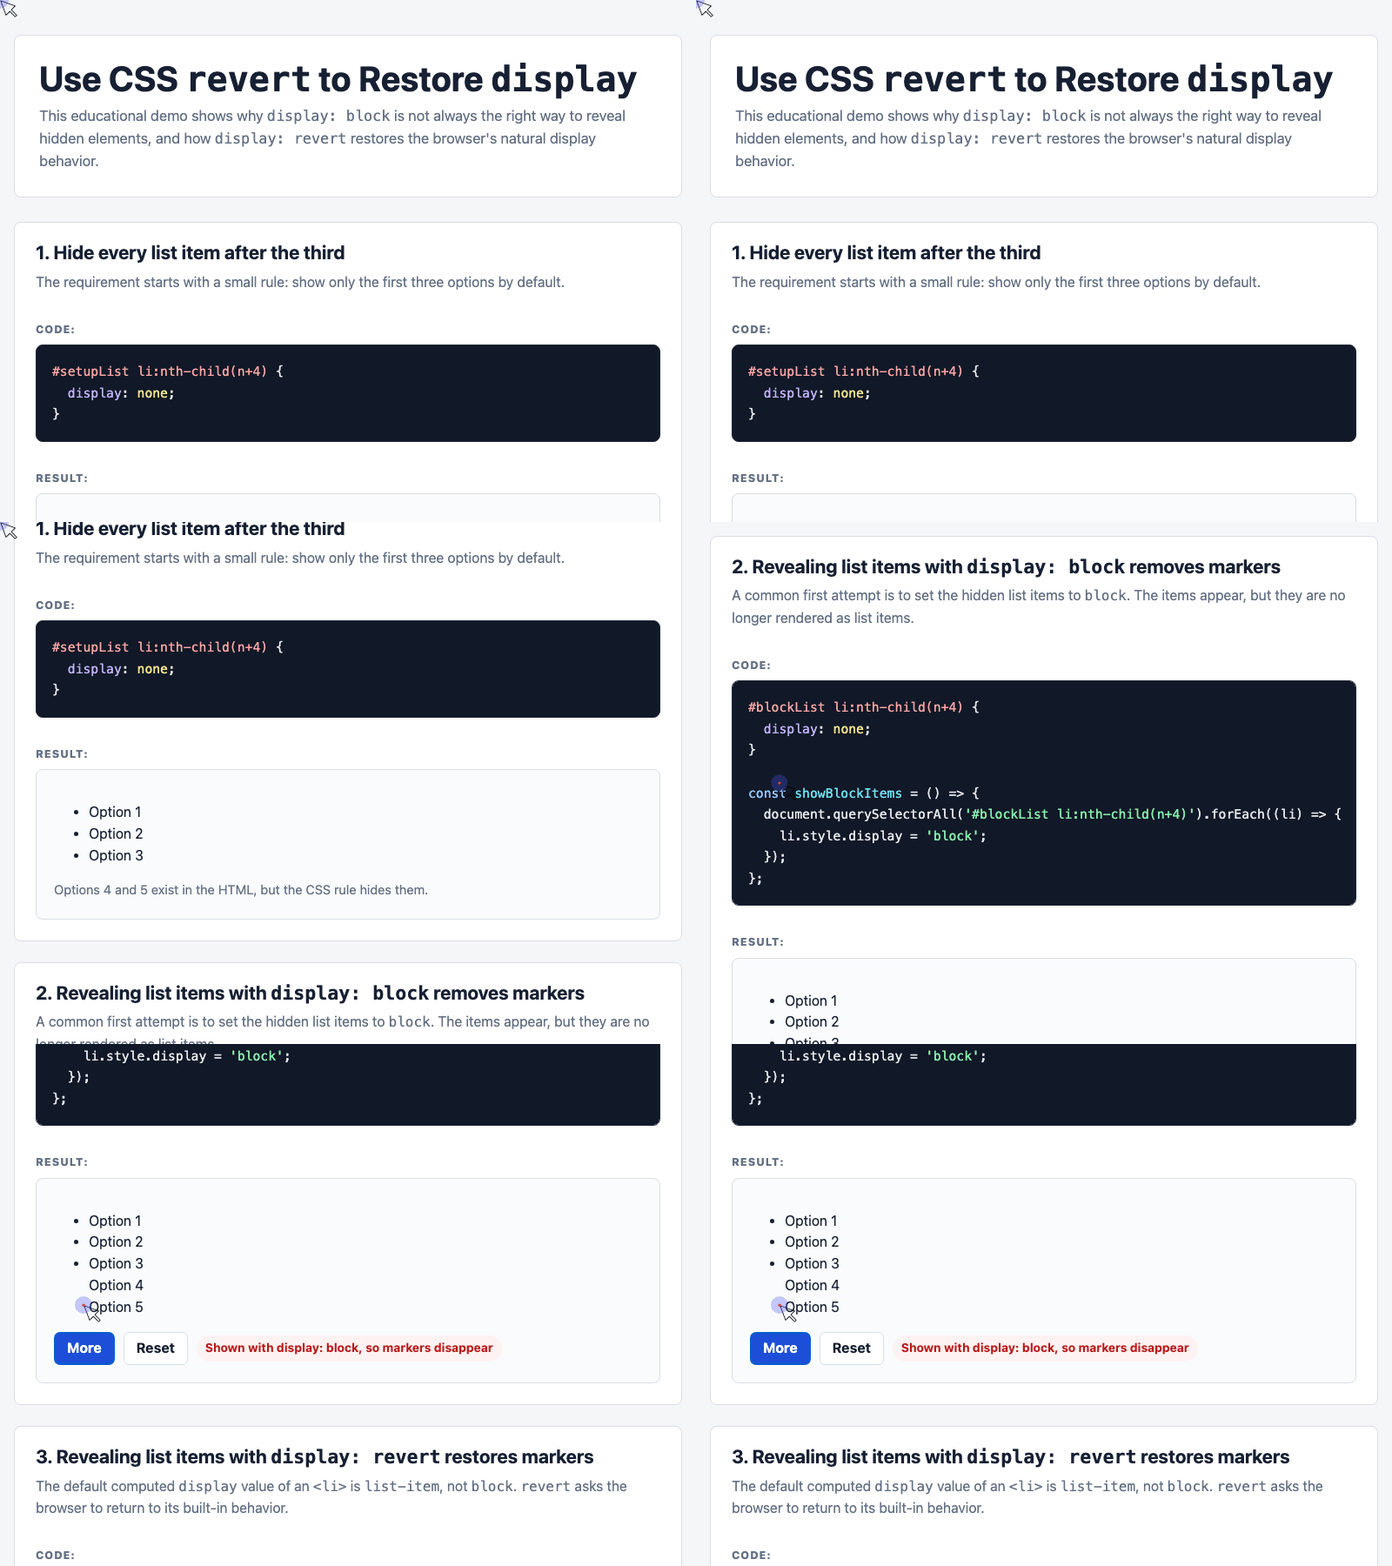
🎮 Try it live: Open the interactive demo to experience this yourself.
The reason is that the browser’s default display value for an <li> is not block.
It is:
display: list-item;
That list-item value is what gives the element list behavior, including the marker box used for bullets or numbers. When you force an <li> to become block, you are no longer rendering it as a list item.
The Better Fix: Use display: revert
Instead of remembering that <li> needs list-item, ask the browser to restore the element’s natural display behavior:
const showRevertItems = () => {
  document.querySelectorAll('#revertList li:nth-child(n+4)').forEach((li) => {
    li.style.display = 'revert';
  });
};
Now Options 4 and 5 come back as real list items, bullet markers included.
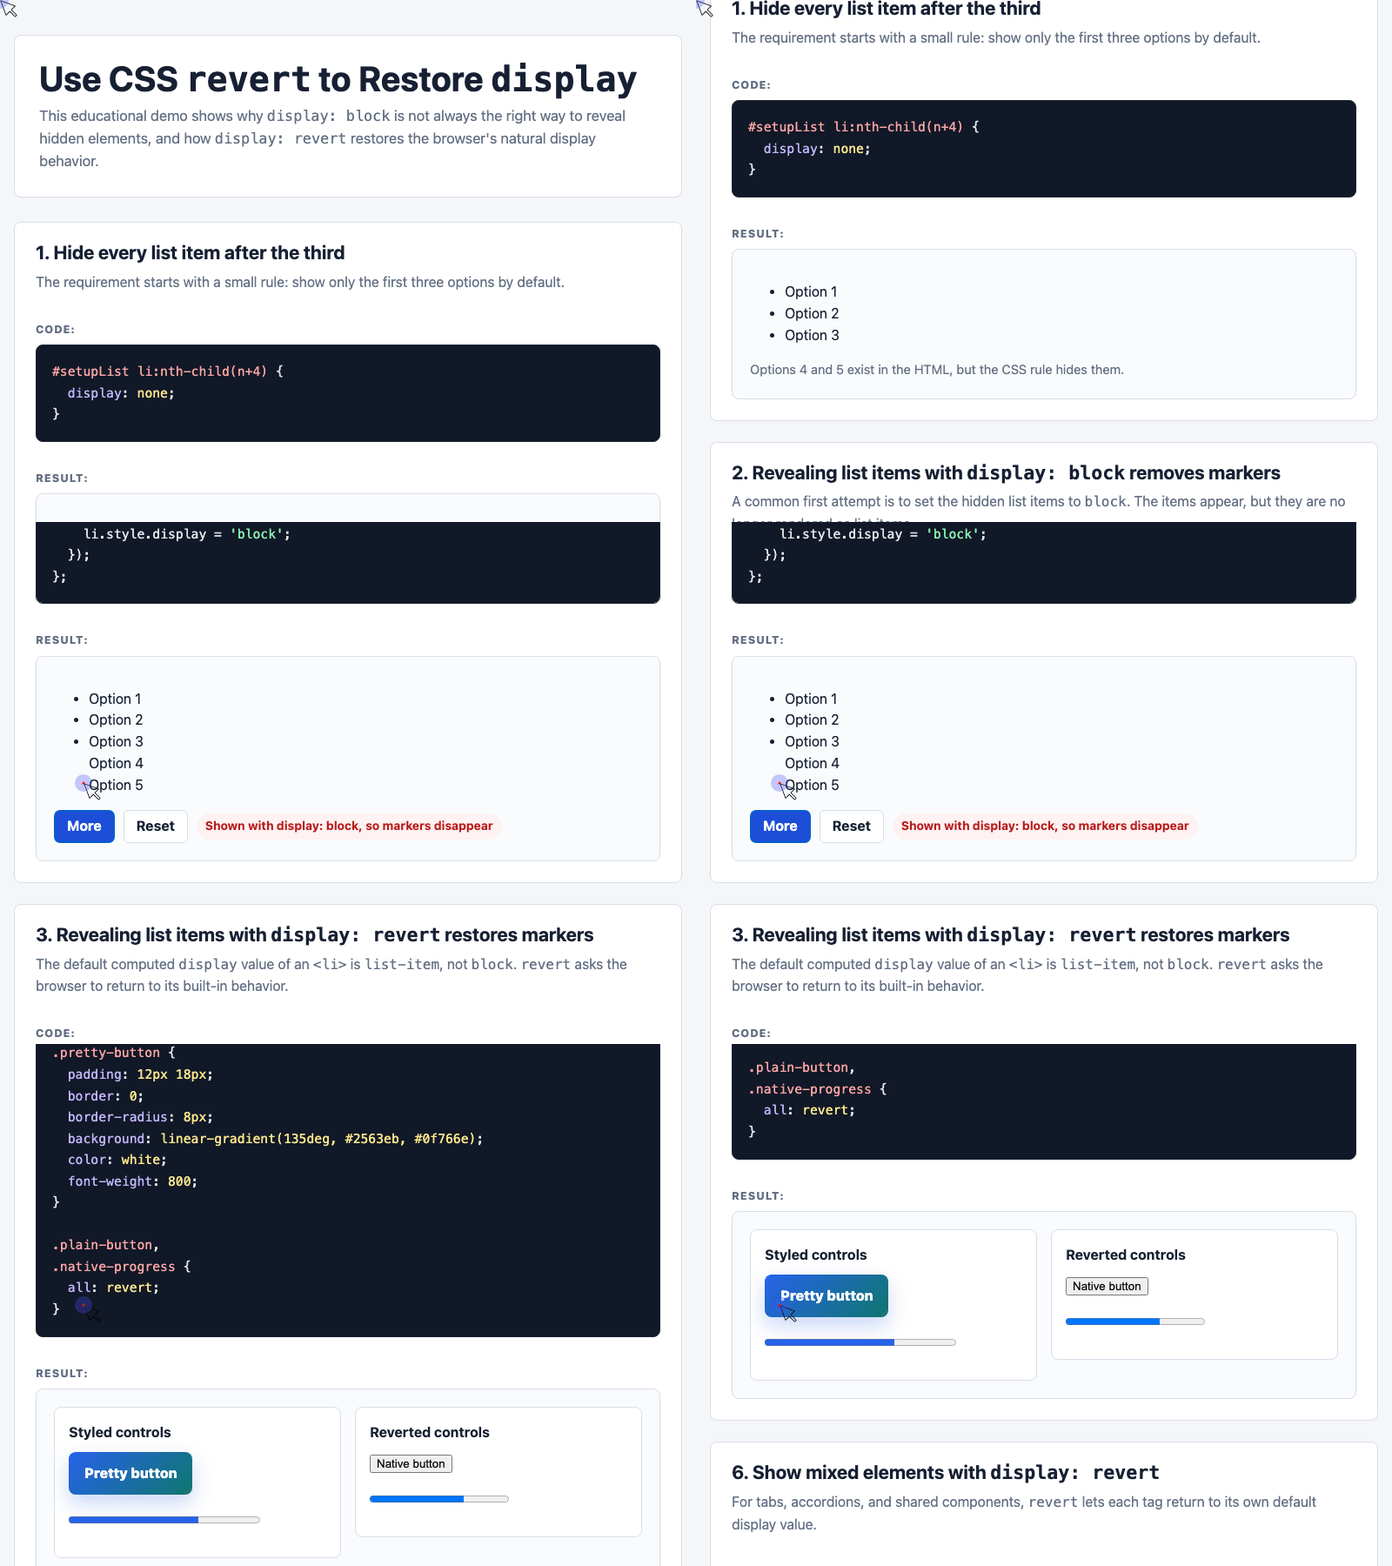
🎮 Try it live: Open the interactive demo to experience this yourself.
This is the key idea:
display: revertrestores the property to the value it would have had according to the previous cascade origin, usually the browser’s built-in default style.
For native HTML elements, that often means restoring the browser’s default rendering behavior.
Why revert Is Useful in Shared Components
The real benefit appears when you are writing reusable UI logic.
Imagine a shared toggle component that may hide and show different kinds of elements: a <span>, a <div>, a <p>, or even a <table>.
If you use display: block, you flatten all of those elements into the same display behavior. That is not always what you want.
With revert, each element can return to its own native display value:
.toggle-demo [data-panel] {
  display: none;
}
togglePanelsButton.addEventListener('click', () => {
  const panels = document.querySelectorAll('.toggle-demo [data-panel]');
  const shouldShow = Array.from(panels).some((panel) => {
    return panel.style.display !== 'revert';
  });

  panels.forEach((panel) => {
    panel.style.display = shouldShow ? 'revert' : 'none';
  });
});
A <span> comes back as inline. A <div> comes back as block. A <table> comes back as table.
You do not need to maintain a lookup table of default display values for every HTML element.
🎮 Try it live: Open the interactive demo to experience this yourself.
Using all: revert to Restore Native Controls
The revert keyword can also be used with the CSS all property.
This applies the keyword to every CSS property on the selected element. It is especially useful when you want a control to return to the browser’s native appearance.
For example, suppose you have a styled button and progress bar:
.pretty-button {
  padding: 12px 18px;
  border: 0;
  border-radius: 8px;
  background: linear-gradient(135deg, #2563eb, #0f766e);
  color: white;
  font-weight: 800;
}

.plain-button,
.native-progress {
  all: revert;
}
The .plain-button and .native-progress elements ignore the custom styling and return to their platform-native appearance.
This can be useful when the system UI is already good enough, such as native form controls on mobile browsers.
A Practical Rule of Thumb
Use display: revert when you want to show an element again but do not want to hard-code what kind of box it should become.
That is especially helpful for:
- Lists
- Tabs
- Accordions
- Reusable disclosure components
- Shared UI utilities that hide and show arbitrary HTML elements
However, revert is not a universal replacement for every display value. No native HTML element has a default display of flex or grid, so if your component layout depends on those values, you still need to set them explicitly.
Other CSS Global Keywords
CSS has several global keyword values:
| Keyword | What it does |
|---|---|
inherit | Uses the value from the parent element |
initial | Uses the property’s initial CSS-defined value |
unset | Acts like inherit for inherited properties and initial for non-inherited ones |
revert | Rolls the property back to the previous cascade origin, often the browser default |
For this specific visibility problem, revert is the practical one because it lets the browser restore the element’s natural display.
Final Thought
The next time you hide an element with display: none, do not automatically reveal it with display: block.
For simple elements, that might work. For semantic elements like <li>, <table>, or inline text, it can subtly break rendering.
A safer default is:
element.style.display = 'revert';
It is a small change, but it keeps the browser’s native HTML behavior working for you instead of against you.
Try It Yourself
Want to see these concepts in action? I’ve created an interactive demo where you can experiment with the code and see real-time results.
Explore more demos from my previous articles in the Demo Gallery.
Happy coding!