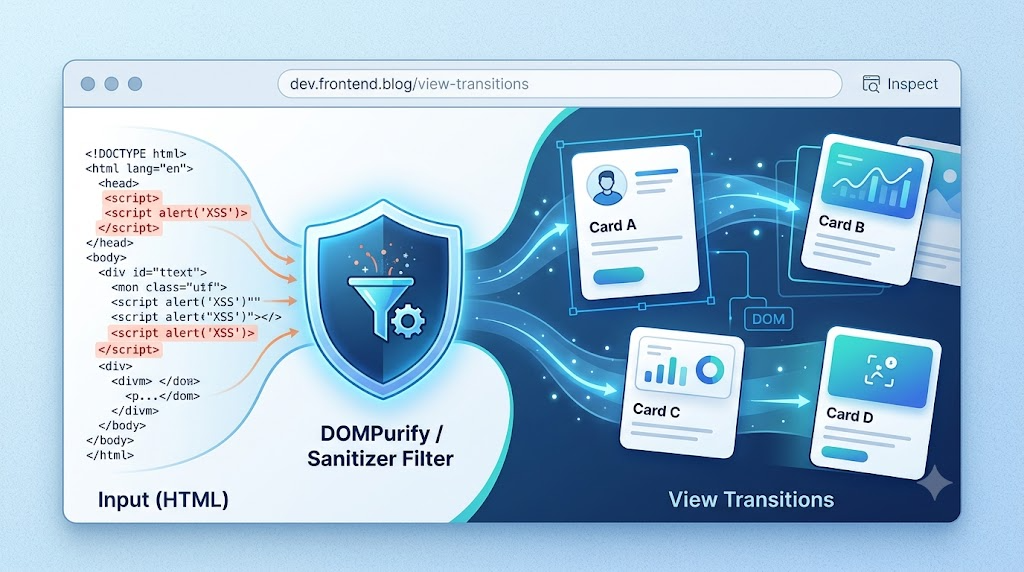
Two DOM APIs quietly became much more interesting recently: Element.setHTML() and Element.startViewTransition().
The first gives the browser a native way to insert HTML while applying built-in sanitization. The second brings View Transitions down from the whole document to individual DOM subtrees. In practical terms, one is about safer HTML rendering, and the other is about smoother, more precisely scoped UI changes.
As of 2026, both are still limited-availability features, so they are not yet something I would blindly ship into every production app. But they are worth understanding now because they point to where front-end development is heading.
Sources checked: Chrome 146 shipped the updated Sanitizer API, Chrome 147 shipped element-scoped view transitions, and MDN still marks setHTML() as limited availability. See Chrome’s Sanitizer API release note, Chrome’s element-scoped View Transition article, and MDN’s Element.setHTML() reference.
1. setHTML(): Like innerHTML, But Sanitized
Most front-end developers have used innerHTML at some point. It is convenient, direct, and dangerous when the HTML string comes from an untrusted source.
setHTML() is designed as a safer alternative. It parses an HTML string, sanitizes it, and inserts the resulting DOM tree into the target element.
By default, it removes XSS-sensitive content such as:
<script><frame><iframe><embed><object><use>- event handler attributes like
onload,onclick, and so on
setHTMLUnsafe(), on the other hand, behaves much closer to innerHTML. It does not apply the same safety rules unless you explicitly provide sanitizer options.
Here is the core demo HTML: two buttons insert the same HTML string into the same container, but through different APIs.
<div class="controls">
  <button id="setHTMLButton">setHTML()</button>
  <button id="unsafeButton">setHTMLUnsafe()</button>
  <button id="resetSanitize">Reset</button>
</div>

<div id="container" class="output" aria-live="polite"></div>
The interesting part is the JavaScript. The same string contains a script, an image with an onload handler, a <details> element, and a normal paragraph.
const str = `<script>console.log('Oh no');<\/script>
<img class="inline-demo-image" src="${demoImage}"
  onload="this.style.border = '3px solid #dc2626';">
<details>
  <summary>HTML is not simple</summary>
  <p>Never stop learning.</p>
</details>
<p>Does plain text not show either?</p>`;

setHTMLButton.onclick = () => {
  container.setHTML(str);
};

unsafeButton.onclick = () => {
  container.setHTMLUnsafe(str);
};
With default setHTML(), the browser sanitizes aggressively. The script and event handler are removed, and depending on the default sanitizer rules, some elements you expected to survive may also disappear.
With setHTMLUnsafe(), the inserted HTML behaves much more like raw innerHTML: the image renders, the event handler can run, and interactive elements remain interactive.
The takeaway is simple: setHTML() is safe by default, but “safe” does not always mean “keeps everything you expected.”
2. Customizing Sanitization With Sanitizer
The important twist is that setHTML() accepts options. You can pass either a Sanitizer instance or a SanitizerConfig.
This lets you decide which elements or attributes should be allowed or removed. However, there is one crucial rule: setHTML() still removes XSS-unsafe content even if your custom sanitizer tries to allow it.
For example, if your goal is to remove only the <script> element and the onload attribute while keeping the image, <details>, and paragraph, you can configure a sanitizer like this:
const sanitizer = new Sanitizer({
  removeElements: ["script"],
  removeAttributes: ["onload"]
});

customButton.onclick = () => {
  containerWithRules.setHTML(str, { sanitizer });
};
This is the version that makes setHTML() much more practical. Instead of accepting the very restrictive default behavior, you can define a clear policy: remove executable behavior, preserve harmless content.
In the demo code, there is also a fallback path for browsers that do not expose setHTML() or Sanitizer yet:
const template = document.createElement("template");
template.innerHTML = str;

template.content
  .querySelectorAll("script")
  .forEach((node) => node.remove());

template.content
  .querySelectorAll("[onload]")
  .forEach((node) => node.removeAttribute("onload"));

containerWithRules.replaceChildren(template.content);
This fallback is not a complete sanitizer. It only demonstrates the same removal rules for this specific demo. In real production code, you would still want a mature sanitizer such as DOMPurify until native support is broad enough for your browser targets.
3. Element.startViewTransition(): View Transitions for One Part of the Page
The View Transitions API originally centered on document.startViewTransition(). That gave us a nice way to animate between DOM states, but the scope was the whole document.
Now Element.startViewTransition() lets you start a transition from a specific element instead.
That matters because many UI changes are local:
- removing an item from a list
- reordering cards
- filtering a grid
- expanding a panel
- moving an item between two component regions
Animating the entire document for a small component change can be heavy-handed. Element-scoped transitions give you tighter control.
Here is the demo markup: a container with three tiles, where the middle one will be removed.
<div id="transitionContainer" class="transition-stage">
  <div class="tile">One</div>
  <div class="tile removing">Remove me</div>
  <div class="tile">Three</div>
</div>
The JavaScript is almost surprisingly small:
removeWithTransition.onclick = () => {
  const card = transitionContainer.querySelector(".removing");

  if (transitionContainer.startViewTransition) {
    transitionContainer.startViewTransition(() => {
      card.remove();
    });
  } else {
    card.remove();
  }
};
The key detail is that startViewTransition() is called on the container, not on the tile being removed. The transition scope belongs to the element that hosts the state change.
Without this API, card.remove() makes the element vanish instantly. With startViewTransition(), the browser captures the before and after states and animates between them.
4. Customizing the Transition With CSS
The default transition already gives you a useful cross-fade. But you can still tune the timing with View Transition pseudo-elements.
The demo uses named transition groups:
.transition-stage {
  view-transition-name: transition-stage;
}

.tile.removing {
  view-transition-name: removed-tile;
}

::view-transition-group(transition-stage),
::view-transition-group(removed-tile) {
  animation-duration: 650ms;
}
This CSS keeps the example minimal, but the idea scales. You can target specific transition groups, adjust duration, easing, and animation style, and keep the transition local to one component instead of the entire page.
That is the real upgrade: component-level transitions become easier to reason about.
Summary
setHTML() and Element.startViewTransition() solve very different problems, but both make the platform feel more complete.
setHTML() gives us a native, safer alternative to innerHTML, with configurable sanitization through Sanitizer.
Element.startViewTransition() gives us local, component-scoped UI transitions without forcing the whole document into the animation.
The practical advice is still conservative: feature-detect both APIs and provide fallbacks. Browser support is improving, but these APIs are not yet universal.
For now, they are worth learning, testing, and keeping on your radar.
Try It Yourself
Want to see these concepts in action? I’ve created an interactive demo where you can experiment with the code and see real-time results.
Explore more demos from my previous articles in the Demo Gallery.
Happy coding!