A colleague recently mentioned Vap in our group chat. The description was simple: it can play flashy animation effects, and more importantly, it supports transparent animation backgrounds.
That immediately caught my attention.
The official demo is here: https://egame.qq.com/vap
The open-source project is here: https://github.com/Tencent/vap
At first, I assumed this would be as simple as playing a normal video. Put an MP4 on the page, call play(), done.
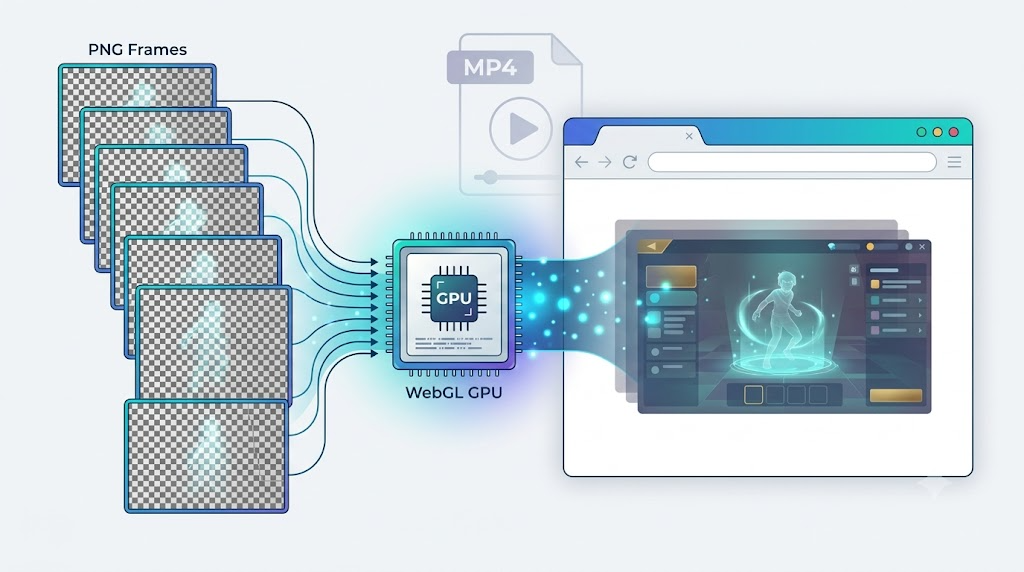
After reading the official examples, I realized the key point: if you want semi-transparent animation effects, the source material is usually not an ordinary video. It starts from a PNG image sequence with alpha information.
That changed how I understood the whole project.
The Core Idea
If you only want to play a normal MP4 and render it into a canvas, the idea is straightforward. A 2D canvas can repeatedly draw video-like frames.
Here is a simplified version from the demo:
const canvas = document.querySelector('#canvas2d');
const ctx = canvas.getContext('2d');

let t = 0;

function drawVideoLikeFrame() {
  t += 0.035;

  ctx.clearRect(0, 0, canvas.width, canvas.height);

  const gradient = ctx.createLinearGradient(0, 0, canvas.width, canvas.height);
  gradient.addColorStop(0, '#1d4ed8');
  gradient.addColorStop(1, '#020617');

  ctx.fillStyle = gradient;
  ctx.fillRect(0, 0, canvas.width, canvas.height);

  ctx.fillStyle = '#22d3ee';
  ctx.beginPath();
  ctx.arc(210 + Math.sin(t) * 120, 120, 42, 0, Math.PI * 2);
  ctx.fill();

  requestAnimationFrame(drawVideoLikeFrame);
}

drawVideoLikeFrame();
This demonstrates the basic rendering model: clear the frame, draw the next visual state, and repeat with requestAnimationFrame.
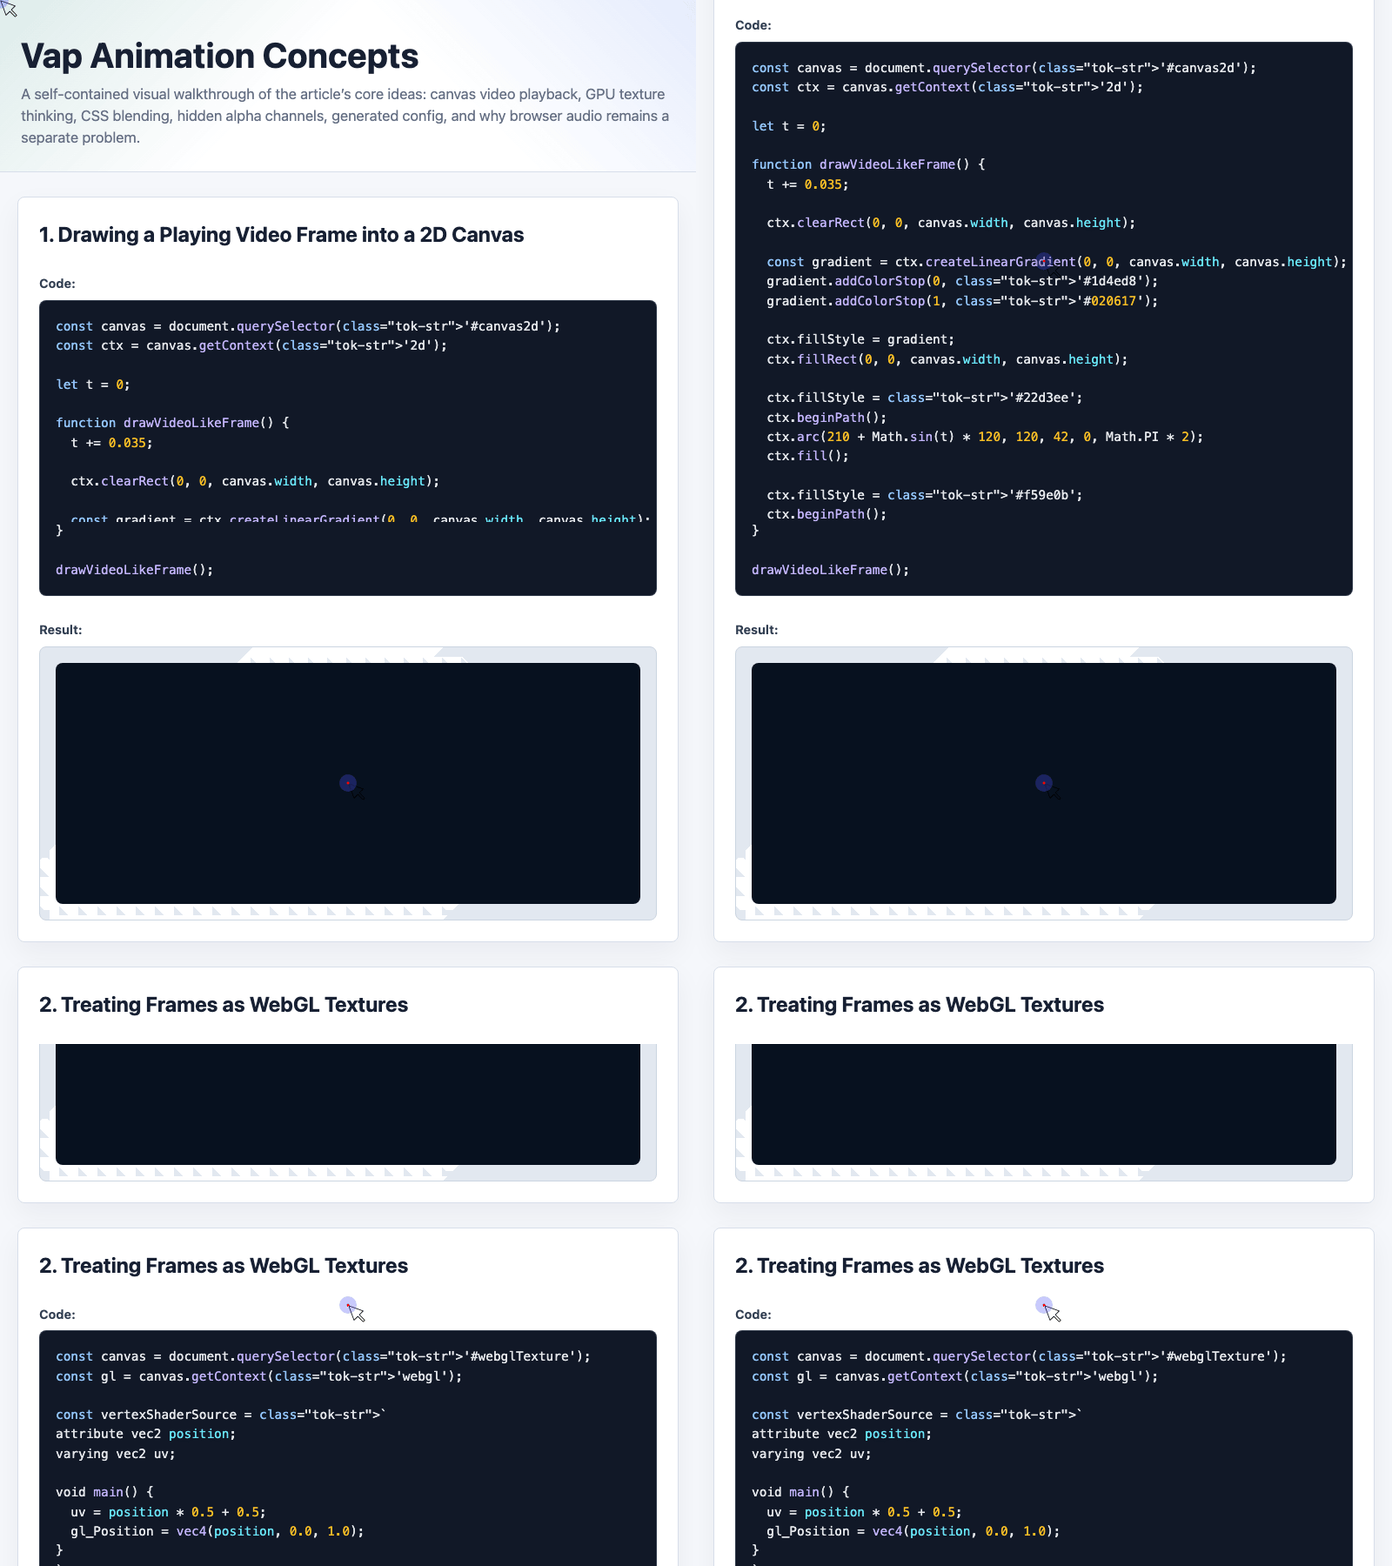
🎮 Try it live: Open the interactive demo to experience this yourself.
The problem is performance. On mobile devices, once the animation becomes visually complex, 2D canvas may not keep up.
That is where WebGL becomes useful. Instead of treating every frame as something to manually redraw on the CPU, WebGL treats visual frames as GPU textures. This is much closer to how high-performance animation playback should work.
Why Normal MP4 Is Not Enough
The above approach works well when the video is fully opaque.
But cool gift animations, game effects, floating stickers, and live-streaming overlays often need transparency. Some parts should be fully visible, some semi-transparent, and some completely invisible.
A normal MP4 does not preserve an alpha channel in the way we need for this use case.
One cheap web-only trick is CSS blending:
<div class="blend-demo">
  <div class="subject"></div>
</div>

<style>
.blend-demo {
  position: relative;
  min-height: 260px;
  background:
    linear-gradient(135deg, #19324d, #391638),
    repeating-linear-gradient(
      90deg,
      transparent 0 48px,
      rgba(255, 255, 255, 0.08) 48px 50px
    );
}

.subject {
  position: absolute;
  left: 50%;
  top: 50%;
  width: 220px;
  height: 142px;
  transform: translate(-50%, -50%);
  background:
    radial-gradient(circle at 22% 38%, #ffffff 0 8%, transparent 9%),
    radial-gradient(circle at 76% 58%, #38bdf8 0 9%, transparent 10%),
    linear-gradient(90deg, #020617 0 24%, #f8fafc 24% 52%, #111827 52% 76%, #fbbf24 76%);
  mix-blend-mode: screen;
}
</style>
This works surprisingly well for bright effects. Fireworks, sparkles, light trails, and magic-style effects can look convincing with mix-blend-mode: screen.
🎮 Try it live: Open the interactive demo to experience this yourself.
But it has an obvious limitation: dark parts may disappear or blend incorrectly. It is a visual trick, not true alpha decoding.
Vap’s Real Trick: Hide Alpha Inside the Video
Vap’s idea is smarter.
Instead of expecting MP4 to directly support transparency, Vap packs transparency information into the video itself.
In plain language:
The visible RGB image and the alpha information are both stored inside the generated video. During playback, Vap reads the RGB area and the alpha area, then reconstructs the transparent final image.
That is why Vap’s asset generation tool asks for a PNG image sequence. The PNG frames contain real alpha information. The tool extracts that information and encodes it into the generated MP4 layout.
The demo code below simulates that packing idea. The left side represents the RGB color frame. The right side represents the alpha mask area:
const canvas = document.querySelector('#alphaPacked');
const ctx = canvas.getContext('2d');
const alphaSlider = document.querySelector('#alphaStrength');

function drawPackedAlphaDemo() {
  const alphaStrength = Number(alphaSlider.value) / 100;

  ctx.clearRect(0, 0, canvas.width, canvas.height);

  ctx.fillStyle = '#1d4ed8';
  ctx.fillRect(0, 0, 340, 280);

  ctx.fillStyle = '#020617';
  ctx.fillRect(340, 0, 340, 280);

  ctx.fillStyle = '#f97316';
  ctx.beginPath();
  ctx.arc(150, 136, 66, 0, Math.PI * 2);
  ctx.fill();

  ctx.fillStyle = '#22c55e';
  ctx.beginPath();
  ctx.arc(220, 122, 48, 0, Math.PI * 2);
  ctx.fill();

  ctx.fillStyle = `rgba(255, 255, 255, ${alphaStrength})`;
  ctx.beginPath();
  ctx.arc(560, 122, 48, 0, Math.PI * 2);
  ctx.fill();
}

alphaSlider.addEventListener('input', drawPackedAlphaDemo);
drawPackedAlphaDemo();
The brighter the alpha mask, the more visible that pixel should be after decoding. Black means transparent. White means opaque. Gray means semi-transparent.
🎮 Try it live: Open the interactive demo to experience this yourself.
This is the part that finally made Vap click for me.
The generated video may look strange if you open it directly, because you can see extra black-and-white regions. Those regions are not garbage. They are the transparency data.
What the Generated Config Does
After processing the PNG sequence, VapTool outputs files such as:
video.mp4vapc.jsonmd5.txt
The vapc.json file tells Vap where to find the real image and where to find the alpha area inside the video texture.
A simplified config looks like this:
const config = {
  info: {
    w: 454,
    h: 340,
    fps: 24,
    videoW: 464,
    videoH: 528,
    aFrame: [0, 344, 227, 170],
    rgbFrame: [0, 0, 454, 340]
  }
};
The important fields are:
wandh: final display sizevideoWandvideoH: actual generated video texture sizergbFrame: where the visible color image is locatedaFrame: where the alpha mask is locatedfps: playback frame rate
In actual usage, the player receives both the video and the config:
new Vap({
  container: document.querySelector('#container'),
  src: './images/output/video.mp4',
  width: 454,
  height: 340,
  config,
  fps: 24
});
That config is the bridge between the generated MP4 and the final transparent animation.
My First Trial on Windows
The tool looked Mac-oriented at first glance, so naturally I tried it on Windows.
I prepared four PNG frames named:
000.png
001.png
002.png
003.png
Then I downloaded VapTool_Java_Win_Full.zip.
Inside the package, I found ffmpeg.exe, Java resources, and mp4edit. In other words, the tool uses Java plus ffmpeg to generate the final asset.
Then I selected my image sequence folder, changed FPS to 1, and it failed.
I tried the official demo image sequence. It still failed.
The error message was not useful. After searching around, I found the likely cause: the missing vcruntime140_1.dll file.
After placing that DLL in Windows/System32, the tool finally worked. However, 1 FPS still did not seem to work properly. I eventually used the generated output with a more normal frame rate.
Could Vap Be Useful Beyond Transparent Effects?
One interesting discovery: I tried an unprocessed MP4, and Vap could play it too.
That made me think of another possible use case.
On some Android browsers, especially older or heavily customized ones, native video playback can be annoying. The video layer may always sit above everything else, ignore z-index, or force its own player UI.
If Vap renders video through canvas/WebGL, it could potentially avoid some of those native video-layer issues.
That might be even more practical than transparent animation playback in some real projects.
The remaining question is audio.
In my test, the generated video had sound, but browser playback through Vap did not consistently produce audio. Chrome and Firefox had no sound. iOS 14 had sound. Android WeChat and the native Android browser did not.
That suggests the visual layer and audio layer need to be treated separately.
Final Thoughts
My first impression of Vap is that it solves a very specific but real frontend problem: playing high-performance transparent animations on the web.
The clever part is not just using WebGL. The clever part is the asset pipeline: starting from PNG frames with alpha, packing alpha data into an MP4, and using config metadata to reconstruct transparency at runtime.
The developer experience is not perfect, especially around tooling errors and Windows setup. But the underlying idea is practical and worth understanding.
For teams building live-streaming gifts, game effects, interactive campaigns, or video-heavy H5 pages, Vap is definitely worth a look.
Try It Yourself
Want to see these concepts in action? I’ve created an interactive demo where you can experiment with the code and see real-time results.
Explore more demos from my previous articles in the Demo Gallery.
Happy coding!