
Develop with reusable components. Deliver ordinary HTML, CSS, and JavaScript.
Original article by zhangxinxu. Read the original · Explore Moka on GitHub
Republication notice: The author permits full republication on personal websites with independent domains, provided the original author, source, and article links are retained. Any website may aggregate excerpts. Contact the original author for commercial-use permission.
The Gap Between Development and Delivery
Sometimes, the hardest part of front-end development is handing over the result.
Your team wants reusable templates, modular styles, and organized JavaScript. The receiving team wants a folder of HTML pages it can integrate into an existing application.
Both expectations are reasonable.
This situation appears in legacy systems, internal dashboards, and projects shared across departments. A sophisticated front-end setup can make development easier while creating extra work for the people receiving it.
Working entirely with handwritten static files creates its own problems:
- Shared headers and footers must be updated across multiple pages.
- Repeated design values become difficult to maintain consistently.
- Requests made from pages opened through
file://can run into browser restrictions. - Stylesheets and scripts must be combined manually for delivery.
Moka addresses this gap by separating how you build a prototype from what you deliver.
Its name references the magic cards in Cardcaptor Sakura and echoes the word “mockup.” According to the original article, the project evolved through internal use at China Literature beginning in 2017.
The idea is straightforward: add just enough tooling to make static-page development comfortable, then produce familiar files for handoff.
What Moka Adds to Static HTML
Moka is a small Node.js tool built with native functionality and no third-party package dependencies.
It provides four core capabilities:
- HTML includes for shared page fragments.
- Folder-based bundling for CSS and JavaScript.
- Basic CSS processing for imports and variables.
- A local HTTP server for previews and simulated GET and POST requests.
Node.js is still required. The convenience comes from avoiding a separate dependency-installation workflow.
The project separates development files in src from generated and deliverable assets in dist.
This separation lets front-end developers maintain smaller source files while handing over pages that do not require the receiving application to understand Moka’s source conventions.
Getting started
Download the project ZIP from the Moka repository, install Node.js, and run node run from the project directory. On Windows, the included run.bat provides a double-click entry point.
Moka starts its local server and watches HTML, CSS, and JavaScript assets for changes.
The version described in the original article derives its port from new Date().getFullYear(). That explains the original example address, http://localhost:2019/views/html/index.html: 2019 was the year-based port, not a permanent setting.
Use the port selected by your copy of the tool. To run multiple instances, assign different ports in run.js.
Organize the Source, Simplify the Handoff
Moka’s directory structure is part of its configuration.
| Location | Purpose |
|---|---|
src/views/html | Source pages compiled into deliverable HTML |
src/views/html/include | Shared fragments such as headers and footers |
src/static/css | Stylesheets organized into bundle folders |
src/static/js | Scripts organized into bundle folders |
dist | Preview files and final delivery assets |
dist/static/images and dist/static/fonts | Assets stored directly in the output directory |
dist/views/cgi | Fixtures for simulated Ajax responses |
dist/views/map.html | Page map and project progress overview |
Images, fonts, and response fixtures live directly in dist because Moka does not process them. This avoids an unnecessary copying step.
The page map gives collaborators a central place to browse prototype pages and review progress.
Preserve the expected css, js, and html directory names and hierarchy unless you also update their paths in run.js. Moka favors convention over extensive configuration.
Bundling follows folder boundaries
Each immediate subfolder under src/static/css becomes a stylesheet with the same name. For example, details/home.css, details/page1.css, and details/page2.css are combined into dist/static/css/details.css.
JavaScript follows the same pattern: files in src/static/js/pages become dist/static/js/pages.js.
Files placed directly in the CSS or JavaScript root are not combined into those folder bundles. JavaScript libraries in a lib folder are also excluded from bundling.
This is a deliberately shallow structure. Organize bundles around those folder boundaries rather than expecting recursive processing of a deeply nested source tree.
Reuse Headers and Keep Styles Consistent
Shared navigation is a good example of the maintenance work Moka removes.
A page can include its header using <link rel="import" href="./include/header.html?nav2=active">. Moka processes this declaration and inserts the fragment’s contents into the generated HTML.
The query string provides simple substitution values. Inside the header, a class such as class="nav-a $nav2$" becomes class="nav-a active" when nav2=active is supplied.
Unmatched placeholders become empty strings.
The result is a shared header with page-specific navigation state, without duplicating the header markup.
These imports are a Moka compilation convention: the generated page contains the included HTML.
There are two constraints to remember. First, the dollar-sign substitution syntax can also match legitimate content enclosed by dollar signs. If that causes a conflict, the delimiter can be changed in run.js. Second, only HTML pages directly inside src/views/html are compiled by default; additional page directories require changes to the script.
CSS imports and variables
Moka accepts both @import '../_variable.css'; and @import url('../_variable.css');.
Files beginning with an underscore are excluded from direct compilation and bundling, making them useful as import-only files.
Imports support one level. If one stylesheet imports a second, and that second imports a third, Moka does not recursively include the third.
Variable processing uses familiar CSS notation: declarations such as --borderRadius: 2px and references such as var(--borderRadius). However, Moka’s processing is limited to declarations inside :root, html, and body; nested variable declarations are unsupported.
The original article recommends the special marker !; for declaration blocks intended for removal during compilation—for example, body {!; --borderRadius: 2px; }. Treat this as Moka-specific preprocessing syntax.
Give the Prototype Something Real to Do
A useful prototype should demonstrate behavior as well as layout.
The supplied demo contains a small interaction: enter a message, click a button, and display the message in both a result card and an event history.
It uses ordinary browser APIs and can serve as page content in a Moka project. The CustomEvent behavior belongs to the demo, not to Moka itself.
The following three excerpts show how that interaction works.
1. Create the input and result area
The demo’s markup gives the user an editable message, a clear action, and a place to see the latest result. Its IDs provide stable targets for the JavaScript that follows.
<div class="controls">
  <input id="payload" value="Hello from a CustomEvent">
  <button id="dispatch">Dispatch event</button>
</div>
<div class="event-card" id="latest">
  Waiting for an event...
</div>
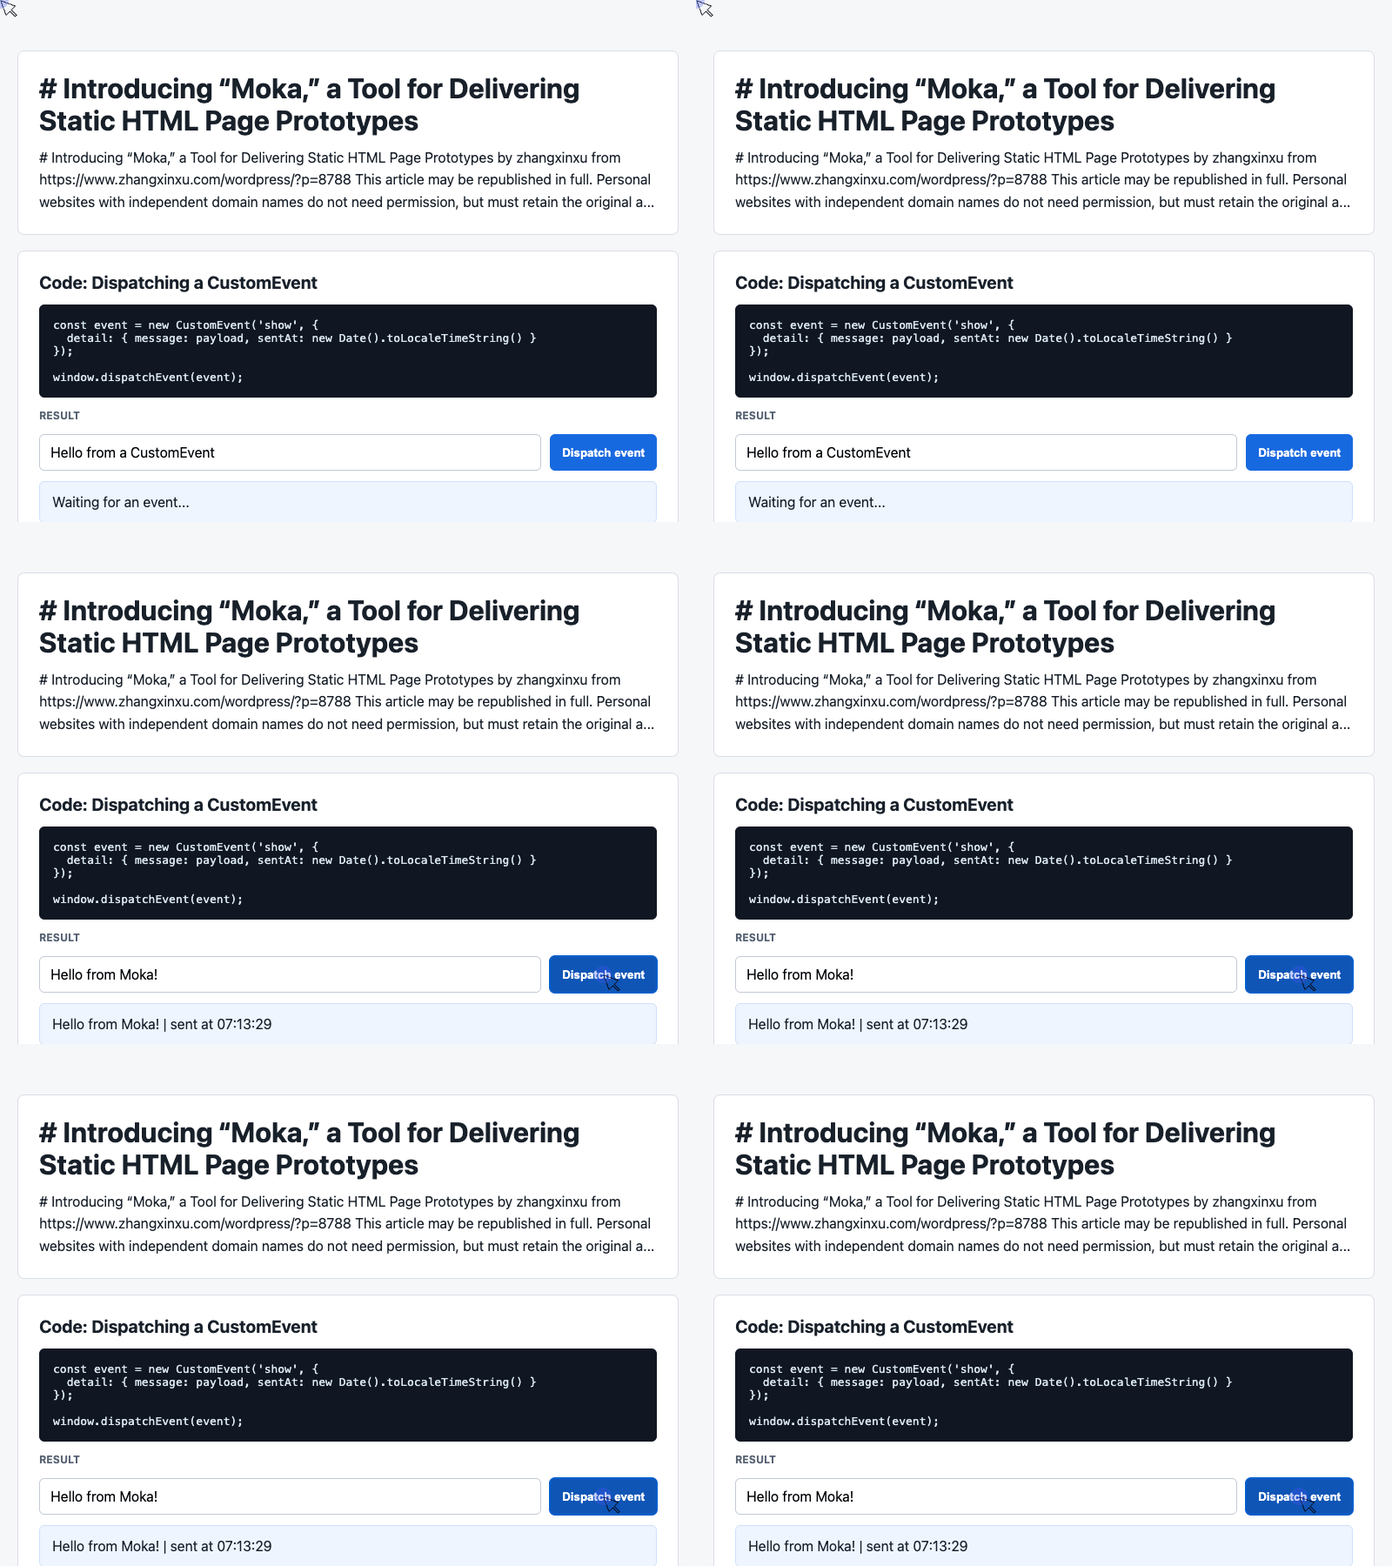
🎮 Try it live: Open the interactive demo to experience this yourself.
With the supplied stylesheet, these elements form a compact interactive panel. The initial waiting message also makes the page understandable before anyone clicks.
2. Dispatch a structured event
The click handler reads the input, provides a fallback for an empty message, and creates a CustomEvent.
Its detail property carries both the message and a timestamp. The listener in the next example handles the visible updates.
const input = document.querySelector('#payload');

document.querySelector('#dispatch').addEventListener('click', () => {
  const message = input.value.trim() || 'Default CustomEvent payload';
  const event = new CustomEvent('show', {
    detail: { message, sentAt: new Date().toLocaleTimeString() }
  });
  window.dispatchEvent(event);
});
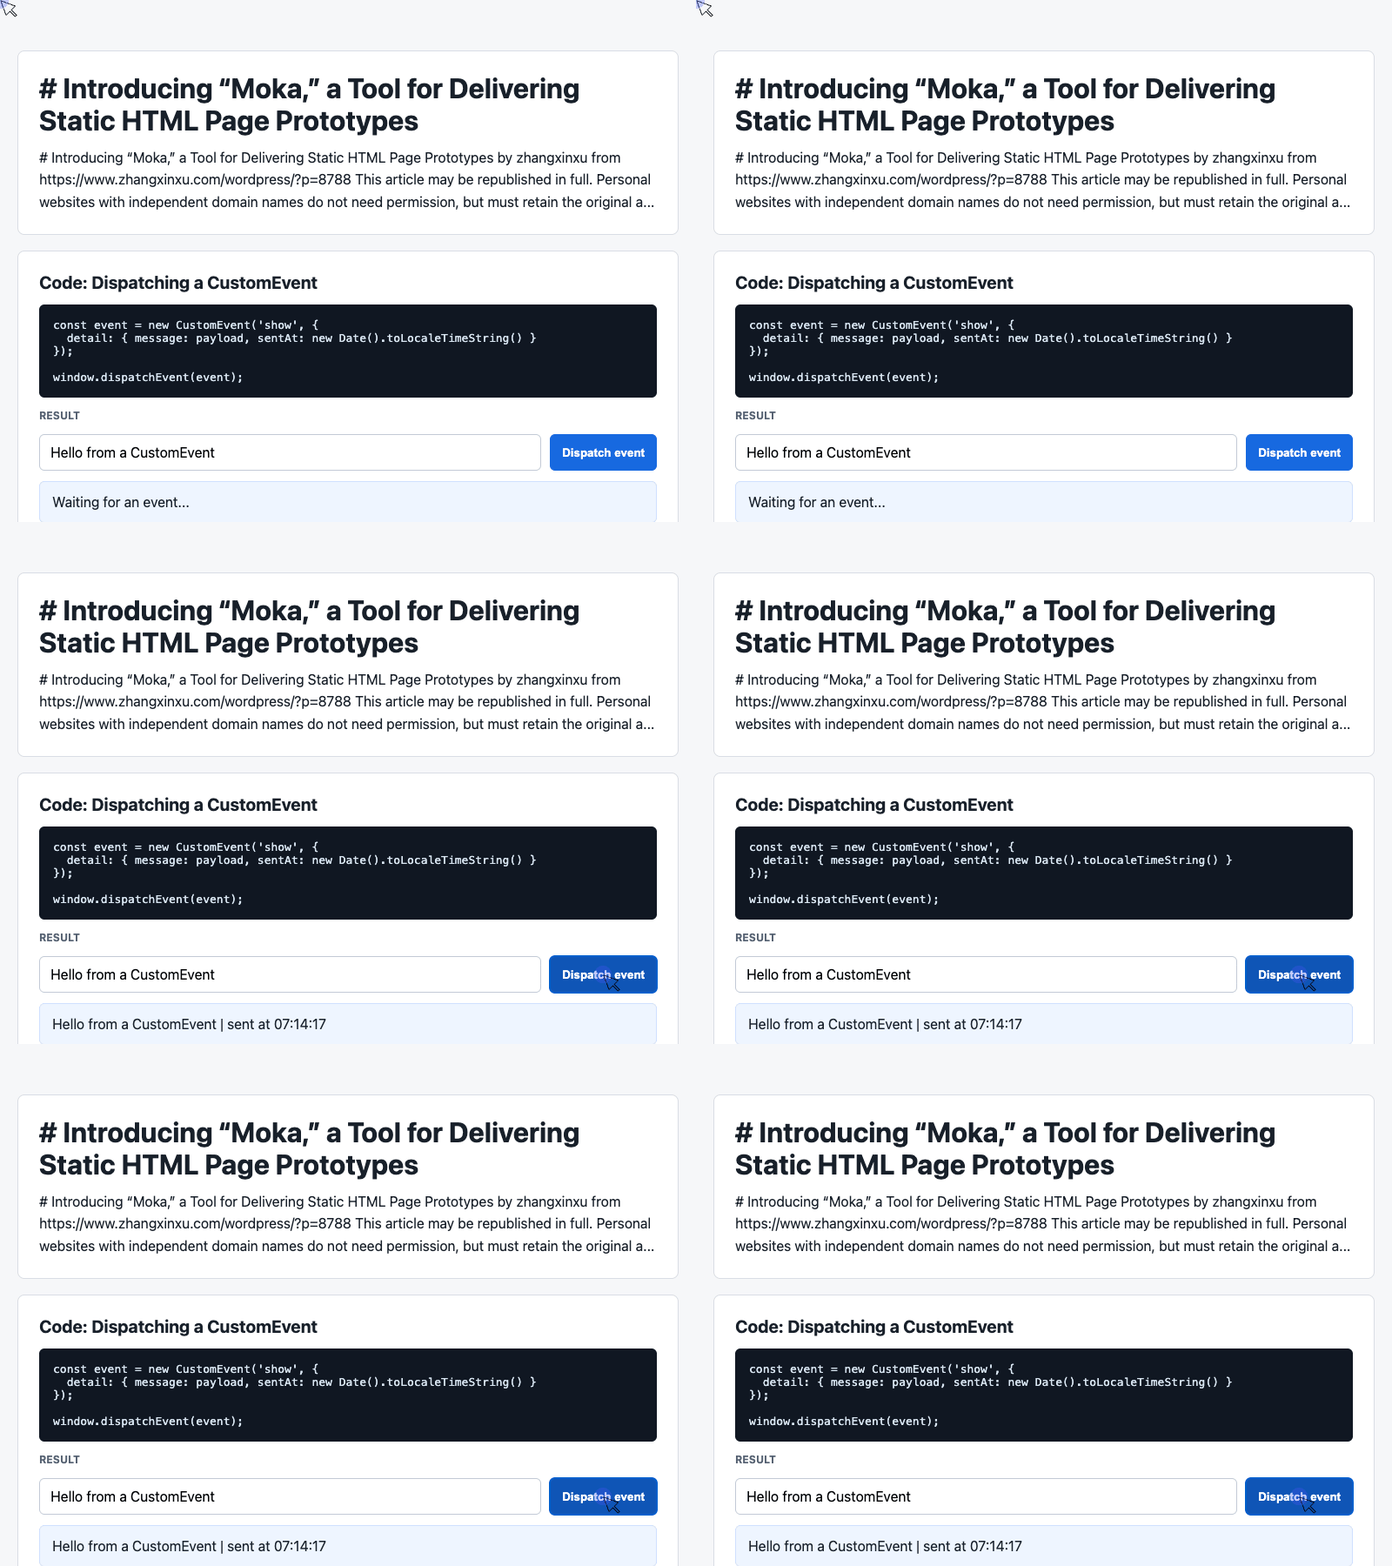
🎮 Try it live: Open the interactive demo to experience this yourself.
Dispatching the event announces that something happened. It does not update the page by itself.
That separation is useful when one action needs to drive several interface updates: the button produces the event, while listeners decide how to present it.
3. Render the latest message and recent history
The listener updates the result card and the demo’s existing #event-log element. New messages are inserted at the beginning of the history array, and the display shows the six most recent entries.
const latest = document.querySelector('#latest');
const log = document.querySelector('#event-log');
const history = [];

window.addEventListener('show', (event) => {
  const detail = event.detail || {};
  latest.textContent = detail.message + ' | sent at ' + detail.sentAt;
  history.unshift('[' + detail.sentAt + '] ' + detail.message);
  log.textContent = history.slice(0, 6).join('\n');
});
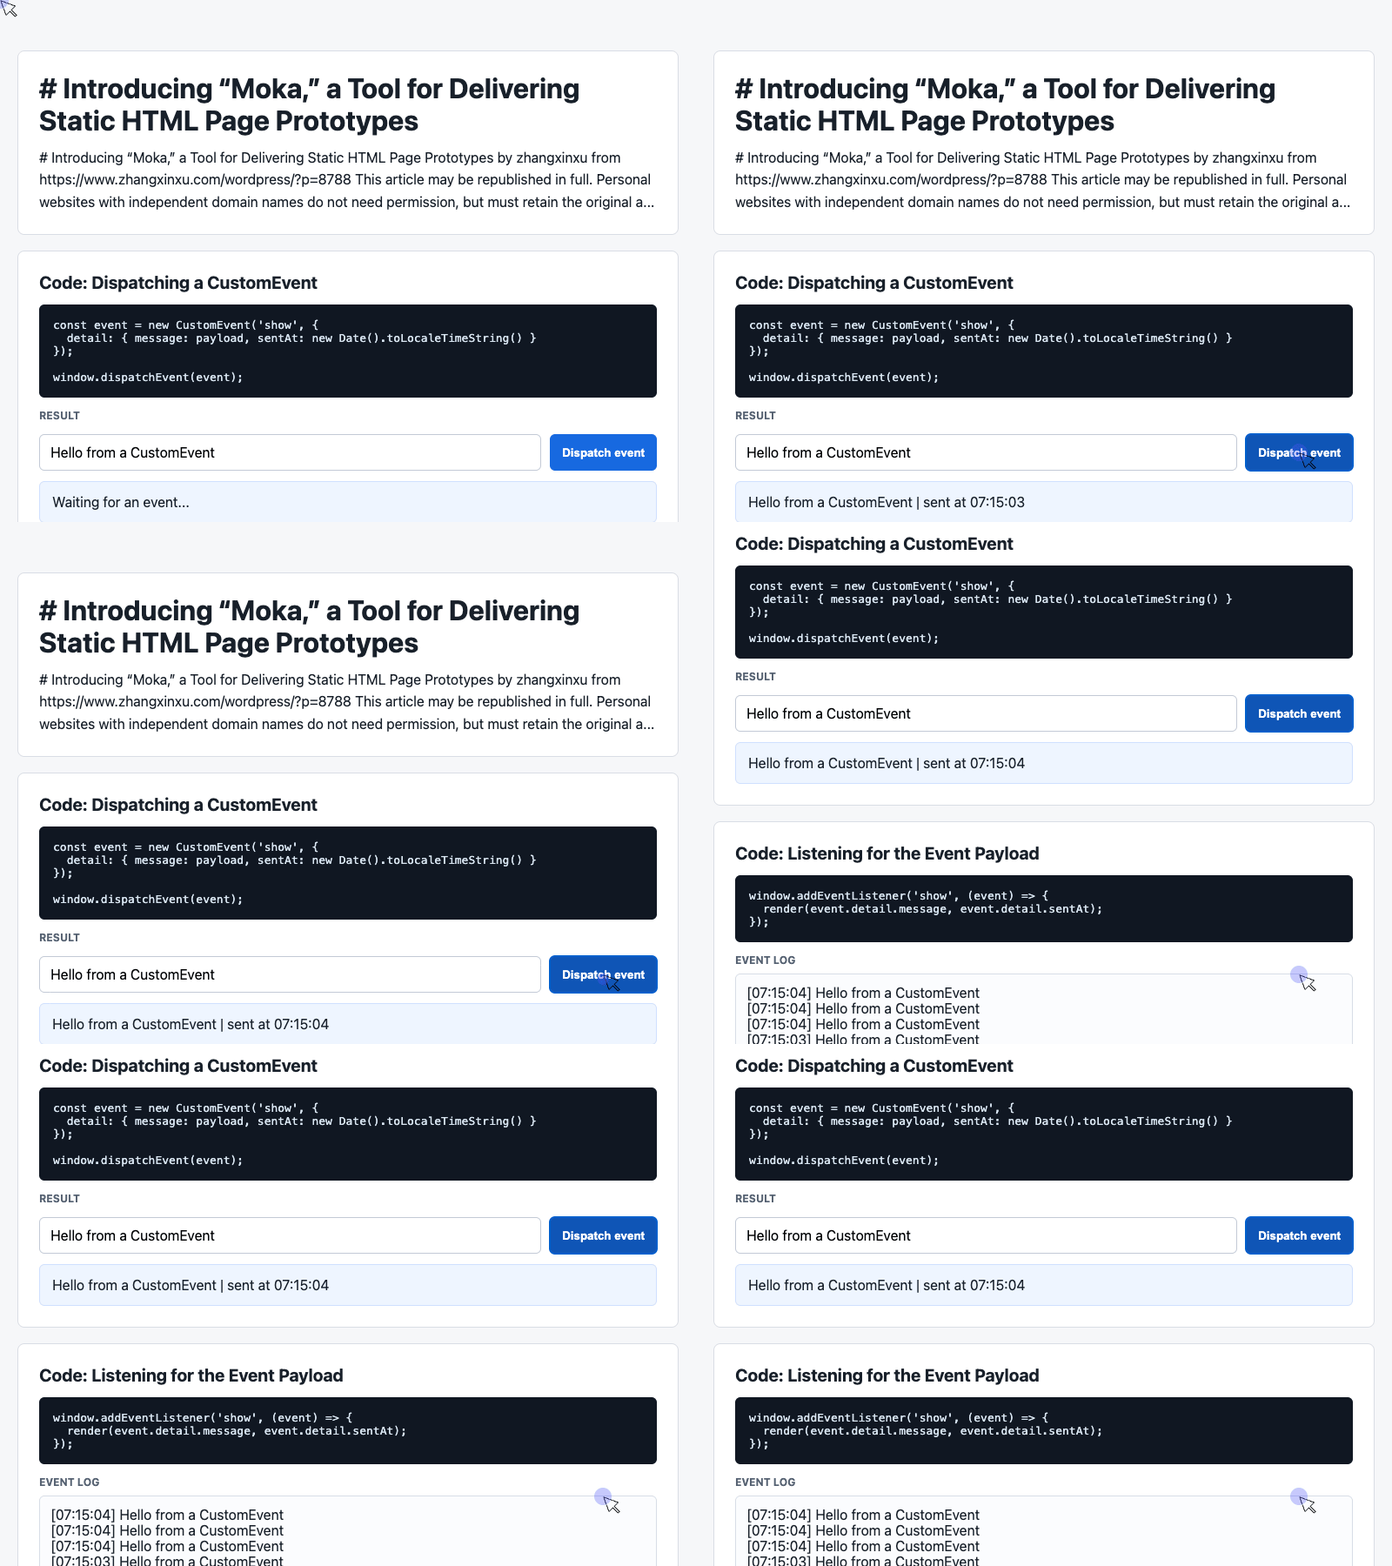
🎮 Try it live: Open the interactive demo to experience this yourself.
Using textContent displays the entered message as text. The supplied log styling uses white-space: pre-wrap, so the newline-separated entries appear on separate lines.
One small implementation detail matters: slice(0, 6) limits the displayed history, while the underlying array continues to grow.
Add HTTP Requests When the Prototype Needs Them
The CustomEvent demo runs entirely inside the browser. It makes no network request and does not require a backend.
Other prototype interactions—loading a table, submitting a form, or showing a server response—benefit from Moka’s local HTTP environment.
Response fixtures belong in dist/views/cgi. Serving the prototype over HTTP provides a more suitable setting for demonstrating requests than opening pages directly through file://.
Moka supports simulated GET and POST requests, but those demonstrations should be understood as prototype behavior. A response fixture does not implement the production application’s business logic.
For resource types the server does not recognize, the original article recommends extending the mimetype object in run.js.
Choose Moka for the Handoff You Actually Need
Moka’s strongest use case is a collection of static prototype pages with shared structure, repeated styles, and enough interaction to communicate how the finished product should behave.
Its constraints are part of its appeal: shallow folders, simple substitutions, limited CSS processing, and straightforward output.
For a one-page campaign or a tiny two-page site, a complete HTML file may already be sufficient. For a larger prototype handoff, reusable fragments and automatic bundling can remove a substantial amount of repetitive work.
Start with the included examples, keep the pieces your project needs, and replace the demo assets with your own. The goal is a prototype that is comfortable to maintain and easy for the next team to use.
Explore Moka on GitHub · Read zhangxinxu’s original article
Try It Yourself
Want to see these concepts in action? I’ve created an interactive demo where you can experiment with the code and see real-time results.
Explore more demos from my previous articles in the Demo Gallery.
Happy coding!