By zhangxinxu · Originally published July 27, 2019
Adapted with technical corrections and examples from the supplied demo.
JavaScript offers plenty of ways to work with scrolling. Elements have scrollTop and scrollLeft. The window exposes its current position through scrollX and scrollY. Then there are scroll(), scrollTo(), and scrollBy().
Do we really need all these options?
Two of them earn their place by expressing a useful distinction: go to a position and move by a distance. Once that distinction clicks, implementing a back-to-top button or a control that advances a scrolling panel becomes much easier.
A Destination Versus a Distance
scrollTo() specifies an absolute destination. scrollBy() specifies a movement relative to the current position. Both support horizontal and vertical scrolling. MDN: scrollTo(), MDN: scrollBy()
Suppose a page is currently scrolled down 300 pixels:
| Call | Requested vertical position |
|---|---|
window.scrollTo(0, 200) | 200 pixels |
window.scrollBy(0, 200) | 500 pixels |
window.scrollBy(0, -100) | 200 pixels |
These destinations assume the document has enough scrollable space.
Calling scrollTo(0, 200) repeatedly keeps requesting the same destination. Calling scrollBy(0, 200) repeatedly keeps requesting another 200 pixels of movement.
One correction to the original article matters here: pageXOffset and pageYOffset are position readings, not scrolling controls. They alias scrollX and scrollY; assigning values to them does not instruct the browser to scroll. Use scrolling methods to move the window. MDN: scrollX, MDN: scrollY
One Interface for Pages and Elements
The same method names work on the window and on individual elements.
For example, window.scrollTo(0, 200) scrolls the document, while panel.scrollTo(0, 200) scrolls the content inside a referenced element.
An element needs a scrollable layout for movement to be visible. A typical vertical panel has a constrained height, overflow-y: auto, and content taller than its visible area. MDN: Element.scrollTo()
Both methods accept either two numeric arguments or an options object:
| Option | With scrollTo() | With scrollBy() |
|---|---|---|
left | Horizontal destination | Horizontal distance |
top | Vertical destination | Vertical distance |
behavior | How the movement occurs | How the movement occurs |
The behavior option accepts smooth, instant, or auto. The default, auto, follows the applicable CSS scroll-behavior value; it does not necessarily mean an immediate jump. MDN: scrolling options
Turning the Supplied Demo Into a Scrolling Playground
The supplied demo actually demonstrates CustomEvent: a button dispatches a message, and a listener displays it.
That gives us a reusable starting point. We can preserve its controls and event log, then add a listener that interprets messages as scrolling commands.
The first two examples below are extracted from the supplied demo. The third is an extension that adds scrolling.
1. Reuse the Controls and Result Areas
The demo already contains an input, a dispatch button, a status card, and a log. These HTML excerpts provide the interface; retain the supplied CSS to reproduce its styling.
<div class="controls">
  <input id="payload" value="Hello from a CustomEvent">
  <button id="dispatch">Dispatch event</button>
</div>

<div class="event-card" id="latest">Waiting for an event...</div>

<div class="log" id="event-log">No events yet.</div>
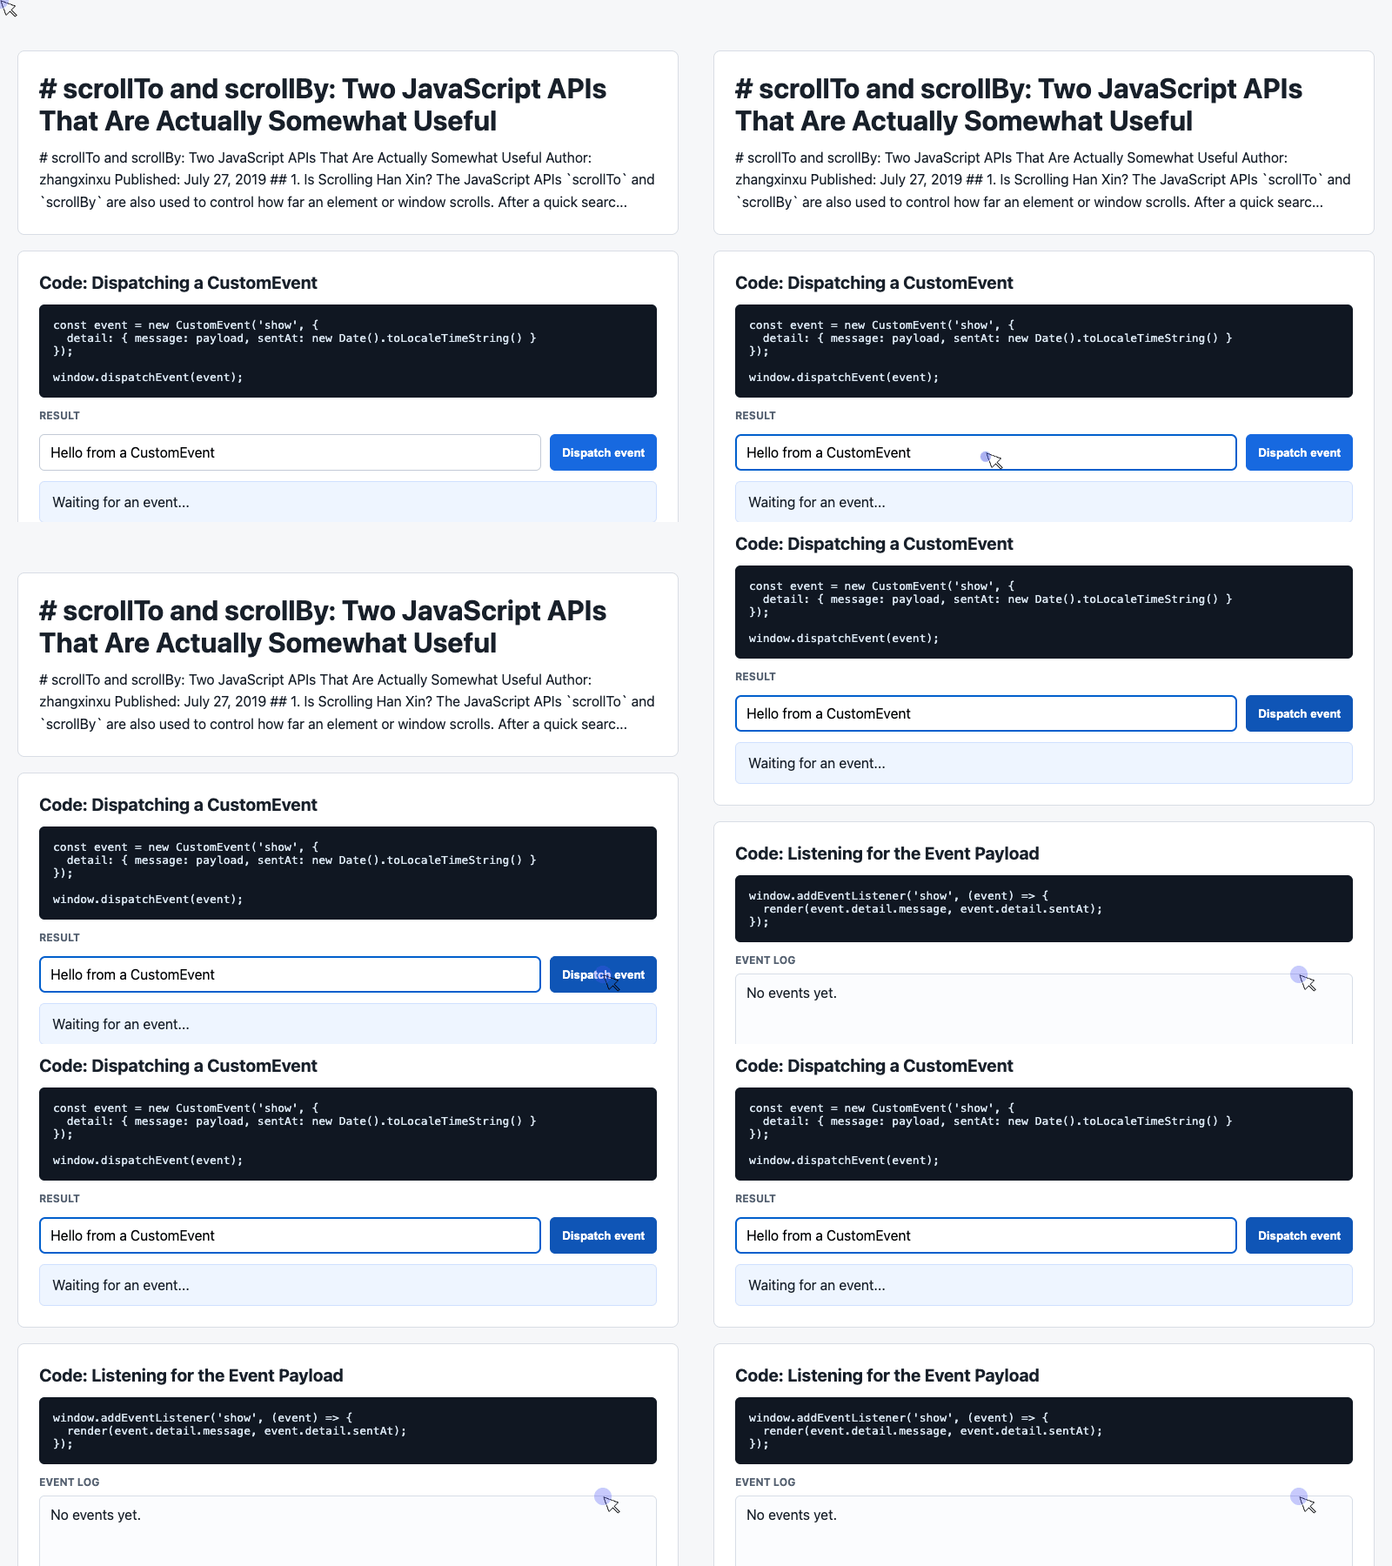
🎮 Try it live: Open the interactive demo to experience this yourself.
The IDs connect the interface to JavaScript. Initially, these elements only display the demo’s starting state; the next excerpt makes the button interactive.
2. Dispatch a Message and Show What Happened
The demo’s script reads the input, packages its value into a custom event, and updates the interface when that event arrives. Place this code after the HTML, as in the original demo.
const input = document.querySelector('#payload');
const latest = document.querySelector('#latest');
const log = document.querySelector('#event-log');
const history = [];

document.querySelector('#dispatch').addEventListener('click', () => {
  const message = input.value.trim() || 'Default CustomEvent payload';
  const event = new CustomEvent('show', {
    detail: { message, sentAt: new Date().toLocaleTimeString() }
  });
  window.dispatchEvent(event);
});

window.addEventListener('show', (event) => {
  const detail = event.detail || {};
  latest.textContent = detail.message + ' | sent at ' + detail.sentAt;
  history.unshift('[' + detail.sentAt + '] ' + detail.message);
  log.textContent = history.slice(0, 6).join('\n');
});
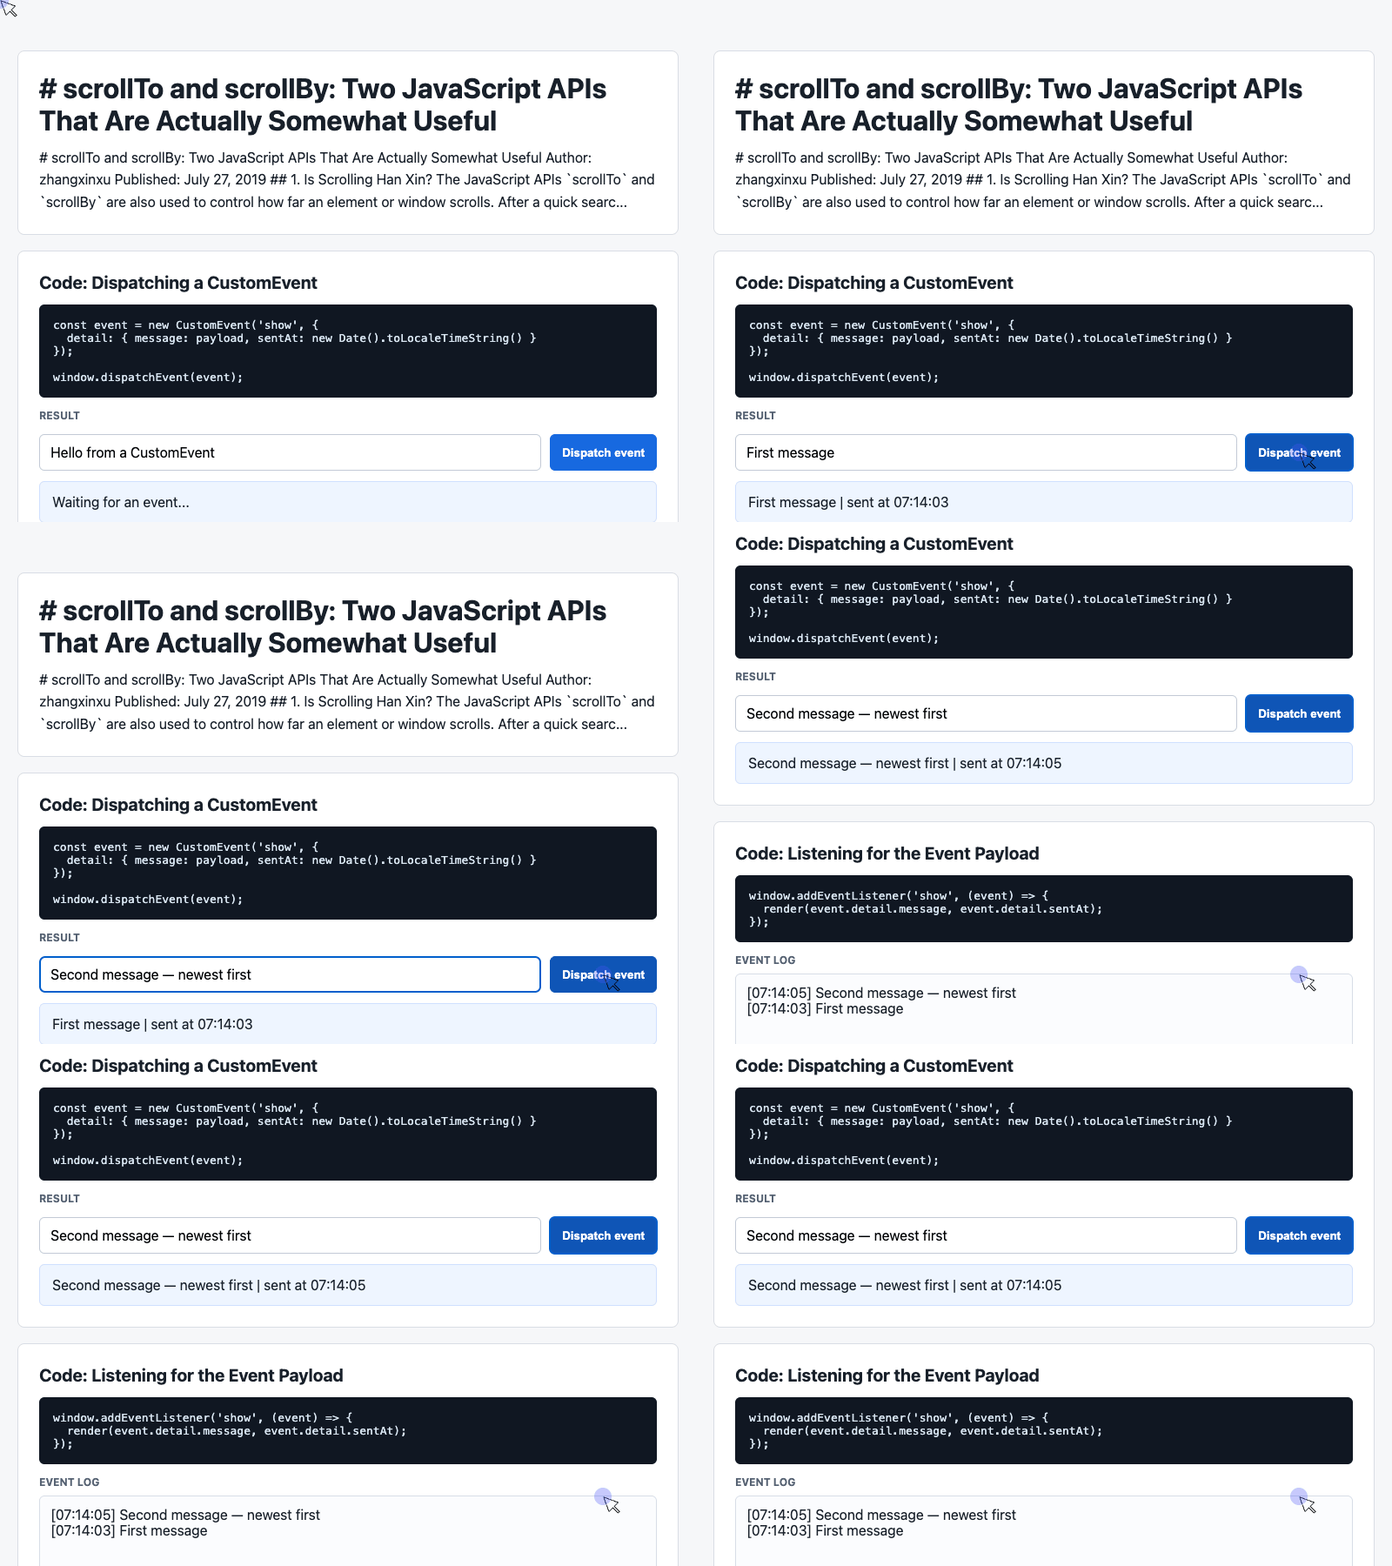
🎮 Try it live: Open the interactive demo to experience this yourself.
The detail object carries the message and timestamp. The listener displays them using textContent, while history.slice(0, 6) limits the visible log to six entries.
At this stage, clicking the button still does not scroll anything. It creates a visible record of the submitted message.
3. Add Absolute and Relative Scrolling
Now append this new listener to the existing script. It reuses the demo’s show event and interprets its message as either a pixel distance or the command top.
Enter 200 to move down, -200 to move up, or top to return to the beginning of the page.
window.addEventListener('show', (event) => {
  const command = String(event.detail?.message ?? '').trim().toLowerCase();
  const reduceMotion = window.matchMedia(
    '(prefers-reduced-motion: reduce)'
  ).matches;
  const behavior = reduceMotion ? 'instant' : 'smooth';

  if (command === 'top') {
    window.scrollTo({ top: 0, behavior });
    return;
  }

  const distance = Number(command);
  if (command !== '' && Number.isFinite(distance)) {
    window.scrollBy({ top: distance, behavior });
  }
});
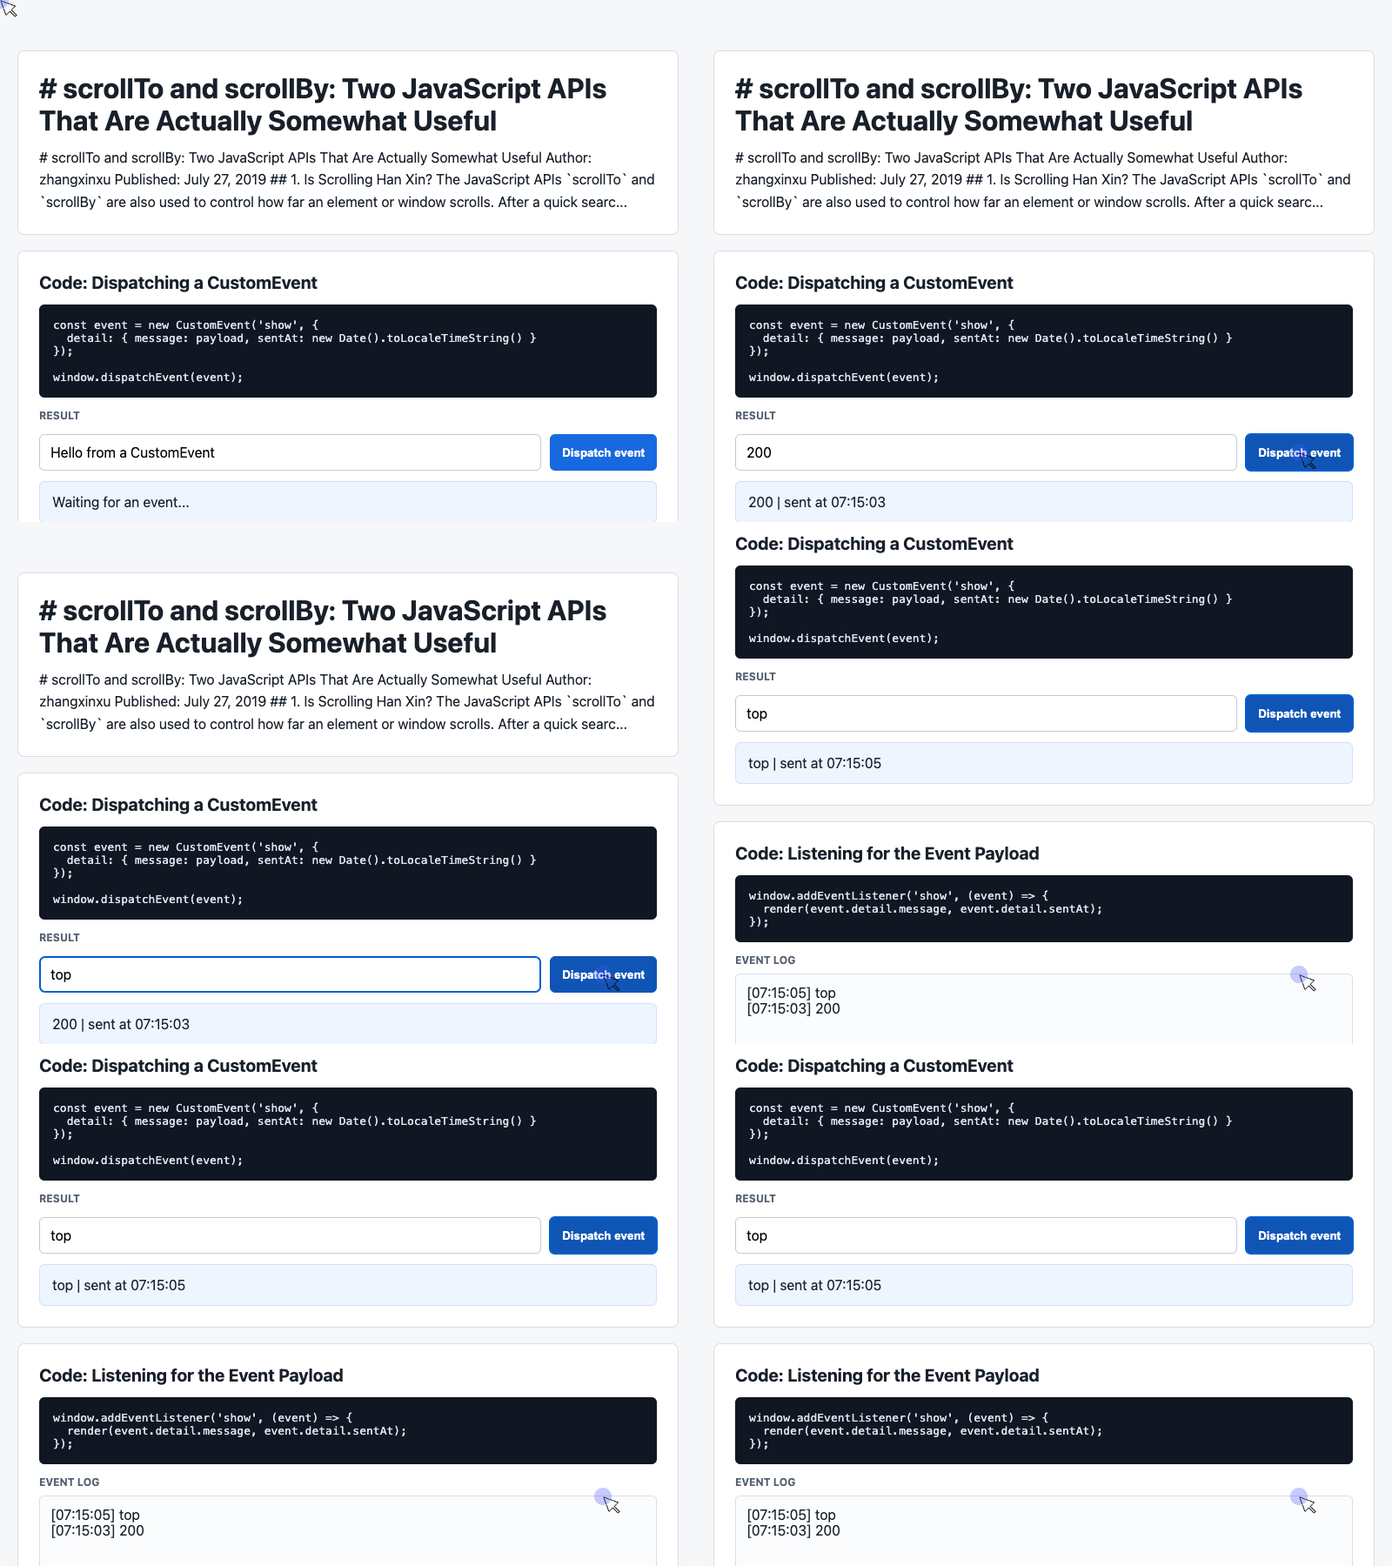
🎮 Try it live: Open the interactive demo to experience this yourself.
The two branches express the difference directly: scrollTo() receives a destination, while scrollBy() receives a distance. Omitting left preserves the horizontal position.
The listener selects immediate movement when the user requests reduced motion through their system settings. MDN: prefers-reduced-motion
To observe movement, use a document taller than the viewport. Add several sections beneath the demo if needed. Near the document’s boundaries, the available scrolling distance may be smaller than the requested amount.
The existing log records submitted commands, including invalid ones; it does not confirm that scrolling completed. Ordinary messages such as “Hello from a CustomEvent” continue to appear in the log but trigger no movement.
For a single button, calling scrollBy() directly inside its click handler is sufficient. The custom event is useful here because the supplied demo already lets multiple listeners respond independently.
What Changed Since 2019?
The original compatibility warning needs more precision.
Numeric window scrolling methods existed in Internet Explorer. Element methods, options objects, and smooth scrolling arrived on different schedules. Current mainstream browsers support the APIs discussed here, so compatibility decisions should focus on the specific feature and browser versions a project targets. MDN: window compatibility, MDN: element compatibility
The original window polyfills should not be reused: assigning to pageXOffset or pageYOffset does not scroll the page. The element fallbacks based on scrollLeft and scrollTop can provide basic numeric movement, but they do not implement the complete options interface or smooth animation.
Two related APIs deserve a brief mention. scroll() performs the same operation as scrollTo(). The line-based and page-based methods, scrollByLines() and scrollByPages(), are nonstandard and have limited browser support. Their presence should not become a browser-identification strategy. MDN: scrollTo() notes, MDN: scrollByLines(), MDN: scrollByPages()
Small APIs With Clear Intent
Use scrollTo() when you know the destination: the top of a page, a saved reading position, or a particular offset inside a panel.
Use scrollBy() when the interaction describes an increment: another 20 pixels, one card’s width, or a step upward.
Their value is straightforward. They make scrolling code easier to read, work across pages and elements, and let each call express how the movement should feel.
Try It Yourself
Want to see these concepts in action? I’ve created an interactive demo where you can experiment with the code and see real-time results.
Explore more demos from my previous articles in the Demo Gallery.
Happy coding!