Turn a CSS image preview into a bitmap you can save, share, or upload.
Adapted from zhangxinxu’s original article, published April 20, 2019, at 23:30, under JavaScript Examples.
CSS filters make it easy to build an image editor. Increase contrast, boost saturation, add a translucent overlay, and a familiar photograph takes on an entirely different mood.
Then you right-click the image, choose Save Image As, and discover that the downloaded file has none of those effects.
The explanation is straightforward: CSS changes how the browser displays an image; it does not rewrite the source image’s pixels. To upload or download the edited appearance, you need to capture that appearance as a new bitmap.
SVG’s <foreignObject> element provides a way to connect CSS rendering with Canvas export.
Why the Preview and the Download Look Different
Consider the Clarendon-style effect described in the original article. The image’s container applies filter: contrast(1.2) saturate(1.35), while a positioned ::before pseudo-element adds a translucent blue layer using mix-blend-mode: overlay.
The browser combines these ingredients when painting the page. The underlying image file remains unchanged.
That distinction matters when building photo editors, thumbnail generators, or tools that upload finished compositions. Sending the original image URL to your backend will not preserve the CSS treatment.
The export process must capture the image together with the styles and layers that create its appearance.
Use SVG to Carry the Styled Content
SVG can contain more than vector shapes. Its <foreignObject> element can embed content from another XML namespace, including XHTML. For a standalone SVG document, the embedded HTML needs the XHTML namespace declaration, xmlns="http://www.w3.org/1999/xhtml". See MDN’s <foreignObject> reference.
This enables the workflow described in the original article:
- Prepare the image, its wrapper, and the CSS responsible for the effect.
- Embed that content inside an SVG
<foreignObject>with explicit dimensions. - Serialize the SVG and load it as an image.
- Wait for that image to load, then draw it onto a correctly sized canvas.
- Export the canvas as a data URL or Blob.
Canvas remains part of the process, but you do not have to reproduce every CSS effect with Canvas drawing commands. The SVG rendering step carries the composition into the bitmap.
There is an important implementation detail: the SVG must contain the resources it needs. External images and stylesheets can be restricted when SVG is loaded as an image, so embed image data and include the necessary styles within the SVG. MDN documents these SVG image restrictions.
Simply copying an element’s HTML will not necessarily capture its appearance. Styles inherited from the page and rules that generate pseudo-elements also need to be preserved.
Turn the Rendered Canvas into an Upload
Once the processed composition has been drawn onto a canvas, canvas.toBlob() produces image data suitable for an upload. It can also return null if encoding fails, so the callback should handle that case. MDN’s toBlob() documentation describes its formats and behavior.
The following concise example is adapted from the original article. It assumes canvas already contains the processed image and that upload.php accepts a raw image request body.
canvas.toBlob(function (blob) {
  if (!blob) {
    console.error('Image export failed.');
    return;
  }

  var xhr = new XMLHttpRequest();
  xhr.onload = function () {
    console.log('Upload response:', xhr.status, xhr.responseText);
  };
  xhr.open('POST', 'upload.php', true);
  xhr.send(blob);
}, 'image/jpeg');
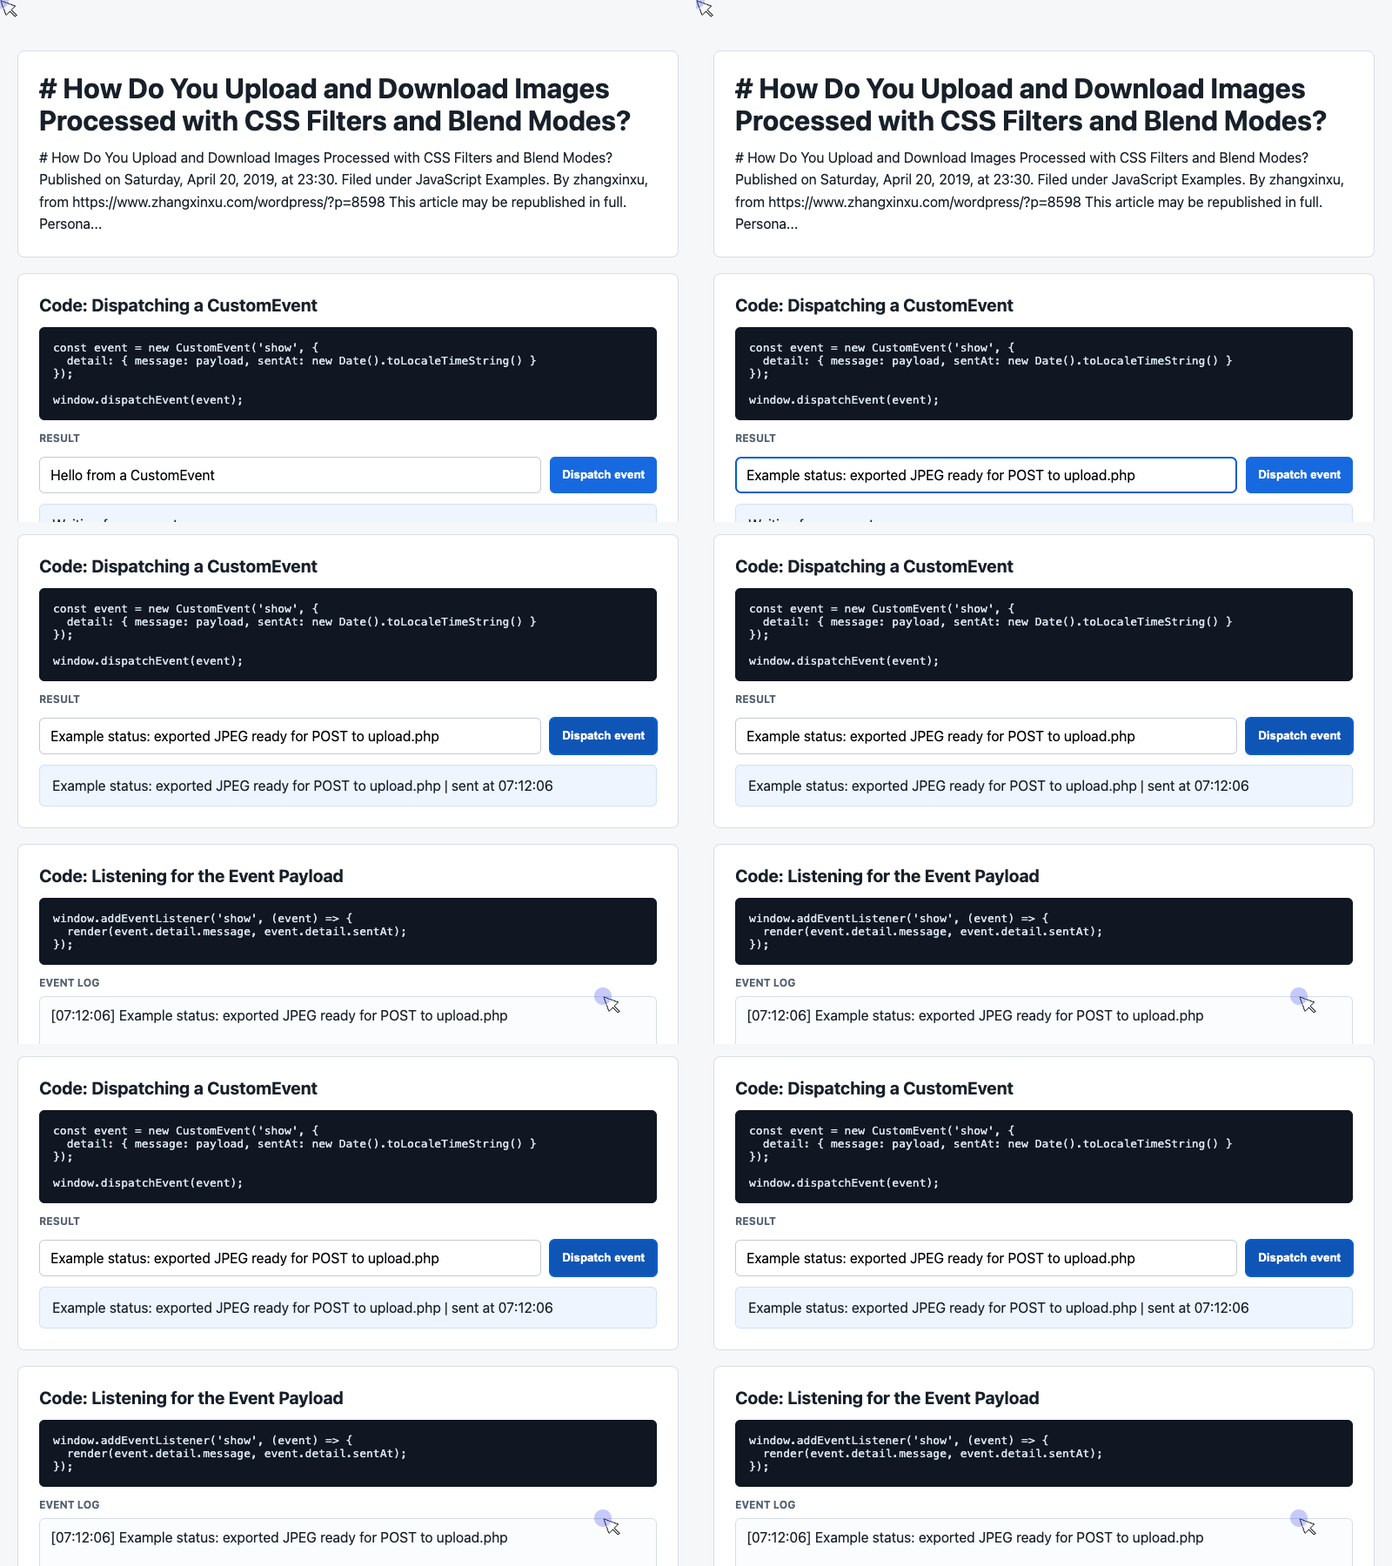
🎮 Try it live: Open the interactive demo to experience this yourself.
The request sends the newly encoded pixels. The server can store those bytes as a standalone image, with the visual effect already included.
This example logs the response; an application should check the HTTP status before reporting success. If your endpoint expects a multipart file upload, place the Blob in FormData under the field name your backend requires.
For a download, use the same Blob to create an object URL with URL.createObjectURL(blob). Assign that URL to an anchor’s href, set its download attribute to a filename, and let the user activate the link. Release the object URL when it is no longer needed.
Choose PNG when the exported composition needs transparency. JPEG is useful for photographic output with an opaque background.
Add Status Feedback with the Supplied Demo
The accompanying generated demo implements a custom-event interface. It does not contain the CSS-to-SVG converter or the Canvas export pipeline.
Its event handling is still useful as a pattern for an editor’s status display. The next two examples are extracted from that demo. They show how to publish a message and render it without coupling the button handler to the display logic.
Publish a Message from a Button Click
The demo reads a text field, attaches a timestamp, and dispatches a CustomEvent named show.
const input = document.querySelector('#payload');

document.querySelector('#dispatch').addEventListener('click', () => {
  const message = input.value.trim() || 'Default CustomEvent payload';
  const event = new CustomEvent('show', {
    detail: { message, sentAt: new Date().toLocaleTimeString() }
  });

  window.dispatchEvent(event);
});
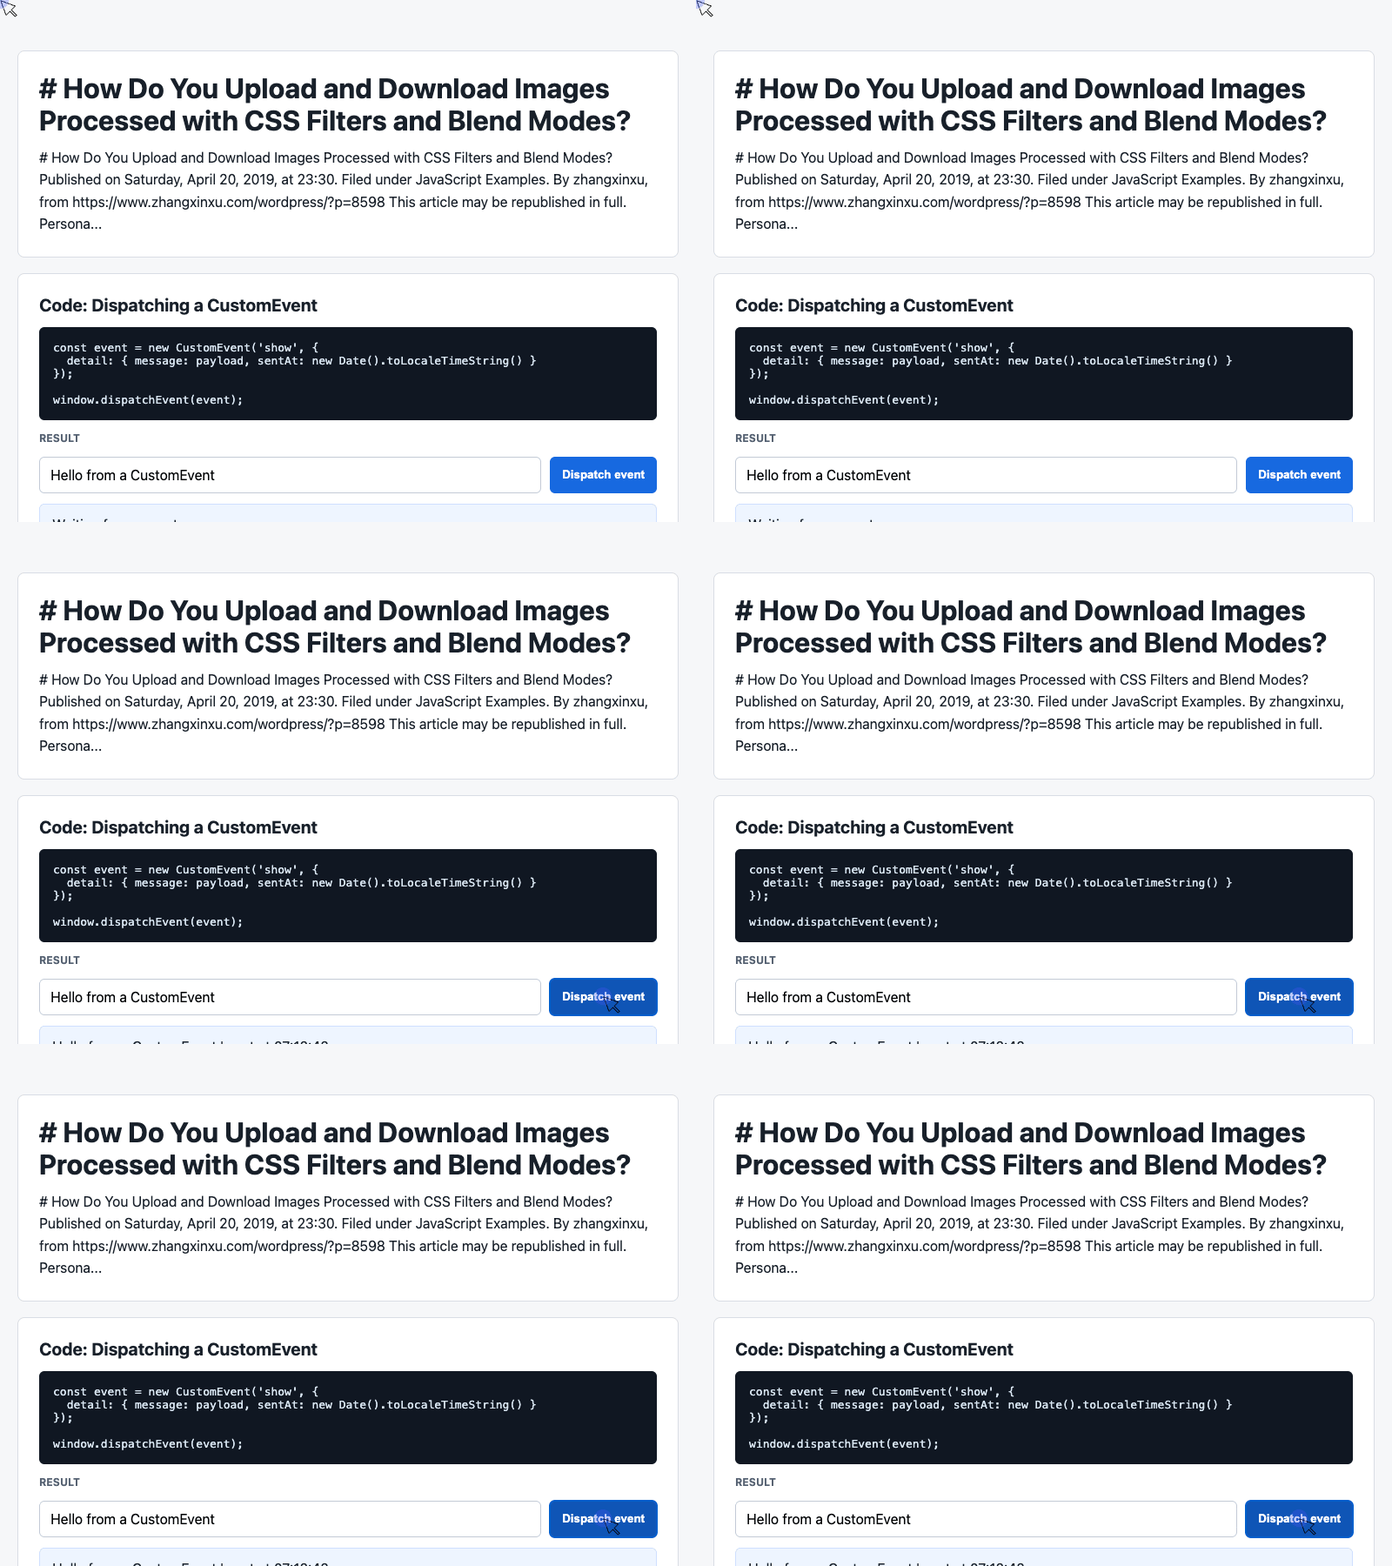
🎮 Try it live: Open the interactive demo to experience this yourself.
The detail object carries the message and timestamp to the listener. An empty input produces the fallback message.
In an image editor, this pattern could publish updates when rendering begins, when a Blob becomes available, or when an upload succeeds. Those updates must originate from the corresponding operations: dispatching an event does not itself process or upload an image.
Display the Latest Message and Recent Activity
The second excerpt receives the event, updates the status card, and displays recent messages.
const latest = document.querySelector('#latest');
const log = document.querySelector('#event-log');
const history = [];

window.addEventListener('show', (event) => {
  const detail = event.detail || {};
  latest.textContent = detail.message + ' | sent at ' + detail.sentAt;
  history.unshift('[' + detail.sentAt + '] ' + detail.message);
  log.textContent = history.slice(0, 6).join('\n');
});
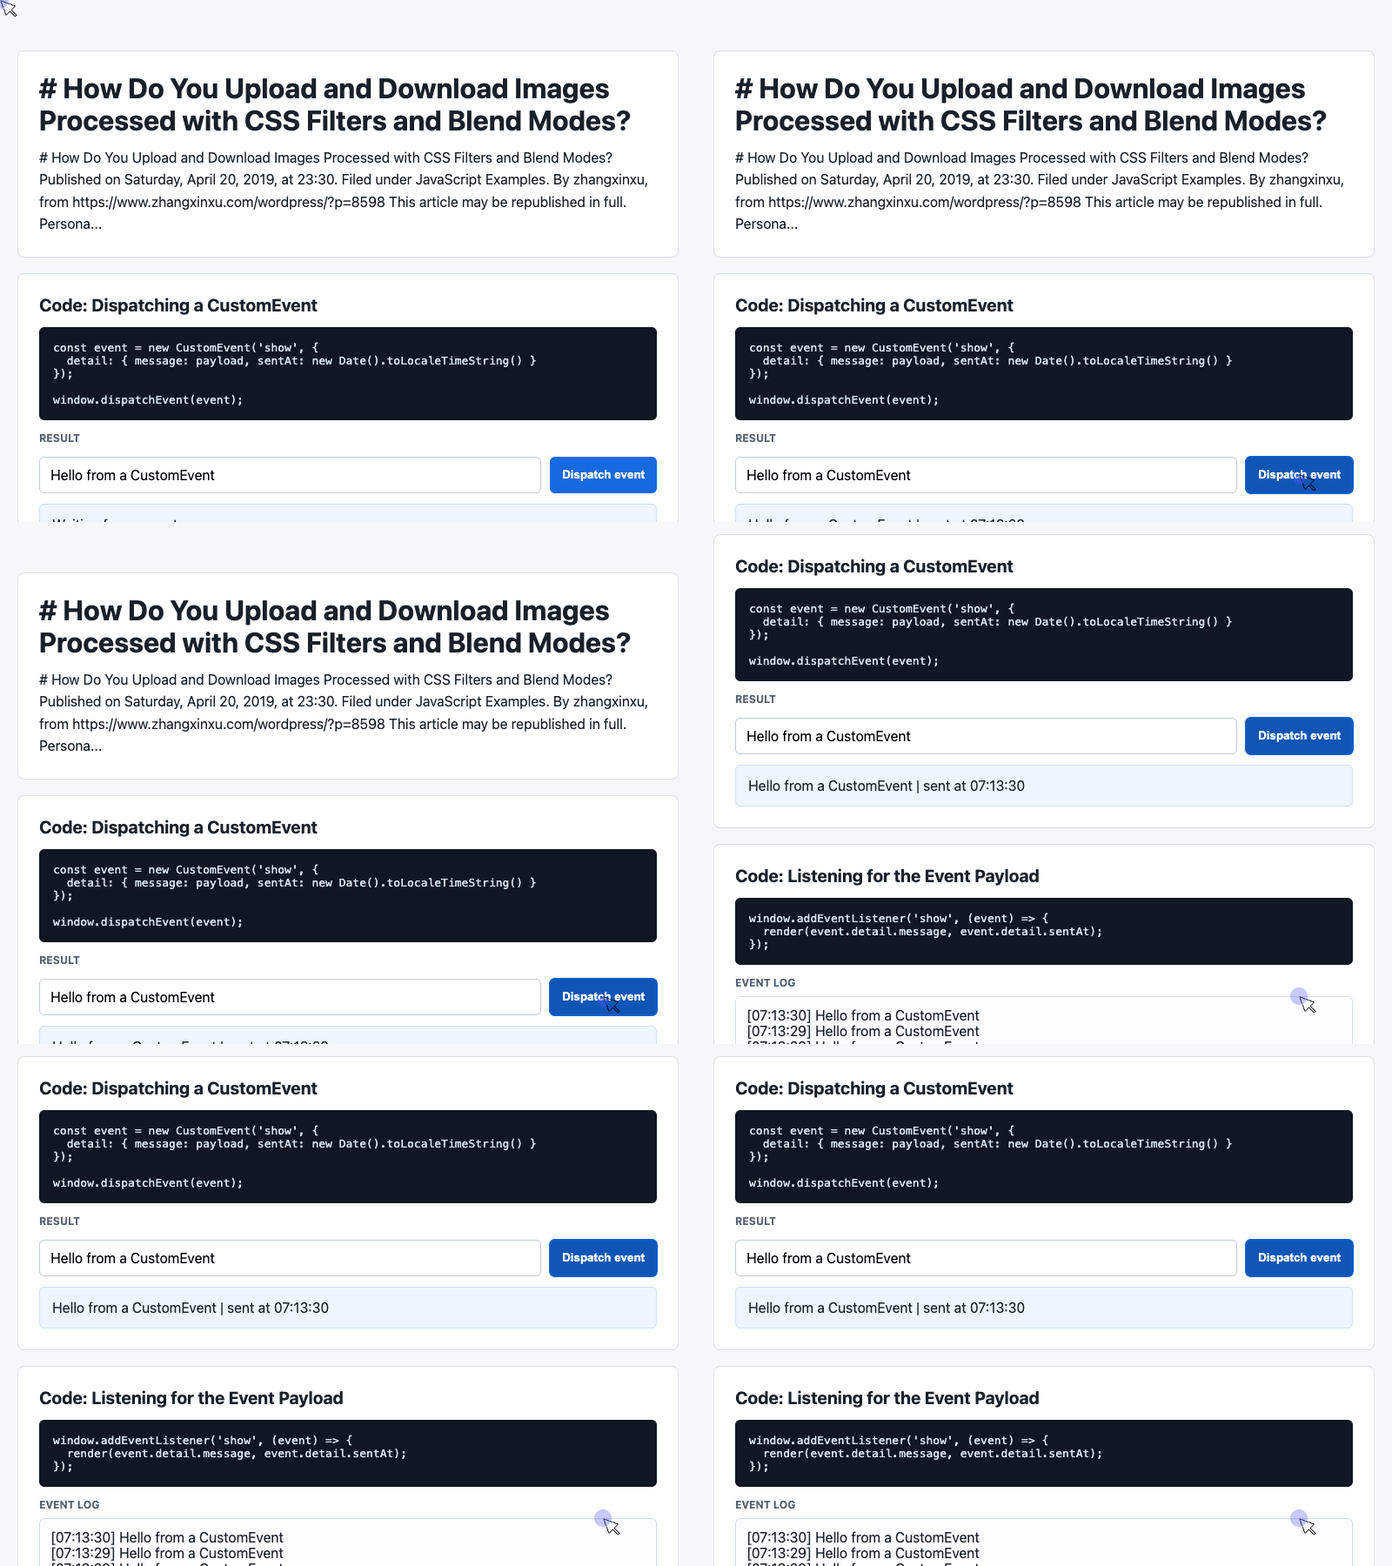
🎮 Try it live: Open the interactive demo to experience this yourself.
These snippets use the existing elements in the supplied demo and should run after those elements are available. Install the listener before interacting with the dispatch button.
Using textContent displays messages as text. The call to slice(0, 6) limits the visible log to six entries, although the array itself continues to grow.
For an image-processing interface, this gives users a simple way to understand which step has completed and where a failure occurred.
Adapt the Converter to Your Composition
The original article names its conversion helper cssRenderImage2PureImage(dom, callback). It is a custom function, not a browser API, and its implementation is absent from the supplied generated demo.
Its documented callback receives an image data URL. Integrating the technique therefore requires obtaining or implementing the converter and adapting it to your image wrapper, styles, dimensions, and overlays.
A few details determine whether the exported file matches the preview:
- Capture every visual layer. Include the image, overlay rules, pseudo-elements, and any background that participates in blending.
- Set the output dimensions deliberately. Canvas pixel dimensions determine the exported image size.
- Wait for resources to load. Draw the SVG image only after it is ready.
- Keep the canvas exportable. Cross-origin image data without the required CORS approval can taint a canvas and prevent
toBlob()ortoDataURL()from working. MDN explains canvas origin restrictions.
The original implementation targeted Chrome. Test the complete rendering and export path in the browsers your application supports, using representative images and effects.
One correction to the original discussion is also useful: html2canvas offers a foreignObjectRendering option, but it is disabled by default. <foreignObject> is an available rendering approach, rather than the universal basis of html2canvas. See the html2canvas configuration reference.
The technique illustrates why learning across related browser technologies pays off. CSS defines the appearance, SVG can carry the styled composition, and Canvas produces the image data. Understanding how those pieces connect makes a polished preview something users can actually take with them.
Original author: zhangxinxu. Original article and source. The original republication notice permits personal-site republication with author attribution, source, and links retained; commercial use requires contacting the author.
Try It Yourself
Want to see these concepts in action? I’ve created an interactive demo where you can experiment with the code and see real-time results.
Explore more demos from my previous articles in the Demo Gallery.
Happy coding!