Keep a video in view while you browse, read, or write code.
Adapted from zhangxinxu’s original article, with practical examples from the supplied companion demo.
You’re watching a tutorial, and now you need to scroll through the comments—or open your editor and try something yourself. Wouldn’t it be useful if the video could follow along?
That’s the appeal of Picture-in-Picture, usually shortened to PiP. The original article introduced it when Chrome 70 brought native support to HTML5 video. The interaction remains straightforward: move the video into a small floating window and keep watching while doing something else.
What Actually Happens in Picture-in-Picture?
Native PiP displays video in a separate window that stays above other windows. It can remain visible while you switch applications or minimize the browser. Chrome’s PiP guide explains this behavior.
The same <video> element continues to control playback. Its play, pause, and seek operations still work. A browser may replace the video’s appearance on the original page with a dimmed area or a message, but entering PiP does not inherently pause playback. Chrome’s implementation guide
The browser and operating system manage the floating window’s presentation, so its controls and placement can vary.
Start with a Practical PiP Toggle
The API’s long names make it look more complicated than it is:
video.requestPictureInPicture()requests entry.document.exitPictureInPicture()requests exit.document.pictureInPictureElementidentifies the active PiP element, or returnsnull.
Both methods return promises. Request entry from a user action, such as a button click, and handle failures. Picture-in-Picture specification
Here’s a small extension of the original article’s API examples. Assume the page contains a <video id="video"> with a valid video source, a button with id="pip-toggle", and a status element with id="pip-status".
const video = document.querySelector('#video');
const toggle = document.querySelector('#pip-toggle');
const status = document.querySelector('#pip-status');

toggle.disabled =
  !document.pictureInPictureEnabled || video.disablePictureInPicture;

toggle.addEventListener('click', async () => {
  try {
    if (document.pictureInPictureElement === video) {
      await document.exitPictureInPicture();
    } else {
      await video.requestPictureInPicture();
    }
  } catch (error) {
    status.textContent = `Picture-in-Picture failed: ${error.message}`;
  }
});
🎮 Try it live: Open the interactive demo to experience this yourself.
Clicking the button requests PiP; clicking again requests a return to the page. The support check disables the button when the feature is unavailable or disabled for that video. Requests can still fail—for example, before video metadata has loaded—so the error message matters. Chrome’s PiP guide
Let Events Keep the Interface Accurate
A user can close the floating window through its own controls. Your interface therefore needs to respond to actual PiP changes, including changes outside your button handler.
The video emits enterpictureinpicture and leavepictureinpicture. On entry, event.pictureInPictureWindow provides a PictureInPictureWindow object with width, height, and a resize event. You can also obtain that object from the entry method’s resolved promise. Picture-in-Picture specification
These events give you useful places to update a button label, display a status message, or record the floating window’s dimensions.
Where supported, the CSS pseudo-class :picture-in-picture also matches the active video element. It gives stylesheets a way to respond to that state. Picture-in-Picture specification
Explore the Event Pattern with the Companion Demo
The supplied companion demo demonstrates custom events and interface updates. It does not itself open a PiP window.
Its connection to PiP is the event-driven interaction: something happens, an event communicates it, and a listener updates the interface. In a video player, the browser emits the PiP events. In this demo, the application creates an event named show.
The following two excerpts come from the demo’s working script. They use its existing input, button, result card, and event log.
Send a Message with CustomEvent
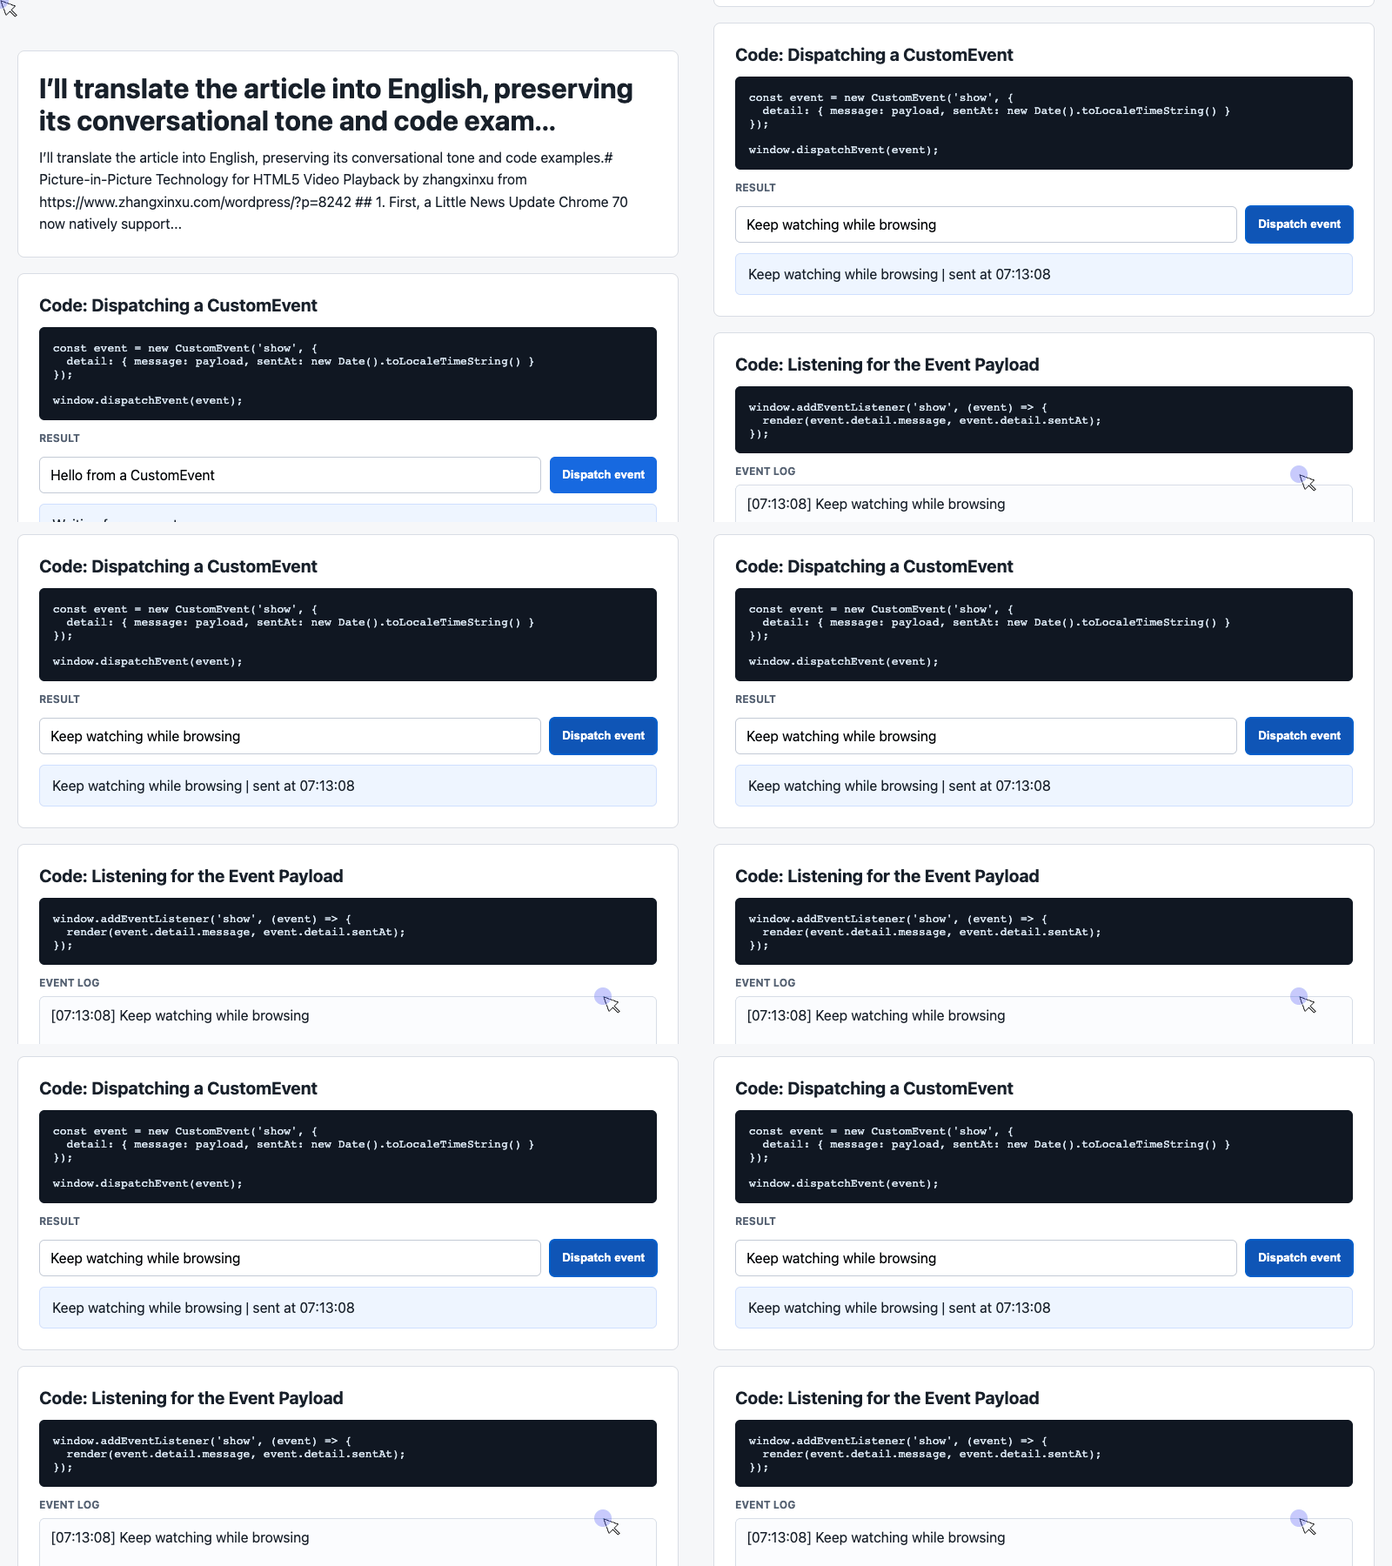
The button handler reads the input and places a message and timestamp in the event’s detail property before dispatching it on window.
const input = document.querySelector('#payload');

document.querySelector('#dispatch').addEventListener('click', () => {
  const message = input.value.trim() || 'Default CustomEvent payload';
  const event = new CustomEvent('show', {
    detail: { message, sentAt: new Date().toLocaleTimeString() }
  });

  window.dispatchEvent(event);
});
🎮 Try it live: Open the interactive demo to experience this yourself.
With the receiving listener installed, clicking Dispatch event updates the card. An empty or whitespace-only input uses the default message.
The payload travels through event.detail, the data field defined for custom events in the DOM Standard.
Receive the Payload and Render the Result
The listener handles presentation separately. It updates the latest-message card and adds a timestamped entry to the visible log.
const latest = document.querySelector('#latest');
const log = document.querySelector('#event-log');
const history = [];

window.addEventListener('show', (event) => {
  const detail = event.detail || {};

  latest.textContent = detail.message + ' | sent at ' + detail.sentAt;
  history.unshift('[' + detail.sentAt + '] ' + detail.message);
  log.textContent = history.slice(0, 6).join('\n');
});
🎮 Try it live: Open the interactive demo to experience this yourself.
unshift() puts each new message at the beginning of the history. slice(0, 6) limits the displayed log to six entries, while the array continues retaining earlier messages. Using textContent displays the messages as text.
A PiP player can follow the same approach: listen for the browser’s entry and exit events, then update the page to reflect what actually happened.
Give It a Try
Try the official Picture-in-Picture sample to experience the floating video window, then experiment with the companion demo to see how event payloads become visible interface updates.
The first satisfying result is simple: your video stays in view while your attention moves elsewhere. From there, a few event listeners can make the rest of the player feel just as natural.
Try It Yourself
Want to see these concepts in action? I’ve created an interactive demo where you can experiment with the code and see real-time results.
Explore more demos from my previous articles in the Demo Gallery.
Happy coding!