Turn an audio file into an interactive waveform—and give your interface a simple way to report what’s happening.
By zhangxinxu, adapted from the original article.
Original reproduction notice: Personal websites may reproduce the article in full without permission if they retain the author, source, and links. Any website may aggregate excerpts. For commercial use, contact the original author.
Can We Skip the Fluff?
Yes!
If you want to display an MP3 as a waveform, start with wavesurfer.js. Give it a container and an audio file, and you have the foundation of a visual audio player.
The interesting part is how little code that takes.
Meet wavesurfer.js
You can find the project on GitHub. The original article linked to wavesurfer-js.org; the current project website is wavesurfer.xyz.
The library combines waveform visualization with audio playback. Instead of building the rendering and playback interface yourself, you create an instance, load an audio resource, and connect your controls. The official documentation covers the available options and methods.
Conceptually, the workflow is straightforward: load the MP3, decode its audio data, render the waveform, and update the playback position as the audio plays.
Build Your First Waveform
You need three things: the library, a container, and an audio file.
The following example consolidates the original article’s setup and playback controls. Place zxx-comic-01.mp3 alongside your demo page, or replace its path with your own audio resource.
<script src="https://unpkg.com/wavesurfer.js"></script>

<div id="waveform" class="waveform"></div>
<button id="btnPlay" type="button">Play</button>
<button id="btnPause" type="button">Pause</button>

<script>
  var wavesurfer = WaveSurfer.create({
    container: '#waveform'
  });

  wavesurfer.load('./zxx-comic-01.mp3');

  document.querySelector('#btnPlay').addEventListener('click', function () {
    wavesurfer.play();
  });

  document.querySelector('#btnPause').addEventListener('click', function () {
    wavesurfer.pause();
  });
</script>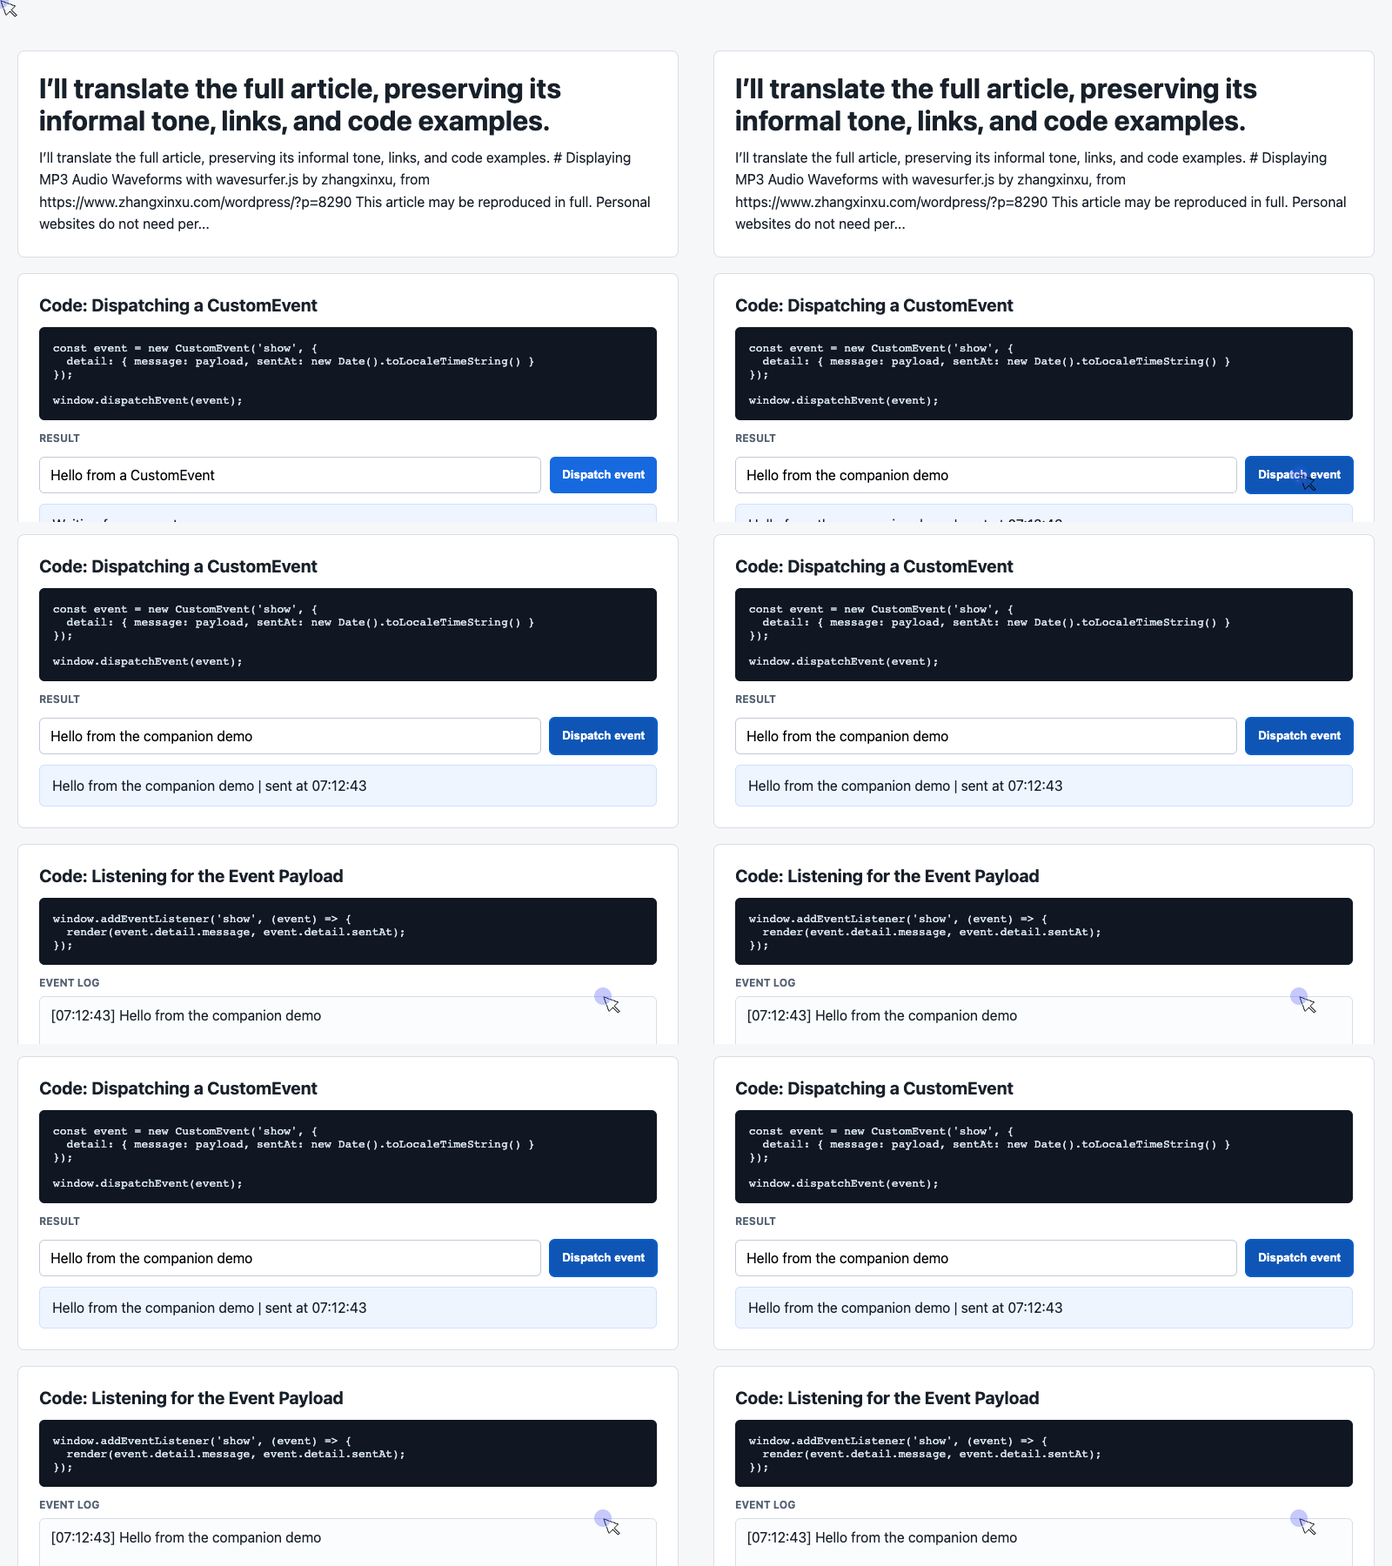
🎮 Try it live: Open the interactive demo to experience this yourself.
WaveSurfer.create() tells the library where to draw. load() supplies the audio, while play() and pause() control playback. Wait for the audio to finish loading before trying the controls.
In the original demo, a black vertical line marks the current playback position. As playback advances, the cursor moves through the waveform. Colors and appearance depend on your configuration and library version.
The original article uses an unversioned CDN URL for learning and testing. For a reproducible project, select a tested version and install it through your build system or host that version locally.
Loading Audio from Another Location
Your audio does not have to sit beside the page. A relative path such as wavesurfer.load('../audio/zxx.mp3') works for a resource served by your own application.
The original article also demonstrates a remote resource with wavesurfer.load('//image.zhangxinxu.com/audio/zxx.mp3').
There is one catch: cross-origin audio needs permission from the audio server. The server must return appropriate CORS headers so the browser can fetch the data for decoding. Changing the waveform container or adding client-side code will not solve a missing server permission. The project explains this in its CORS guidance.
And where’s the original demo? Follow the demo link in the original article and give it a good, enthusiastic click.
The recording features the author’s own voice. A rare opportunity—why not listen and find out what he said?
Give the Interface a Simple Event Channel
Demo note: The supplied generated demo contains a custom-event interface rather than a wavesurfer player. The next two examples are extracted from that demo. They demonstrate a companion UI pattern; they do not render or control audio.
Once an interface has multiple moving parts, it helps to separate the action that produces information from the component that displays it.
The supplied demo does this with a browser CustomEvent. Clicking a button sends a message and timestamp. A separate listener updates a status card and event log.
That pattern could support a status panel beside an audio player, although connecting it to wavesurfer’s events would require additional code.
Send a Message with CustomEvent
This snippet uses the supplied demo’s #payload input and #dispatch button. It reads the input, provides a fallback for an empty message, and sends the payload through the event’s detail property.
const input = document.querySelector('#payload');

document.querySelector('#dispatch').addEventListener('click', () => {
  const message = input.value.trim() || 'Default CustomEvent payload';

  const event = new CustomEvent('show', {
    detail: {
      message,
      sentAt: new Date().toLocaleTimeString()
    }
  });

  window.dispatchEvent(event);
});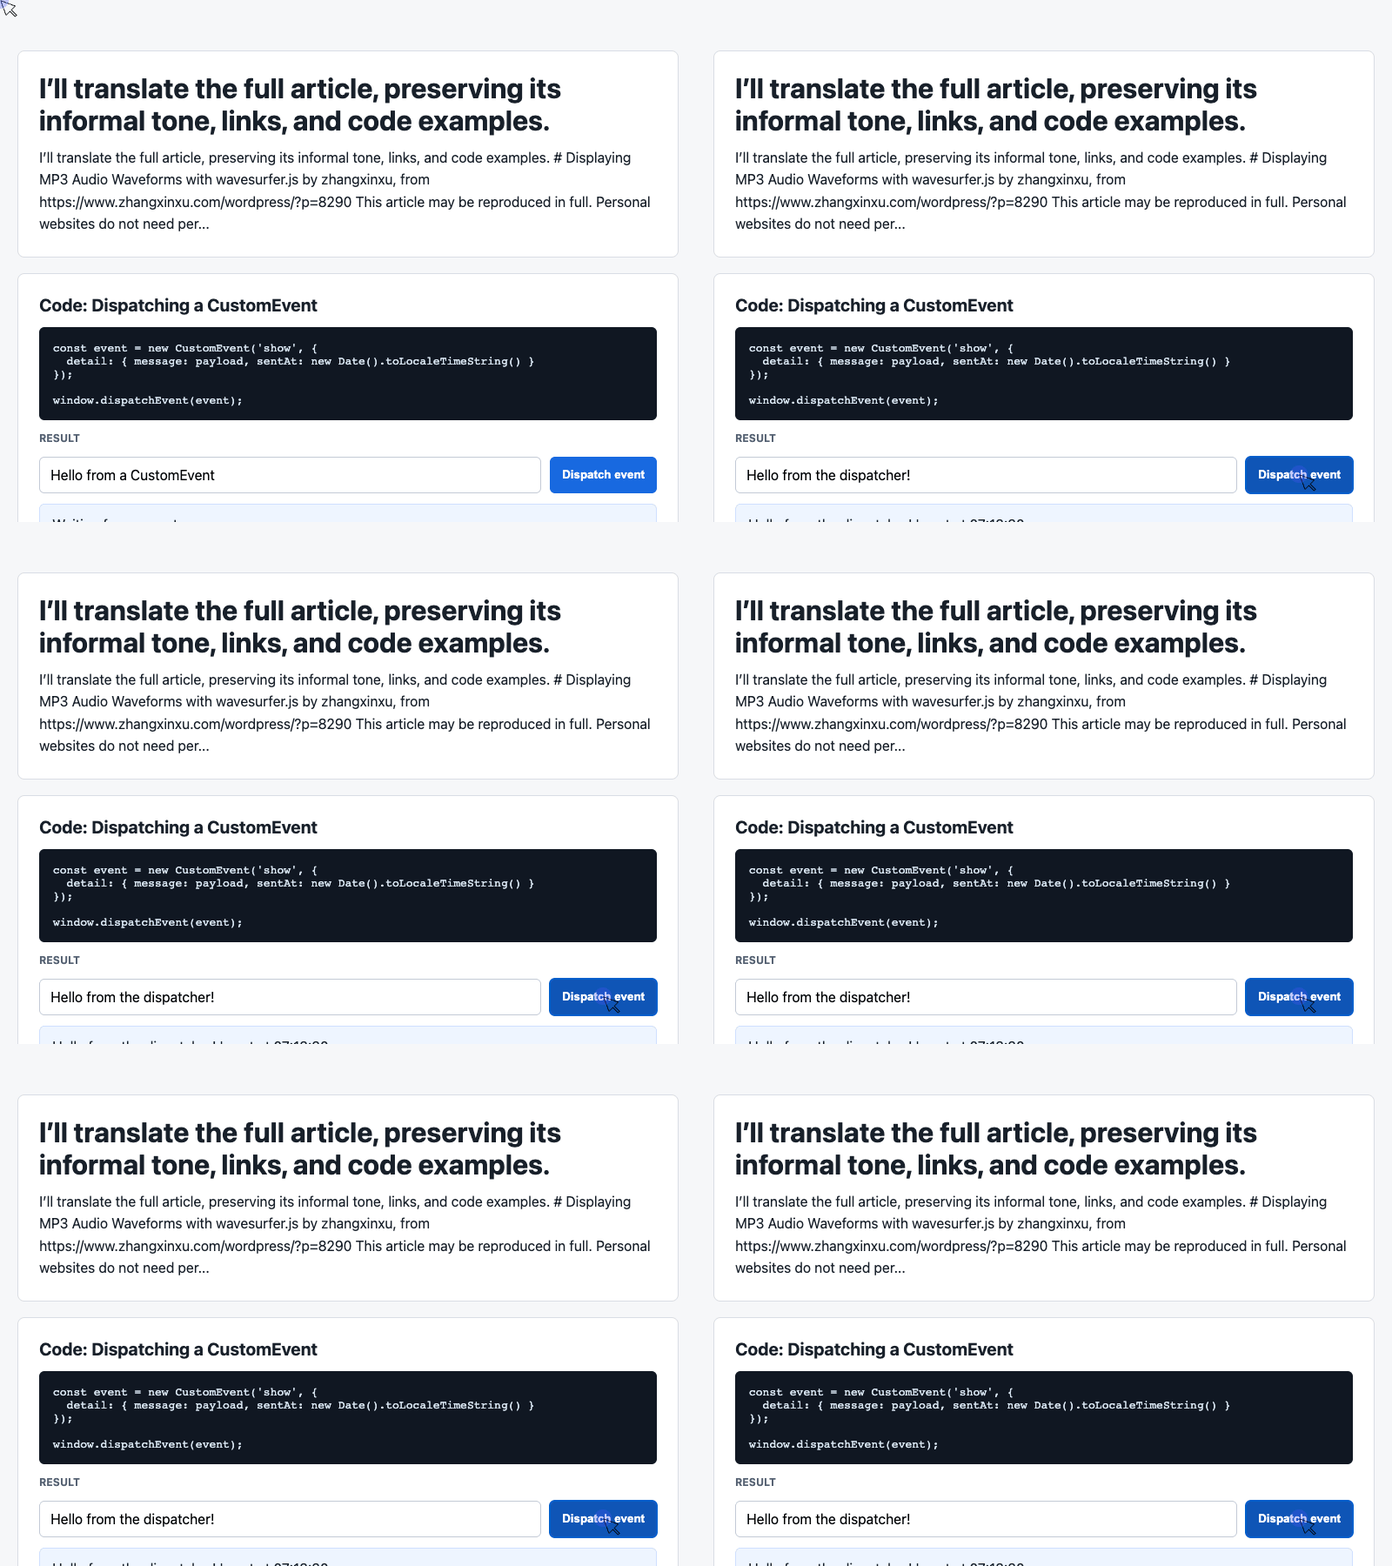
🎮 Try it live: Open the interactive demo to experience this yourself.
The dispatcher’s job ends when it sends the event. It does not need to know how the message will look or where the log lives.
In the complete supplied demo, the listener below receives the message and produces the visible result.
Receive the Event and Update the Page
The receiving side selects the status card and log, then listens for the same event name: show.
Here is the corresponding rendering logic from the supplied demo:
const latest = document.querySelector('#latest');
const log = document.querySelector('#event-log');
const history = [];

window.addEventListener('show', (event) => {
  const detail = event.detail || {};

  latest.textContent =
    detail.message + ' | sent at ' + detail.sentAt;

  history.unshift('[' + detail.sentAt + '] ' + detail.message);
  log.textContent = history.slice(0, 6).join('\n');
});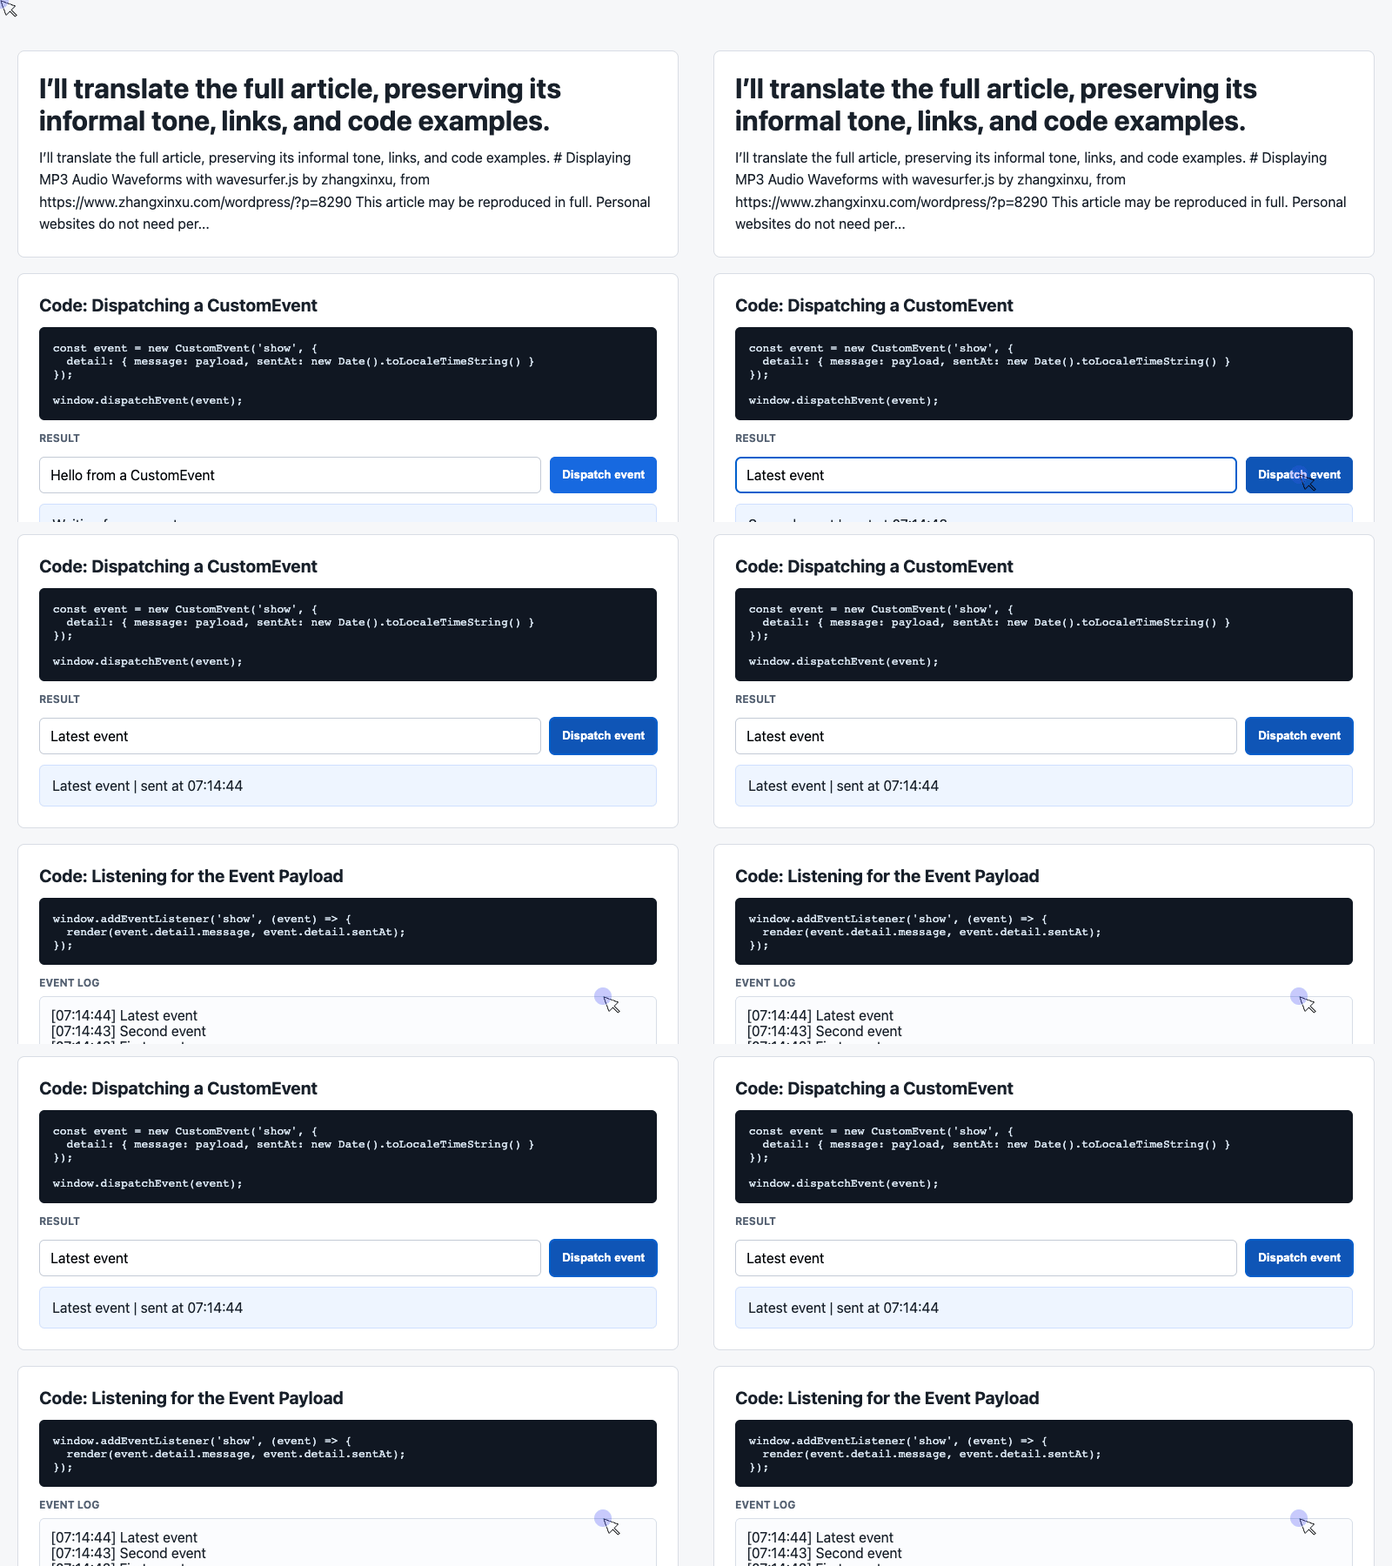
🎮 Try it live: Open the interactive demo to experience this yourself.
The status card shows the latest message. unshift() puts each new entry at the beginning of the history, and slice(0, 6) limits the display to six entries.
One small detail matters: the underlying history array still grows. The snippet limits what readers see, rather than how many entries it stores.
Using textContent also means messages appear as text instead of being interpreted as HTML.
Want More Control? There’s Plenty to Explore
The original article mentioned 35 optional parameters. Treat that as a historical count—the available API depends on the version you use.
The broader point still holds: waveform appearance, dimensions, and playback behavior are configurable. Plugins add features such as timeline labels, selectable regions, a minimap, and a spectrogram. Browse the official examples and plugin descriptions to see what fits your interface.
Start with a working waveform. Add the controls and visual details your users actually need.
No elaborate ceremony required.
A Little Closing Chatter: The Hotlinking Surprise
The original article ends with a story from the author’s own website—and it is too good to leave out.
After moving the site to a dedicated cloud server, he noticed it getting slower, even though the traffic statistics did not show much growth.
So he checked the logs.
Good grief: the log file had grown beyond 9 GB. It was too large to inspect comfortably, so he changed the setup to create a separate file each day.
Then the new log passed 10 MB surprisingly quickly.
Something was off. A few thousand weekend readers did not seem to explain that many requests.
Another look revealed the culprit: other websites were loading JavaScript directly from his server. He had published demos and plugins for people to use, but those sites had turned his hosting into their own dependency.
His response was mischievous. He modified some frequently hotlinked scripts so that, under certain conditions, they opened a new tab. The exact details stayed with him.
The lesson is practical: when your application loads someone else’s JavaScript, your visitors execute whatever that server delivers—including future changes.
For production projects, use dependencies you have selected and can manage. If you reuse a demo or plugin, bring the required files into your own deployment process instead of casually hotlinking the author’s personal website.
All right, that’s enough chatter. Load an MP3, draw its waveform, and give that Play button a click.
See you in the next article!
Try It Yourself
Want to see these concepts in action? I’ve created an interactive demo where you can experiment with the code and see real-time results.
Explore more demos from my previous articles in the Demo Gallery.
Happy coding!