
Copy an image, press Ctrl+V or Command+V, and let the browser handle the rest.
By zhangxinxu, adapted from the original article.
Original publication note: Full reproduction requires the author’s written permission and attribution. Excerpts may be shared with a link to the original.
Editor’s note: The clipboard examples below are adapted from the original article. The supplied demo demonstrates custom events and interface updates; its relevant snippets appear in the demo section.
1. Strike While the Iron Is Hot
My previous article also explored pasting from the clipboard, mainly as a way to improve the experience of entering content into input fields.
Let’s strike while the iron is hot and try another useful interaction.
Ta-da! Uploading an image simply by pasting it onto a webpage.
If you’ve pasted a screenshot into a rich-text editor, you already know how convenient this feels. No opening a file picker. No hunting through folders. Just copy, paste, and carry on.
The implementation is surprisingly small. We listen for a paste, retrieve the image as a File, and pass it to the same upload code we already use elsewhere.
2. How Do We Get an Image from the Clipboard?
During a browser-generated paste event, event.clipboardData exposes the data being pasted. We can inspect its items, look for an image, and retrieve the corresponding file. MDN: ClipboardEvent.clipboardData
The flow looks like this:
Clipboard → paste event → image file → preview and upload
Here is the extraction step, adapted from the original article. The previewAndUpload() function is defined in the next section.
document.addEventListener('paste', function (event) {
  const items = event.clipboardData?.items;
  if (!items) return;

  for (const item of items) {
    if (item.kind !== 'file' || !item.type.startsWith('image/')) {
      continue;
    }

    const file = item.getAsFile();
    if (!file) continue;

    event.preventDefault();
    previewAndUpload(file);
    break;
  }
});
We check both the item’s kind and its MIME type. An image file might have a type such as image/png or image/jpeg.
Then getAsFile() gives us a File object—or null if the item cannot be retrieved as a file. That null check keeps the handler from passing an empty value downstream. MDN: DataTransferItem.getAsFile()
This is the same kind of object you receive from a file input or a file dropped onto the page. Once we have it, the upload process is familiar territory.
This example handles the first available image. A gallery uploader could continue through the remaining items instead.
A document-level listener works well for a dedicated upload page. In an editor or a larger application, attach it to the relevant editing area so the interaction stays predictable.
3. How Do We Upload the File Object?
The usual approach is to put the file into FormData, add any other fields, and send the request.
FormData uses the same multipart format as a traditional file-upload form. You can send it through either XMLHttpRequest or fetch(). MDN: Using FormData Objects
To show the complete result without repeating the plumbing, the function below starts the preview and upload together.
Assume the page contains a preview container, <div id="preview"></div>, and a status element, <p id="upload-status" role="status"></p>. The ./upload.php endpoint must accept a multipart file upload.
function previewAndUpload(file) {
  const status = document.querySelector('#upload-status');
  const reader = new FileReader();

  reader.onload = function (event) {
    const image = new Image();
    image.alt = 'Preview of the pasted image';
    image.src = event.target.result;
    document.querySelector('#preview').replaceChildren(image);
  };
  reader.readAsDataURL(file);

  const formData = new FormData();
  formData.append('file', file);
  formData.append('userid', 1); // Example metadata

  const xhr = new XMLHttpRequest();
  xhr.onload = function () {
    status.textContent = xhr.status >= 200 && xhr.status < 300
      ? 'Upload complete.'
      : 'Upload failed: HTTP ' + xhr.status;
  };
  xhr.onerror = function () {
    status.textContent = 'Upload failed: network error.';
  };

  status.textContent = 'Uploading…';
  xhr.open('POST', './upload.php', true);
  xhr.send(formData);
}
🎮 Try it live: Open the interactive demo to experience this yourself.
The file goes into the file field, while userid illustrates how to include additional metadata. Meanwhile, the browser reads the same file for the local preview.
Notice that the load handler checks the HTTP status. A completed request can still have an error response.
Also, let the browser set the multipart Content-Type header. It needs to include the boundary that separates the form fields. MDN: Sending files using FormData
What about sending the file directly?
If the endpoint expects only the image bytes, we can send the file as the request body with xhr.send(file) instead.
On a PHP backend, file_get_contents('php://input') can read that raw body.
That is a different request format from a multipart upload. The backend must be designed for whichever format we choose.
4. What If I Want to Preview the Clipboard Image?
That’s easy too.
The preview portion of the previous example uses FileReader.readAsDataURL(file). Once reading finishes, the result is a data URL containing the image’s Base64-encoded contents. Assign that URL to an image element’s src, and the browser can display it. MDN: FileReader.readAsDataURL()
The preview happens locally. It doesn’t need to wait for the server.
That distinction matters: seeing the image is confirmation that the browser read it, not confirmation that the upload succeeded. A separate status message tells the user what happened to the request.
If your interface requires approval before uploading, use the same preview step first and start the request only when the user clicks an upload button.
5. The Demo: Copy, Paste, Preview, Upload
The original article’s upload demonstration follows three simple steps.
- Copy an image. Right-click a sample image and choose “Copy Image,” or use a screenshot tool that copies image data to the clipboard.
- Focus the page and paste. Press Ctrl+V on Windows or Command+V on macOS.
- Preview and upload. The paste handler retrieves the image, renders a local preview, and starts the request.
The original demo saved uploads using the clipboard’s default filename. If multiple people uploaded images with the same name, one could overwrite another.
In a real application, generate unique storage names on the server.
A useful pattern from the supplied demo: dispatch an event
The supplied HTML demo illustrates a related building block: one part of the interface dispatches an event, and another part responds.
It does not read the clipboard or upload images. Its working JavaScript is still useful for understanding how to connect interface components.
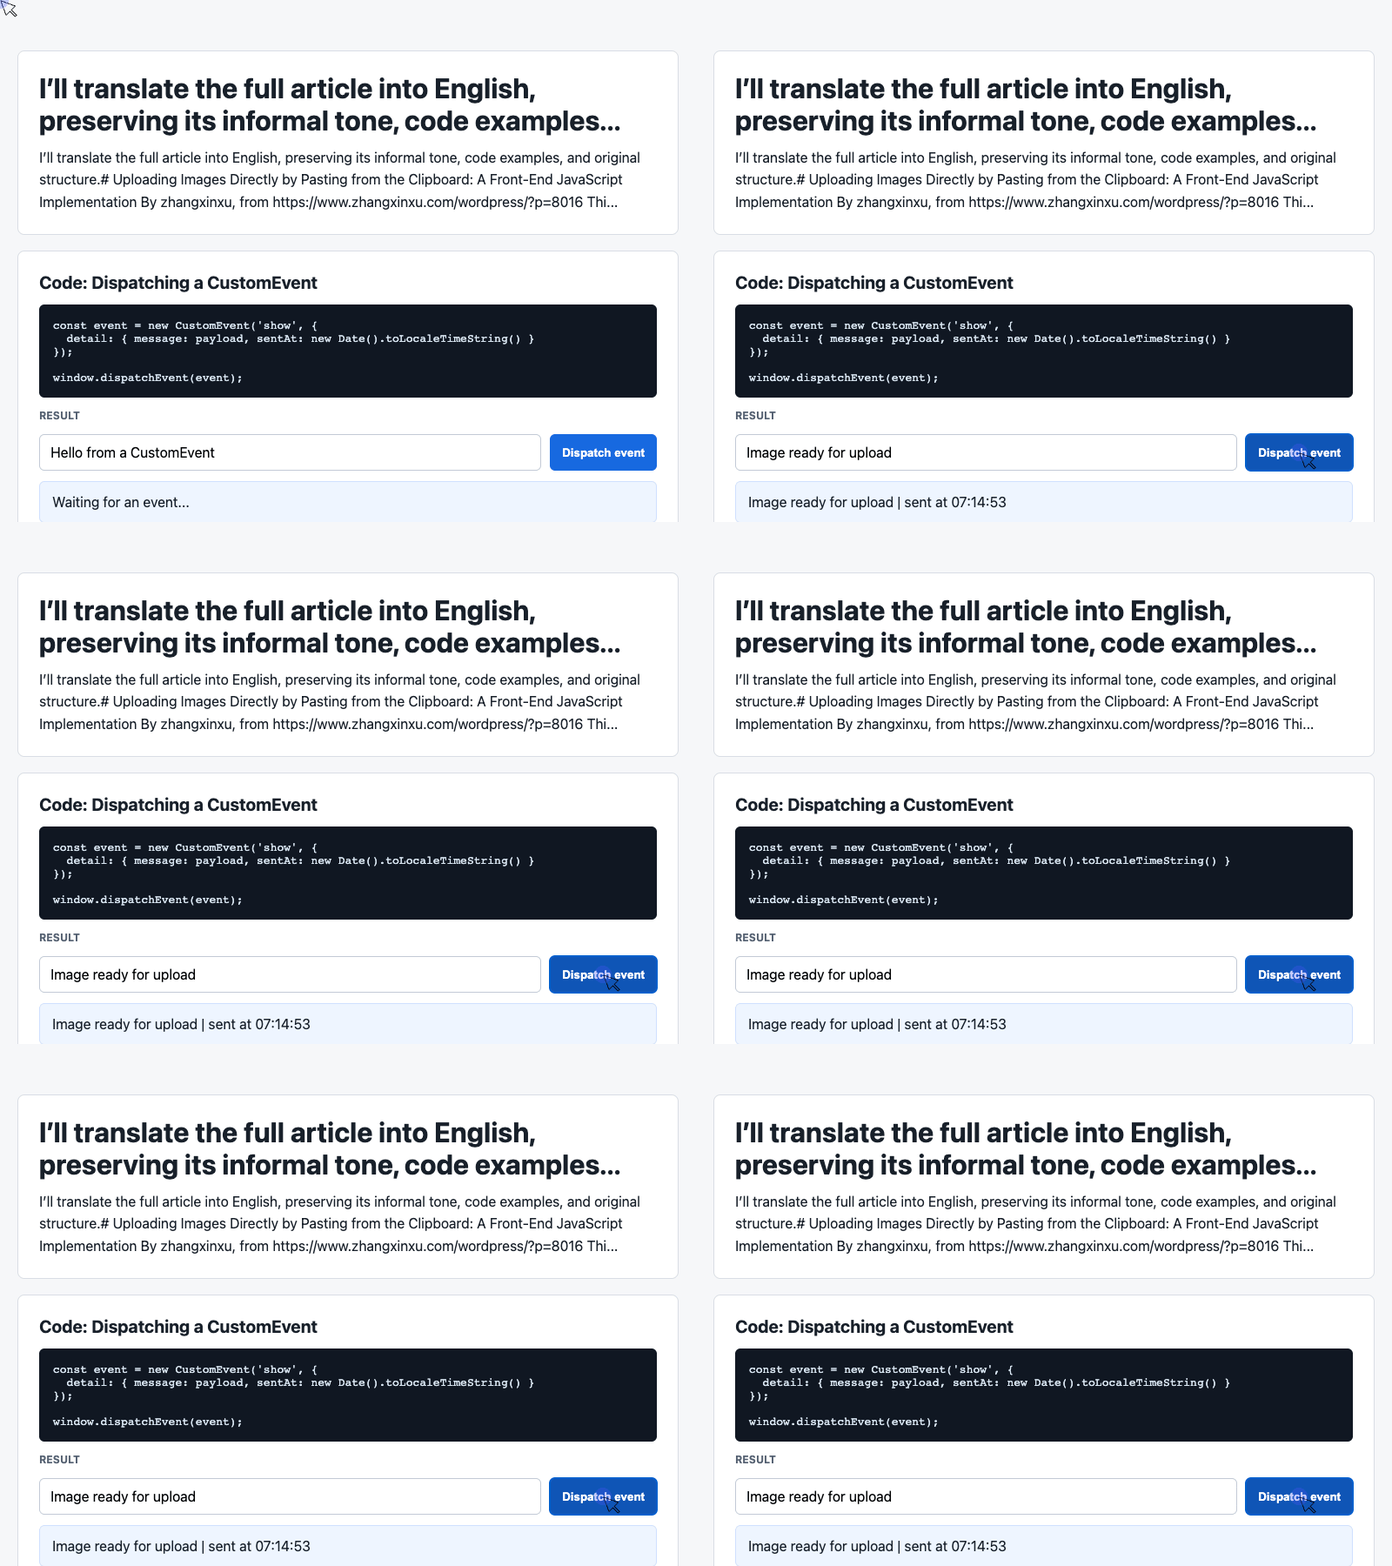
The following excerpt reads the input and dispatches a show event carrying a message and timestamp. These snippets assume the supplied demo’s HTML is present.
const input = document.querySelector('#payload');

document.querySelector('#dispatch').addEventListener('click', () => {
  const message = input.value.trim() || 'Default CustomEvent payload';
  const event = new CustomEvent('show', {
    detail: { message, sentAt: new Date().toLocaleTimeString() }
  });

  window.dispatchEvent(event);
});
🎮 Try it live: Open the interactive demo to experience this yourself.
The custom data lives in detail. A listener can retrieve it through event.detail. MDN: CustomEvent.detail
With the next listener registered, clicking the button updates the interface. In an uploader, the same pattern could carry an upload status or an image file between components. Dispatching the event itself performs no network request.
Receive the event and update the interface
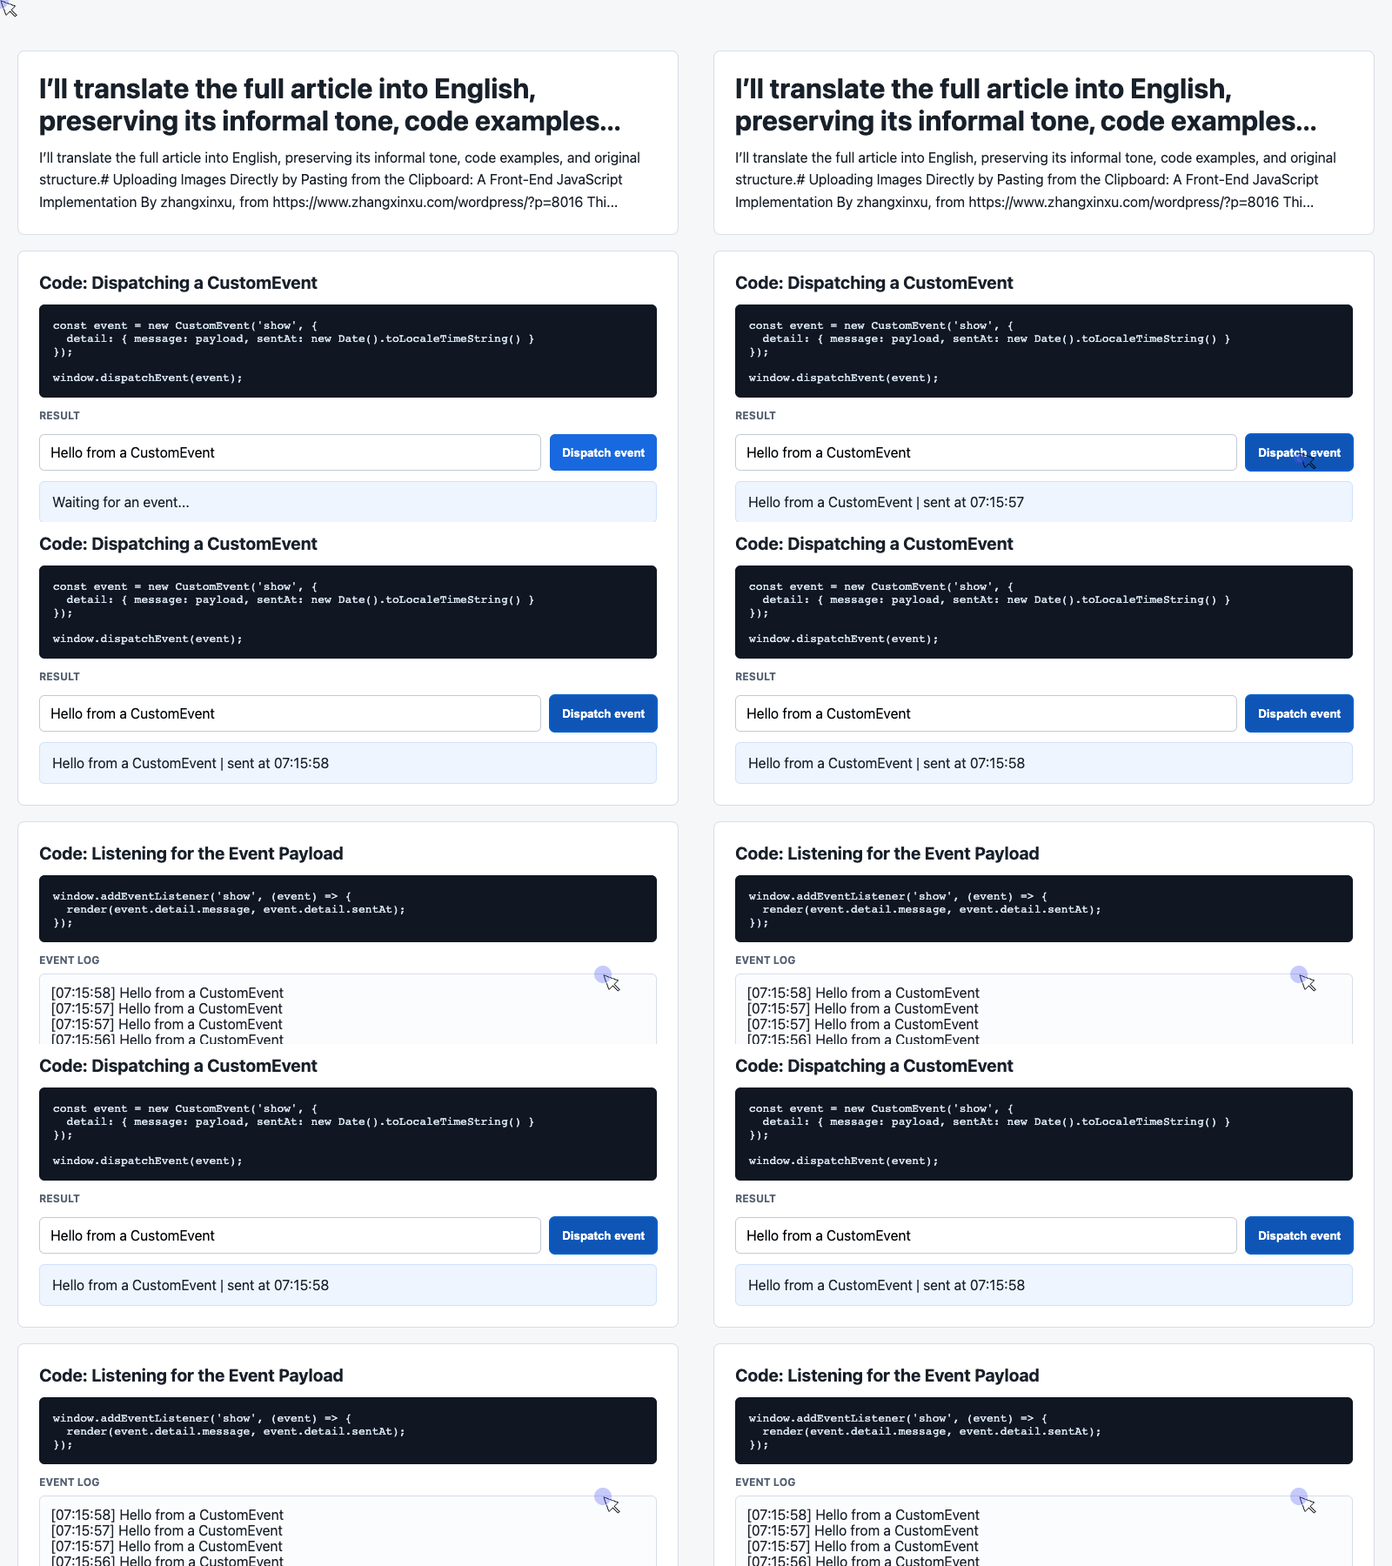
Here is the actual listener from the supplied demo, together with the elements and history array it uses.
const latest = document.querySelector('#latest');
const log = document.querySelector('#event-log');
const history = [];

window.addEventListener('show', (event) => {
  const detail = event.detail || {};
  latest.textContent = detail.message + ' | sent at ' + detail.sentAt;
  history.unshift('[' + detail.sentAt + '] ' + detail.message);
  log.textContent = history.slice(0, 6).join('\n');
});
🎮 Try it live: Open the interactive demo to experience this yourself.
The listener updates the latest-message card, adds the new entry to the beginning of the history, and displays up to six entries.
It uses textContent because these values are text. The browser displays them without interpreting them as HTML.
For a small paste uploader, calling a function directly is perfectly reasonable. Custom events become useful when several components need to react to the same change.
The important limitation: what exactly did you copy?
This feature needs an image that the browser exposes as a file during the paste event.
Screenshot tools and a webpage’s “Copy Image” command are common ways to supply that image data.
Copying an image file in an operating-system folder is a different action. The clipboard may contain a file reference rather than the image representation this handler expects. The outcome depends on the operating system, browser, and source application.
In my original testing, copying an image file from a folder didn’t work—whether I used the context menu or Ctrl+C.
That felt confusing. Copying text was straightforward, so why not an image file?
I even looked for a small utility offering something like “Right-click → Copy Image to Clipboard” to make life easier for our backend editors, but had no luck. If you know a good one, please let me know.
For images already stored on a computer, dragging them onto the page or selecting several through a file picker remains a convenient option.
6. Compatibility and Progressive Enhancement
In the original article, I tested Chrome and Firefox successfully. I hadn’t tested Safari, and Internet Explorer was a problem.
Those were the results of that testing at the time. Today, clipboardData and getAsFile() are widely available browser features, but the image formats exposed during a paste still deserve testing in the environments your users actually use. MDN: clipboardData compatibility, MDN: getAsFile() compatibility
The larger design principle remains the same: clipboard uploading is a progressive enhancement.
Think of the options this way:
- File selection is essential. Users need a dependable way to choose images.
- Drag and drop adds convenience. It works naturally for files already on the computer.
- Paste to upload is the VIP service. A little icing on the cake for screenshots and copied images.
All three methods can feed the same upload function. We’re adding another way to obtain a File, while reusing the preview, request, and response-handling code.
That’s a good return for a small amount of JavaScript.
Rich-text editors are a natural home for this interaction. In the original article, Zhihu’s article editor was one example: copy an image, paste it into the editor, and the upload begins.
It looks pretty fancy. But after seeing the implementation, doesn’t it seem surprisingly simple?
Sometimes, a good user experience needs only one small technical tip.
7. Closing Remarks
I used to use photos of Zhang Hanyun in my image examples. I figured that using them on a little site like mine probably wouldn’t cause much trouble.
The boss at home was more cautious. She kept worrying that if Zhang Hanyun sued me over the images, we couldn’t afford the damages even if we sold our house.
The boss and I have always been fair and impartial when making decisions: when we agree, we do it my way; when we disagree, we do it the boss’s way.
So this time, I listened to the boss and took down all the Zhang Hanyun photos.
That meant going through hundreds of articles, one by one, replacing the images. Many required fresh screenshots. It took several weeks of spare time.
The replacement pictures featured a fellow named Wu Banquan—a play on “no copyright.”
I used his pictures for a while, but the response was lukewarm. Actually, scratch that: there was no response whatsoever.
I thought it over. Perhaps he looked a little too old and mature. And what was with those pretentious shades?
Clearly, I needed another change.
So along came a young lady. Ta-da!
Her name is Chen Chenling, and her usual nickname is CC0.
What do you think? Doesn’t she make your heart skip a beat?
(The End)
Try It Yourself
Want to see these concepts in action? I’ve created an interactive demo where you can experiment with the code and see real-time results.
Explore more demos from my previous articles in the Demo Gallery.
Happy coding!