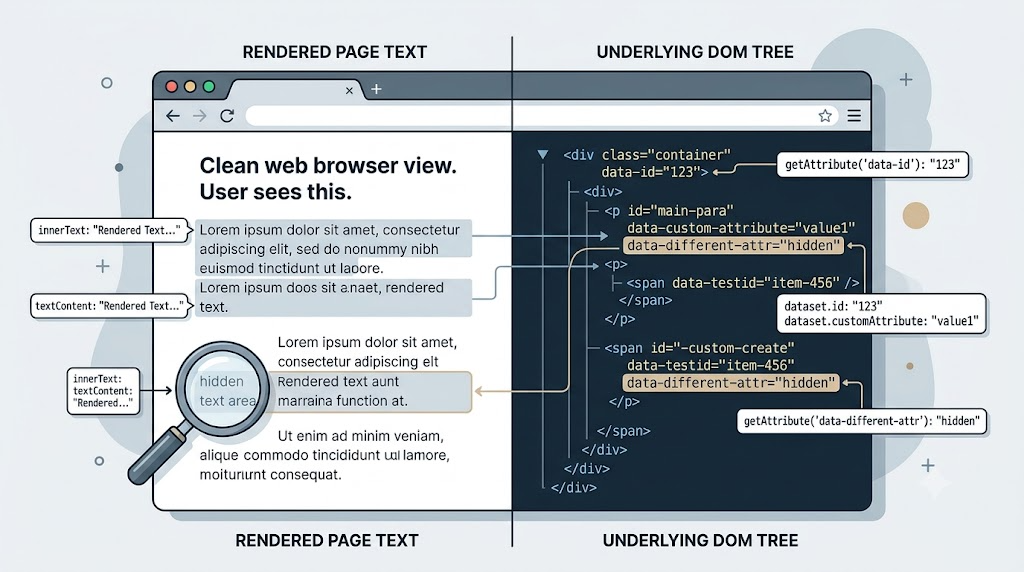
JavaScript’s DOM APIs often look interchangeable. In many cases, two methods can produce the same visible result, which makes it tempting to treat them as stylistic alternatives.
But DOM APIs usually carry small behavioral differences: some normalize names, some care about CSS visibility, some accept strings, and some can throw errors when given unexpected input.
This article walks through a few common examples where two APIs appear to overlap, but behave differently in real-world code.
Note: This article focuses on behavior, not browser compatibility.
1. innerText vs. textContent
Both innerText and textContent can read text from an element, but they do not read the DOM in the same way.
A rough summary:
innerTextreflects rendered text.textContentreflects text nodes in the DOM.innerTextskips hidden text.innerTextis usually slower because it depends on layout and rendered visibility.
Here is the core idea from the demo:
const box = document.getElementById('text-sample');

document.getElementById('innerText-output').textContent = box.innerText;
document.getElementById('textContent-output').textContent = box.textContent;
In the demo, the sample element contains visible text, a hidden <span>, and a paragraph. innerText reads what users can see. textContent reads the underlying text content, including hidden nodes.
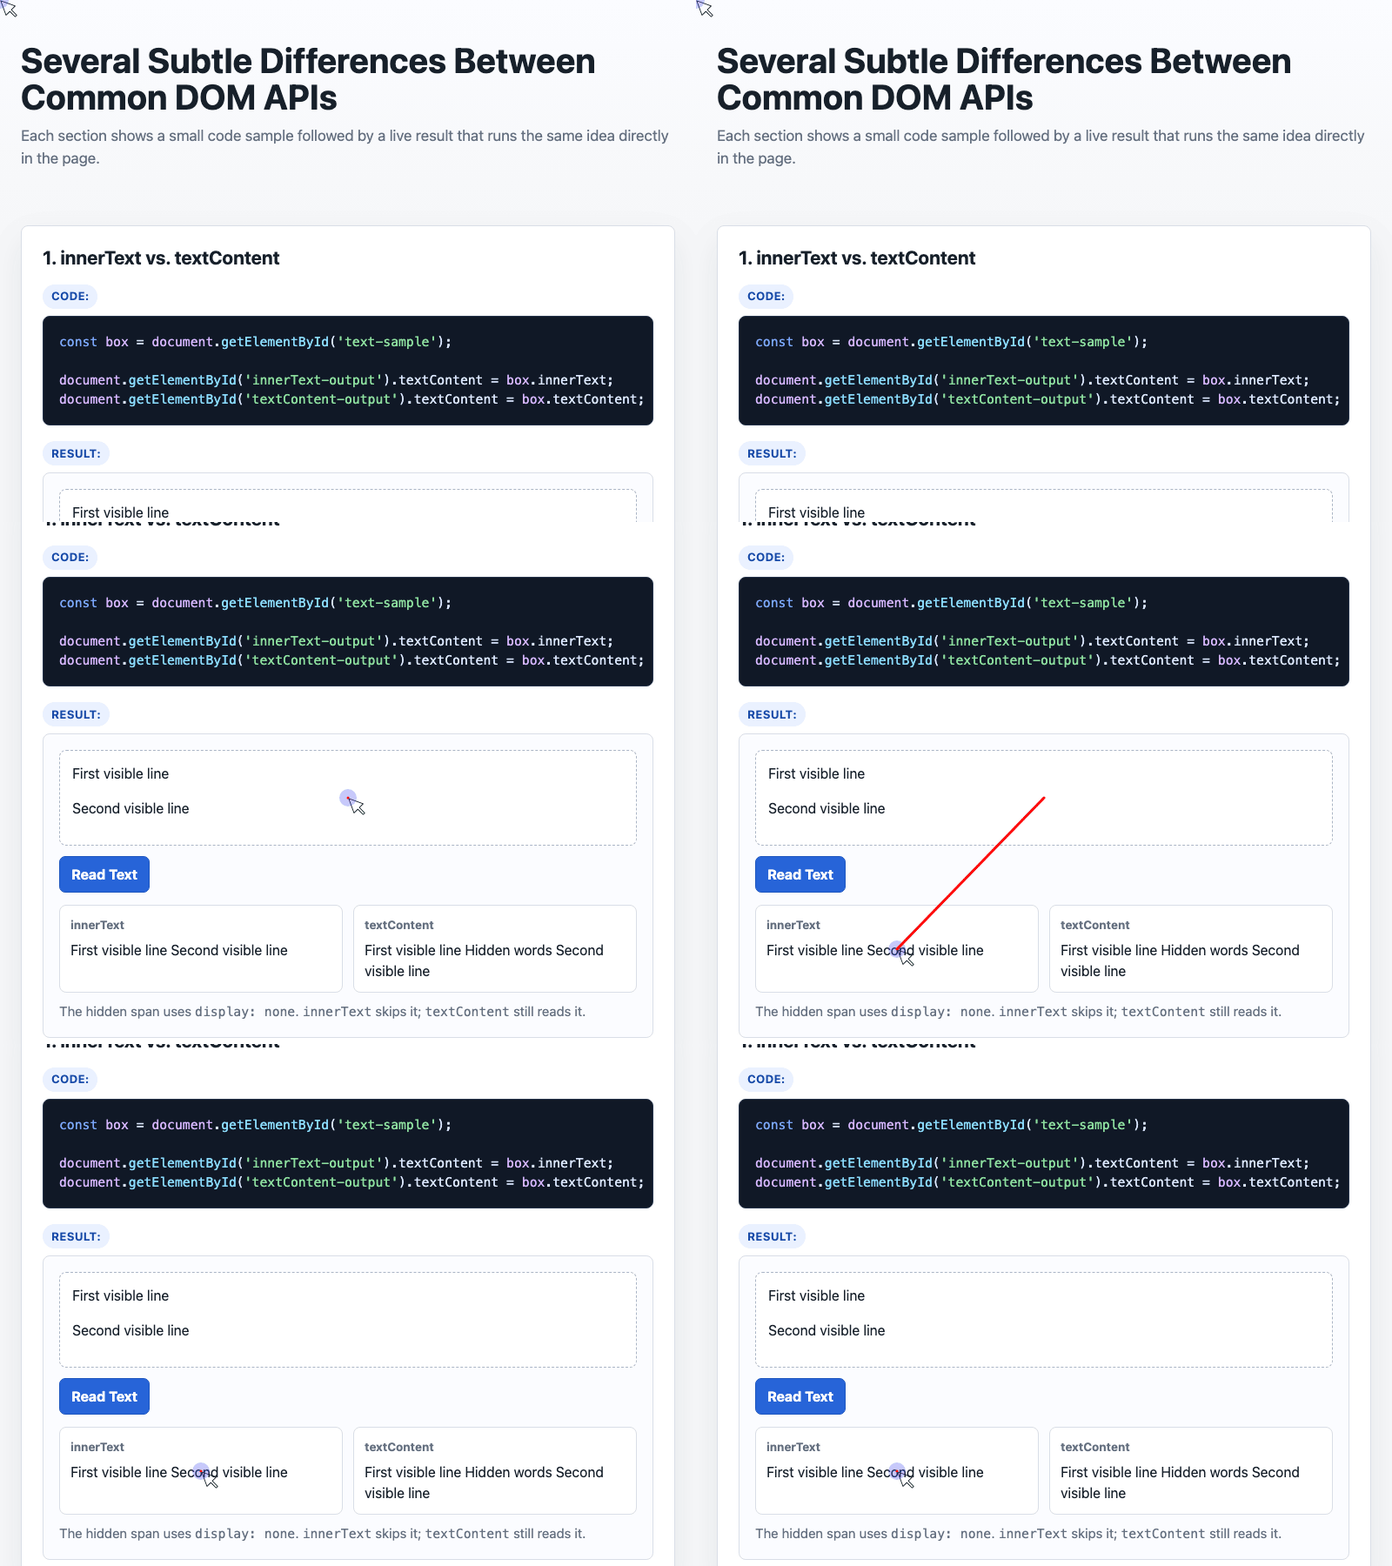
🎮 Try it live: Open the interactive demo to experience this yourself.
Use innerText when you care about what is visually presented to the user. Use textContent when you care about the DOM’s raw textual content.
2. getAttribute() vs. dataset
For data-* attributes, both getAttribute() and dataset can retrieve custom data from an element.
Given this button:
<button id="dataset-button" data-AUTHOR="zhangxinxu" data-article-author="zhangxinxu">
  Who is the author?
</button>
The demo compares several access patterns:
const button = document.getElementById('dataset-button');

const result = [
  `button.getAttribute('DATA-author'): ${button.getAttribute('DATA-author')}`,
  `button.dataset.AUTHOR: ${button.dataset.AUTHOR}`,
  `button.dataset.author: ${button.dataset.author}`,
  `button.getAttribute('data-article-author'): ${button.getAttribute('data-article-author')}`,
  `button.dataset.articleAuthor: ${button.dataset.articleAuthor}`,
  `button.dataset['article-author']: ${button.dataset['article-author']}`
].join('\n');

document.getElementById('dataset-output').textContent = result;
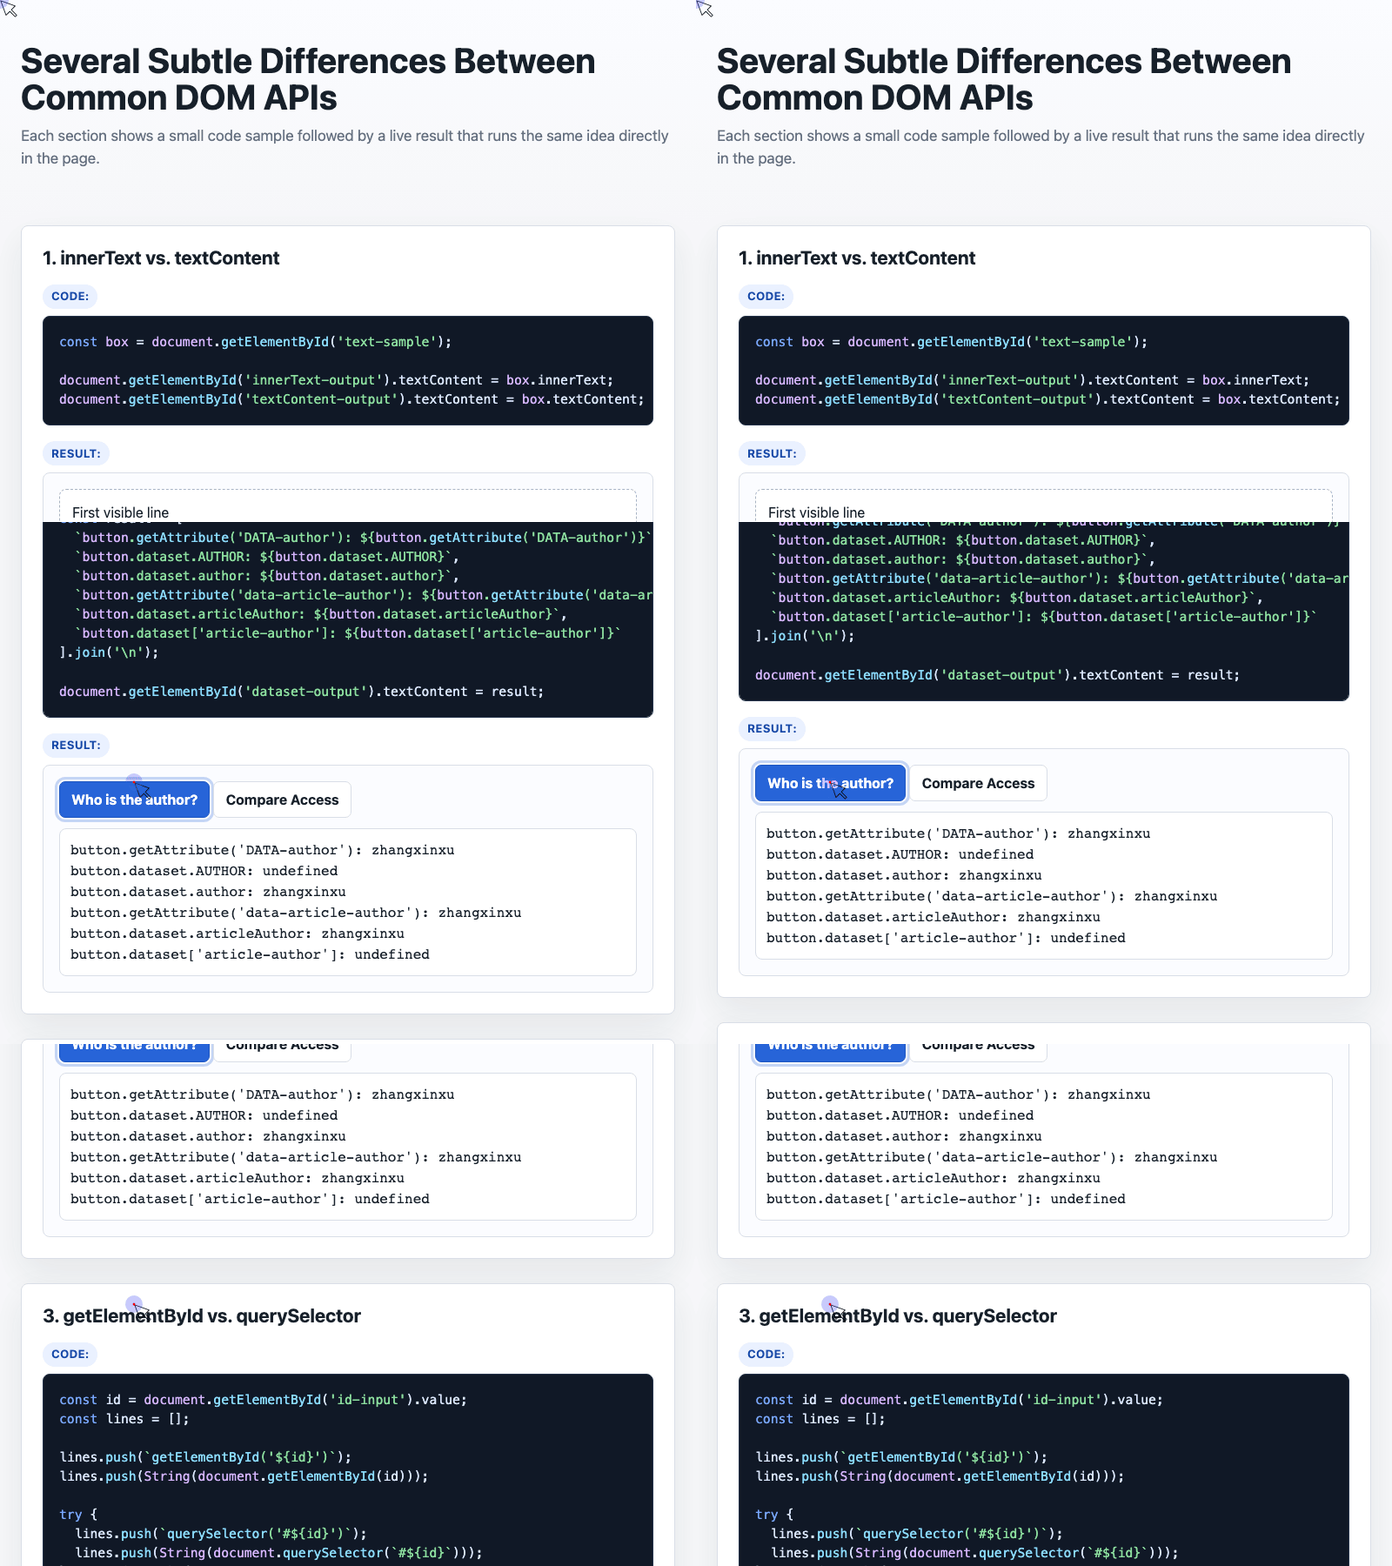
🎮 Try it live: Open the interactive demo to experience this yourself.
The subtle difference is naming.
getAttribute() works with the actual attribute name and is forgiving about case in HTML documents. dataset, however, exposes data-* attributes as JavaScript properties. That means names are normalized.
So:
button.getAttribute('data-article-author');
button.dataset.articleAuthor;
Both work.
But this does not:
button.dataset['article-author'];
The reason is that dataset converts data-article-author into the camelCase property articleAuthor.
Use getAttribute() when you want to read the literal attribute name. Use dataset when you are intentionally working with HTML custom data attributes as JavaScript properties.
3. getElementById() vs. querySelector()
When selecting by ID, these two calls often return the same element:
document.getElementById('thanksForShare');
document.querySelector('#thanksForShare');
That can make them seem equivalent. But they are not equally tolerant of unexpected input.
The demo makes the difference visible by testing an ID string that contains selector syntax:
const id = document.getElementById('id-input').value;
const lines = [];

lines.push(`getElementById('${id}')`);
lines.push(String(document.getElementById(id)));

try {
  lines.push(`querySelector('#${id}')`);
  lines.push(String(document.querySelector(`#${id}`)));
} catch (error) {
  lines.push(error.name + ': ' + error.message);
}

document.getElementById('selector-output').textContent = lines.join('\n');
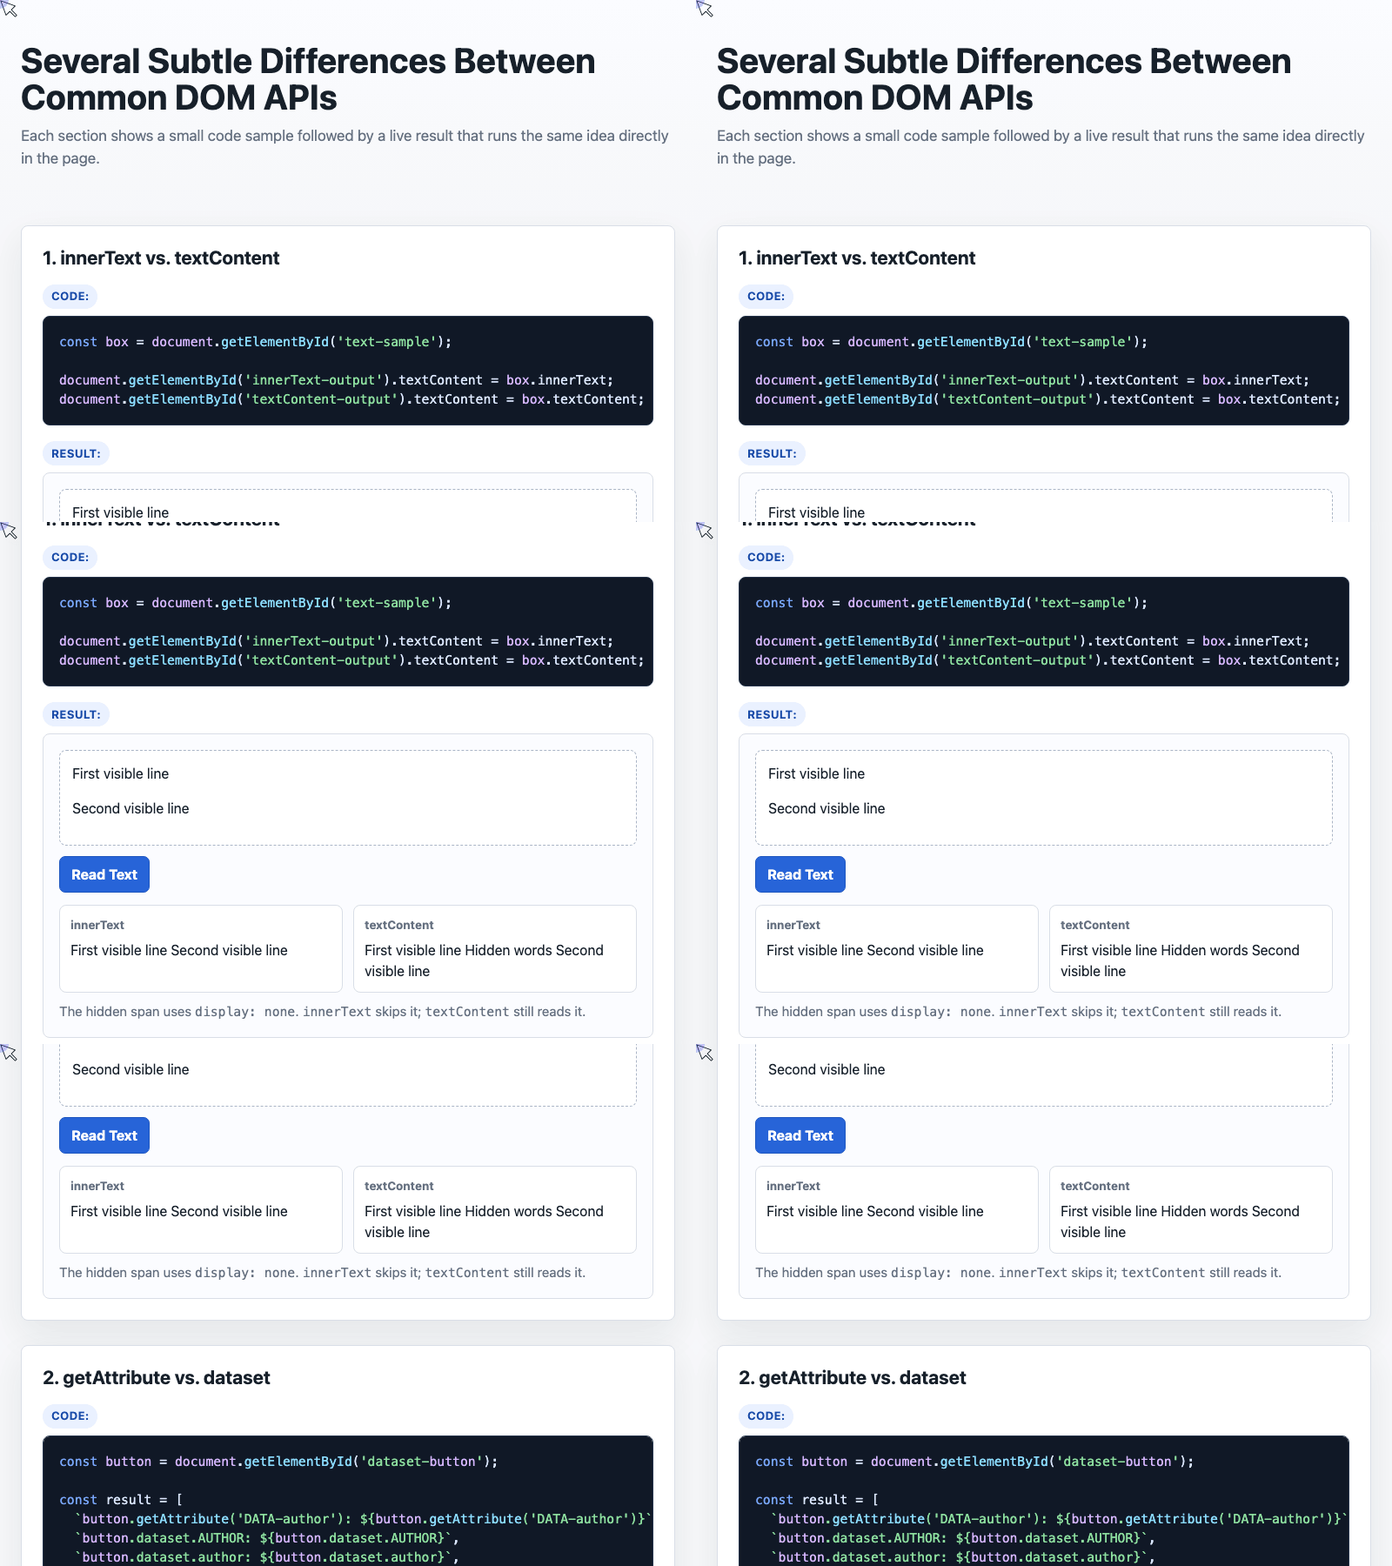
🎮 Try it live: Open the interactive demo to experience this yourself.
If the ID is thanksForShare!, then:
document.getElementById('thanksForShare!');
safely returns null.
But:
document.querySelector('#thanksForShare!');
throws a selector parsing error, because #thanksForShare! is not a valid CSS selector.
That distinction matters when the value comes from outside your control: user input, backend data, generated IDs, or configuration.
If you already have an ID string, prefer getElementById(). Use querySelector() when you actually need CSS selector power.
4. append() vs. appendChild()
Both append() and appendChild() can add nodes to the DOM. The difference is what they accept.
appendChild() accepts one Node.
append() accepts multiple items, and those items can be either nodes or strings.
The demo shows this directly:
const stage = document.getElementById('append-stage');
stage.textContent = '';

const node1 = document.createElement('span');
node1.className = 'chip';
node1.textContent = 'node 1';

const node2 = document.createElement('span');
node2.className = 'chip';
node2.textContent = 'node 2';

stage.append(node1, ' plain string ', node2);

try {
  stage.appendChild(' plain string ');
} catch (error) {
  document.getElementById('append-output').textContent =
    `appendChild(' plain string ') -> ${error.name}`;
}
With append(), the string becomes a text node and is inserted safely. With appendChild(), passing a string throws an error because the argument is not a Node.
Use append() when adding several nodes or mixing nodes with text. Use appendChild() when you specifically want the older, single-node API.
5. scrollIntoView() vs. scrollIntoViewIfNeeded()
These methods both bring an element into view, but they differ in control and behavior.
scrollIntoView() can always scroll the target into a configured position:
target.scrollIntoView({
  block: 'center',
  behavior: 'smooth'
});
It supports options such as:
block: 'start'block: 'center'block: 'end'behavior: 'smooth'
By contrast, scrollIntoViewIfNeeded() only scrolls when the element is not already visible. Its positioning is much less configurable.
The demo also includes a fallback that checks visibility manually:
const frameRect = frame.getBoundingClientRect();
const targetRect = target.getBoundingClientRect();

const visible =
  targetRect.top >= frameRect.top &&
  targetRect.bottom <= frameRect.bottom;

if (!visible) {
  target.scrollIntoView({
    block: 'center',
    behavior: 'auto'
  });
}
This captures the main behavioral idea: if the element is already visible, do nothing; otherwise, scroll it into view.
In most application code, scrollIntoView() is the better choice when you need predictable alignment or smooth scrolling.
A Practical Rule of Thumb
Here is a compact way to remember the differences:
const summary = [
  'Use textContent when you need raw text, including hidden text.',
  'Use dataset with camelCase for data-* properties.',
  'Use getElementById when the value is an ID, especially if it may contain selector syntax.',
  'Use append when adding multiple nodes or strings.',
  'Use scrollIntoView when you need configurable scrolling.'
];
These APIs overlap, but they are not interchangeable in every situation. The right choice depends on what kind of input you have, whether you need rendered or raw content, and how much control you need over the browser’s behavior.
Small differences like these are easy to ignore until they become production bugs. Knowing them upfront makes DOM code more predictable, more readable, and less fragile.
Try It Yourself
Want to see these concepts in action? I’ve created an interactive demo where you can experiment with the code and see real-time results.
Explore more demos from my previous articles in the Demo Gallery.
Happy coding!