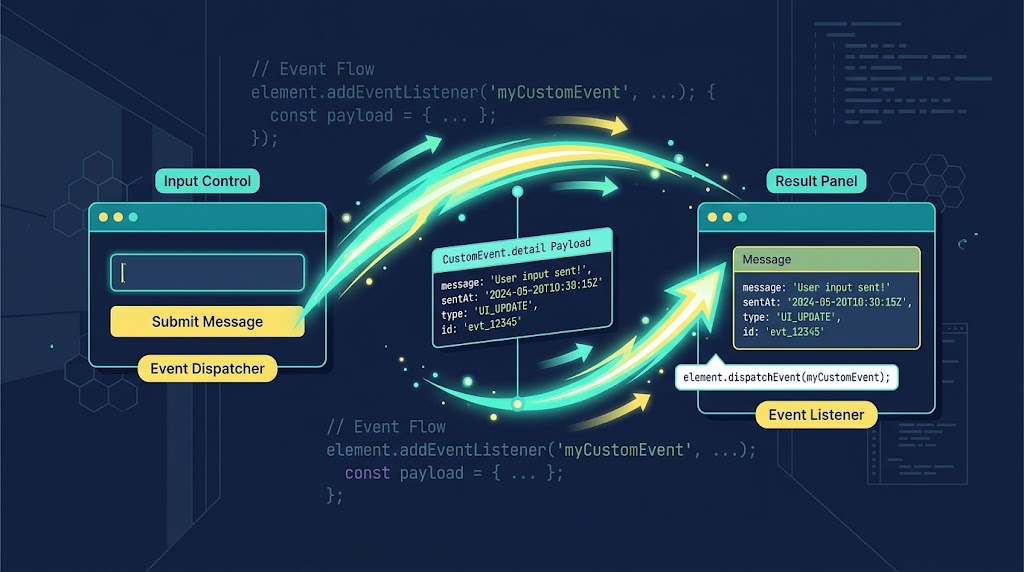
JavaScript events are not limited to browser-native interactions like clicks, typing, or mouse movement. You can also create your own events, dispatch them manually, and pass data along with them.
The key mechanism is CustomEvent.detail.
When you need one part of the UI to notify another part of the application, CustomEvent gives you a clean browser-native way to do it without introducing a state library, callback chain, or global variable.
Why CustomEvent.detail Matters
A regular event tells you that something happened. A custom event can also tell you what happened.
For example, imagine a dropdown selection should update an input-driven component. You could manually call the same function from both places, but that creates tighter coupling. Instead, the dropdown can dispatch an event, and the input-related logic can listen for it.
The payload travels through event.detail.
Building a Small Demo Interface
Here is a simplified HTML structure from the demo. It includes an input, a button, and a result area where the latest event payload will be displayed.
<div class="controls">
  <input id="payload" value="Hello from a CustomEvent">
  <button id="dispatch">Dispatch event</button>
</div>

<div class="event-card" id="latest">
  Waiting for an event...
</div>
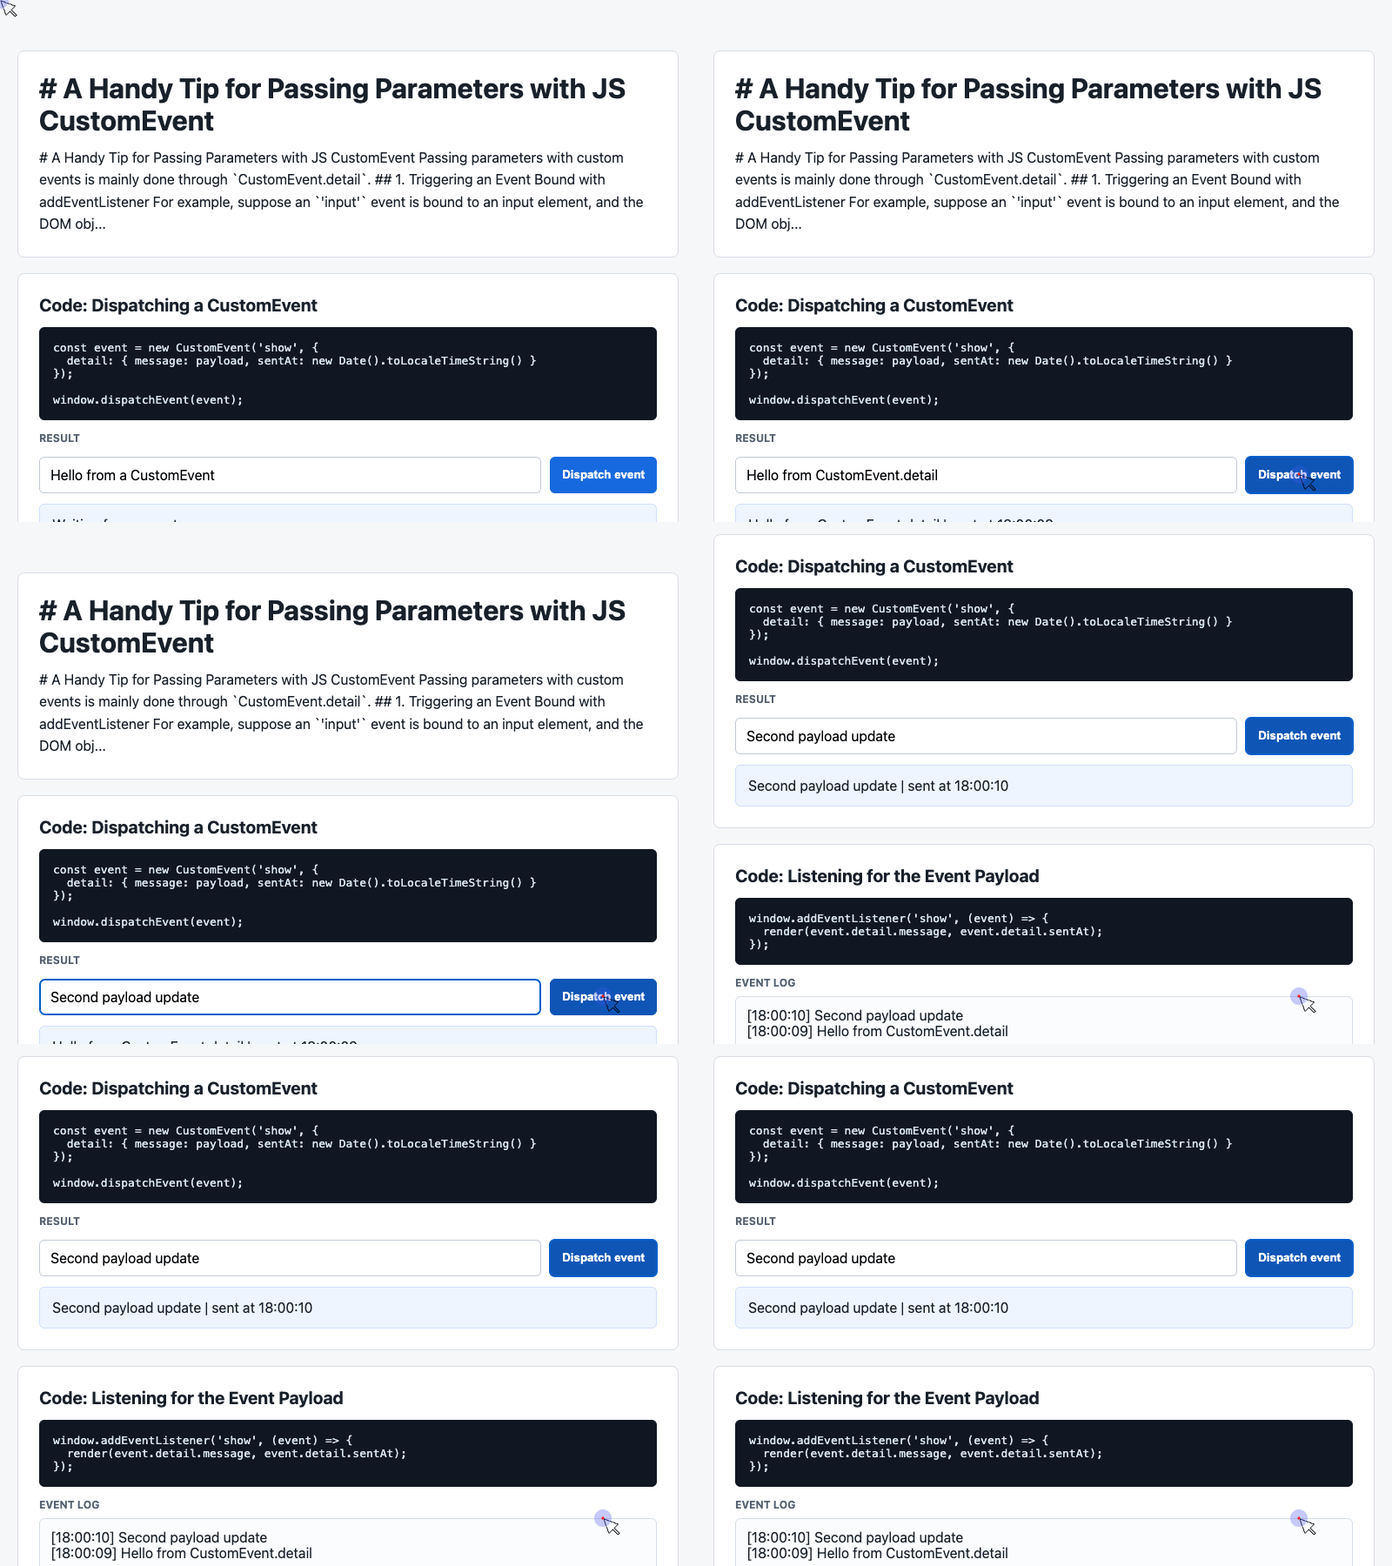
This gives us a small interactive surface: the user edits a message, clicks the button, and the page dispatches a custom event containing that message.
🎮 Try it live: Open the interactive demo to experience this yourself.
Dispatching a CustomEvent
The most important part is creating the event with a detail object. That object can contain any data you want to pass to the listener.
const message = input.value.trim() || 'Default CustomEvent payload';

const event = new CustomEvent('show', {
  detail: {
    message,
    sentAt: new Date().toLocaleTimeString()
  }
});

window.dispatchEvent(event);
In this example, the custom event is named show. Its payload contains two fields:
message: the value from the inputsentAt: the time the event was dispatched
The event is then sent through window.dispatchEvent(event), which allows any listener attached to window for the show event to respond.
🎮 Try it live: Open the interactive demo to experience this yourself.
Listening for the Event Payload
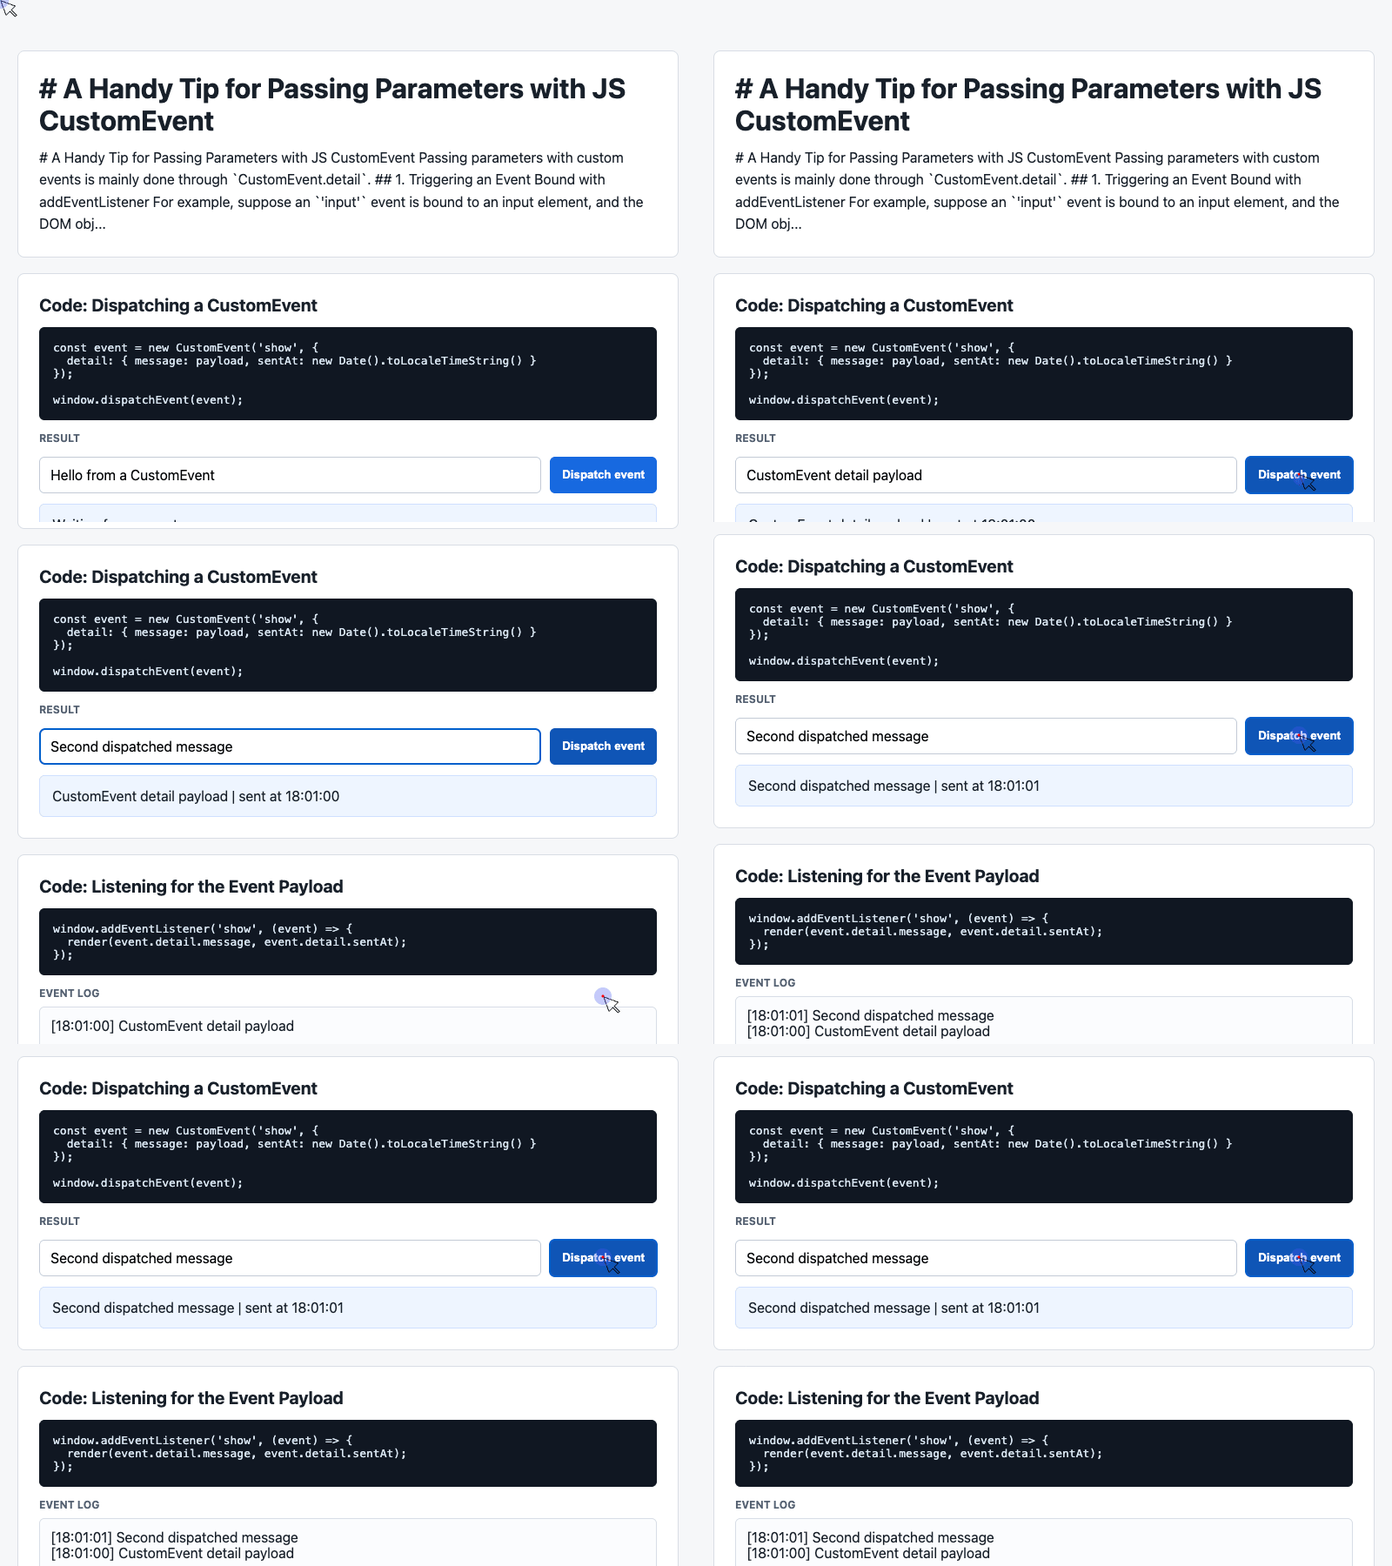
On the receiving side, you use addEventListener just like you would for a native browser event. The difference is that your data is available on event.detail.
window.addEventListener('show', (event) => {
  const detail = event.detail || {};

  latest.textContent = detail.message + ' | sent at ' + detail.sentAt;
});
This keeps the sender and receiver loosely connected. The dispatching code does not need to know how the UI is rendered. It only announces that a show event happened and includes the relevant data.
🎮 Try it live: Open the interactive demo to experience this yourself.
Keeping an Event Log
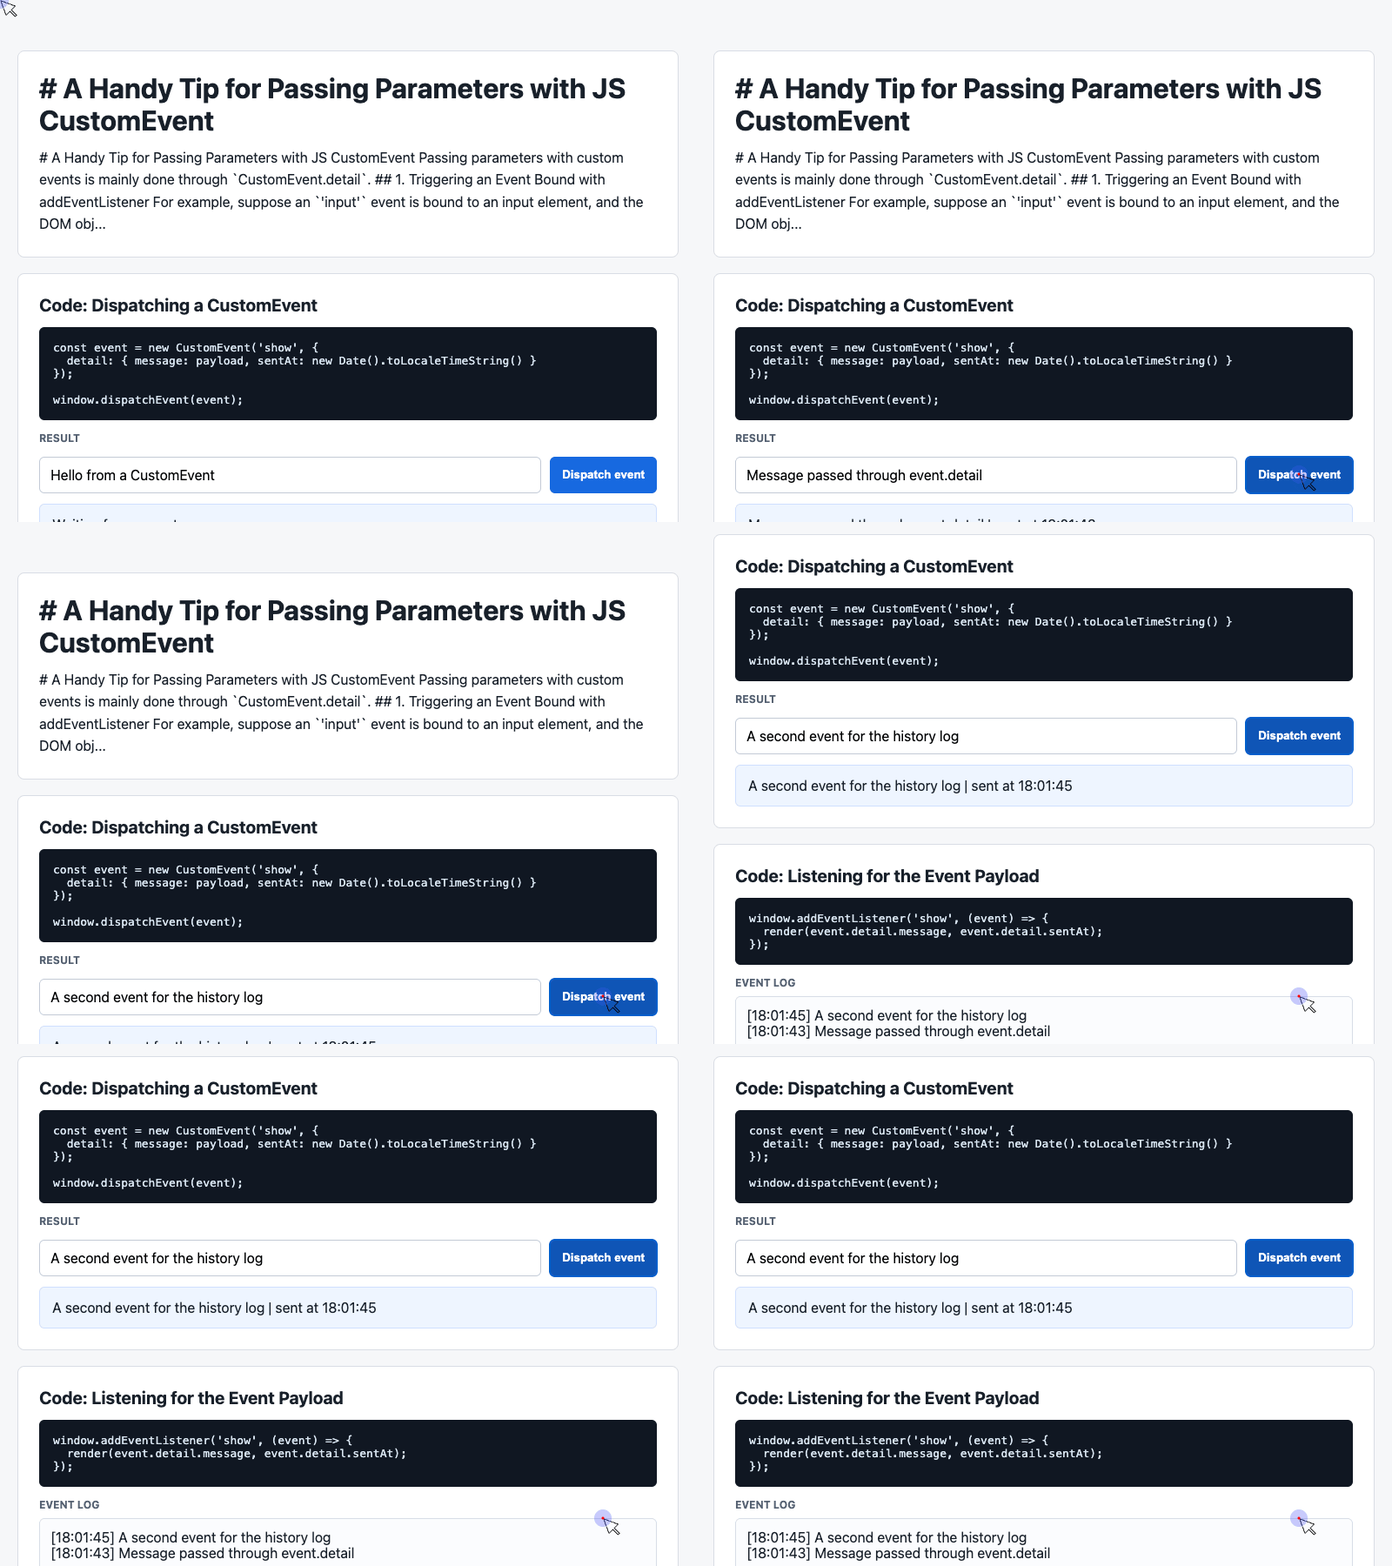
The demo also stores recent events in a small history array. This is useful for visualizing repeated event dispatches.
const history = [];

window.addEventListener('show', (event) => {
  const detail = event.detail || {};

  history.unshift('[' + detail.sentAt + '] ' + detail.message);
  log.textContent = history.slice(0, 6).join('\n');
});
Each time the event fires, the newest message is added to the top of the log. The UI then displays the six most recent entries.
This pattern is useful for debugging, notifications, lightweight messaging between UI components, and small browser demos.
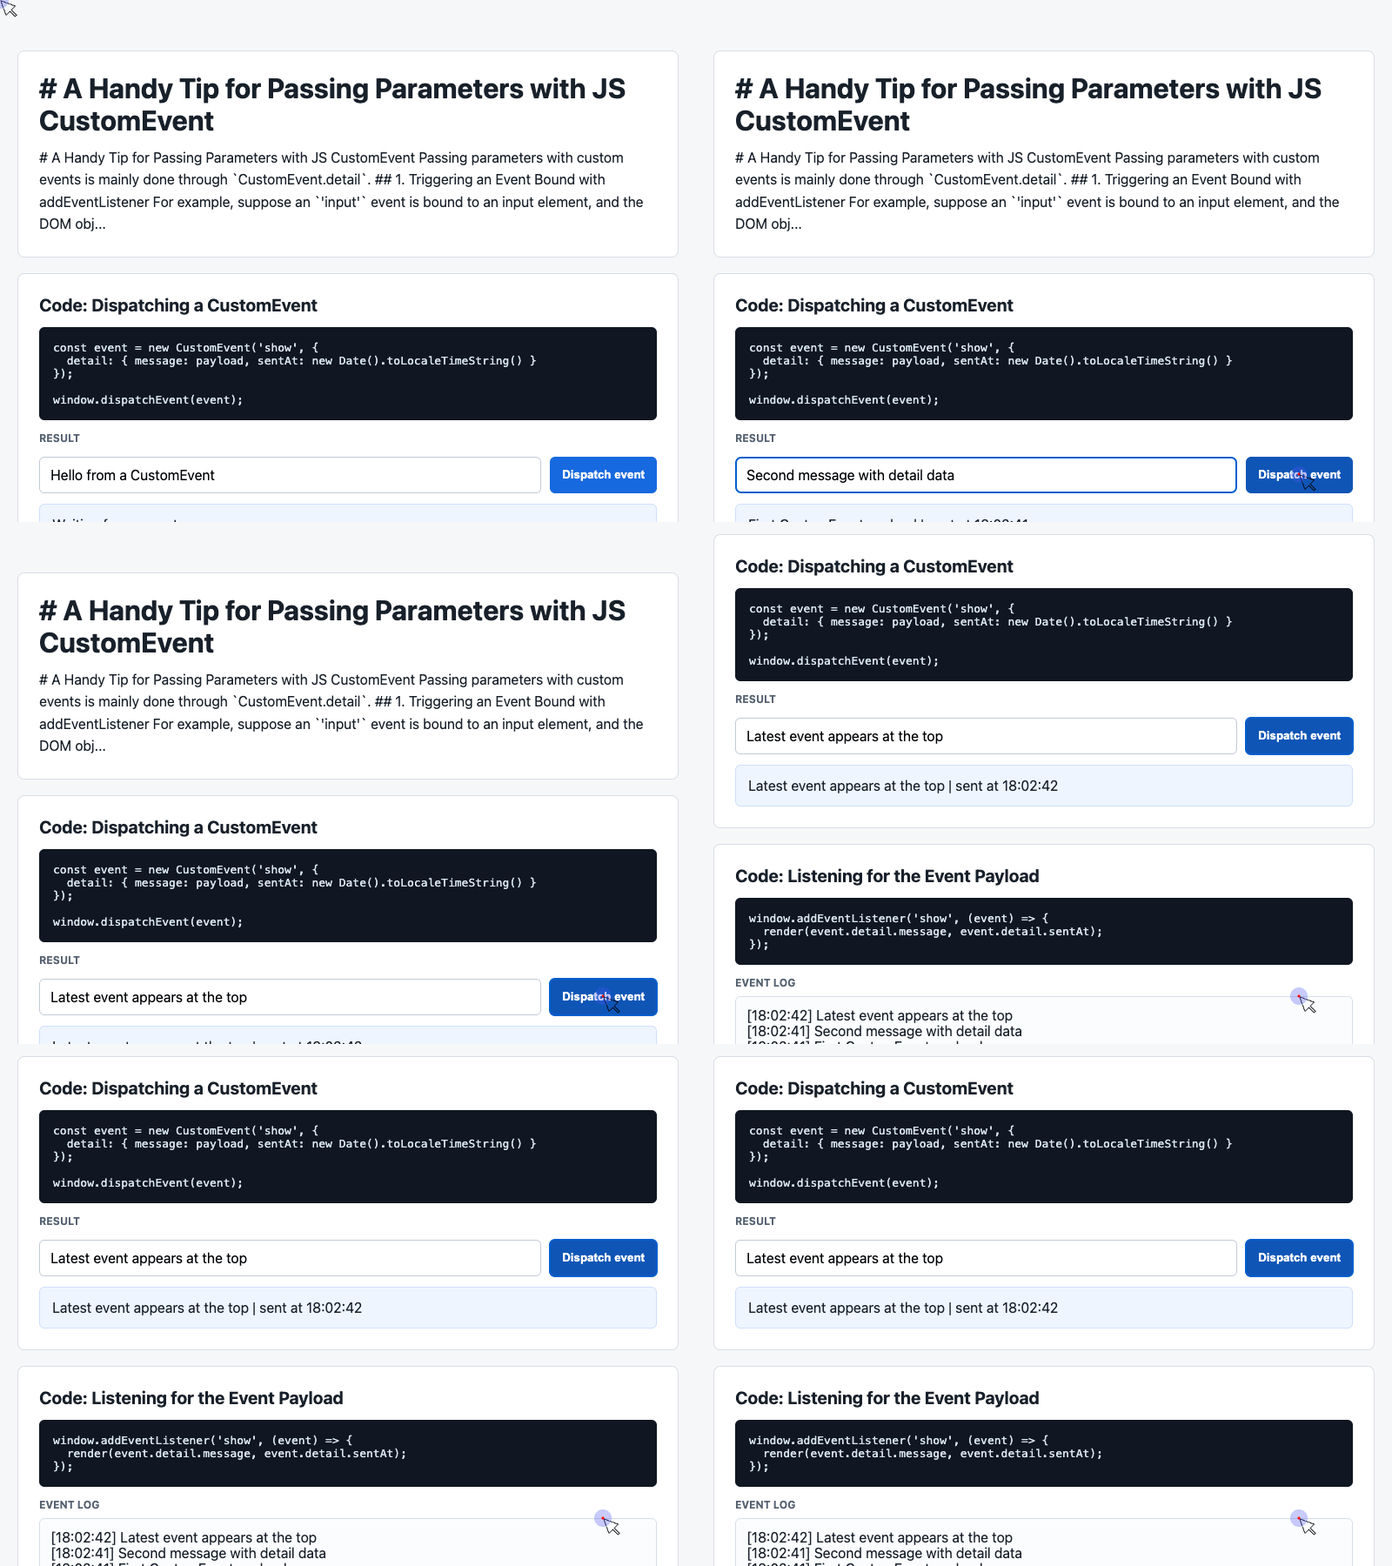
🎮 Try it live: Open the interactive demo to experience this yourself.
Custom Event Names Can Be Anything
You are not limited to native event names like click, input, or change.
This works:
window.dispatchEvent(new CustomEvent('show'));So does this:
document.body.dispatchEvent(new CustomEvent('article:copied'));For maintainability, descriptive names are usually best. Names like cart:item-added, modal:opened, or profile:saved make the intent obvious and reduce the chance of collisions.
Browser Support and IE
Modern browsers support the CustomEvent constructor. Older versions of Internet Explorer do not support it properly, so legacy projects may need a polyfill.
The important point is execution order: load the polyfill before your application code creates or dispatches custom events.
For modern applications, especially those targeting evergreen browsers, you can usually use CustomEvent directly.
Final Thoughts
CustomEvent.detail is a small API with a lot of practical value. It gives you a browser-native way to send structured data through events while keeping different parts of your interface decoupled.
Use it when one component needs to announce something and another component needs to react, especially in lightweight interfaces where adding a full state-management layer would be unnecessary.
Try It Yourself
Want to see these concepts in action? I’ve created an interactive demo where you can experiment with the code and see real-time results.
Explore more demos from my previous articles in the Demo Gallery.
Happy coding!