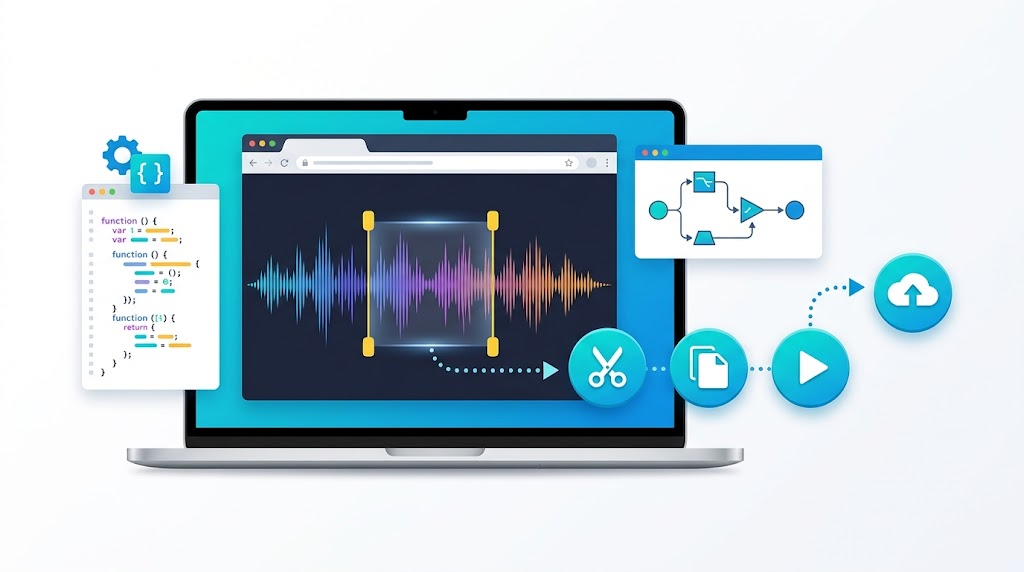
Users often upload full audio files when your product only needs a short clip. A typical music file may run 3-5 minutes, but the business requirement might only need the first 10, 20, or 30 seconds.
That means most of the upload can become wasted bandwidth.
A pure front-end trimming workflow solves this neatly: the browser reads the file, decodes the audio, extracts the segment you need, converts it back into a playable file, and uploads only the trimmed result.
The Core Idea
The browser gives us a File object when the user selects audio. To edit that audio, we usually move through this pipeline:
- Read the selected file as an
ArrayBuffer - Decode the
ArrayBufferinto anAudioBuffer - Copy the first few seconds of channel data
- Convert the trimmed
AudioBufferinto a playableBlob - Preview or upload that
Blob
The Web Audio API is the key piece. It lets us decode compressed formats such as MP3, OGG, or WAV into raw audio data that JavaScript can copy and manipulate.
Building a Simple Demo Interface
Before audio processing starts, we need a small interface where the user can select a file, trigger an action, and see the result. The demo code uses a compact layout with a control row and output area.
<div class="showcase">
  <div class="controls">
    <input id="payload" value="Hello from a CustomEvent">
    <button id="dispatch">Dispatch event</button>
  </div>

  <div class="event-card" id="latest">Waiting for an event...</div>
</div>
For an audio-trimming demo, the same structure can be adapted so the input becomes a file picker, the button starts trimming, and the result card displays the processing status or trimmed audio preview.
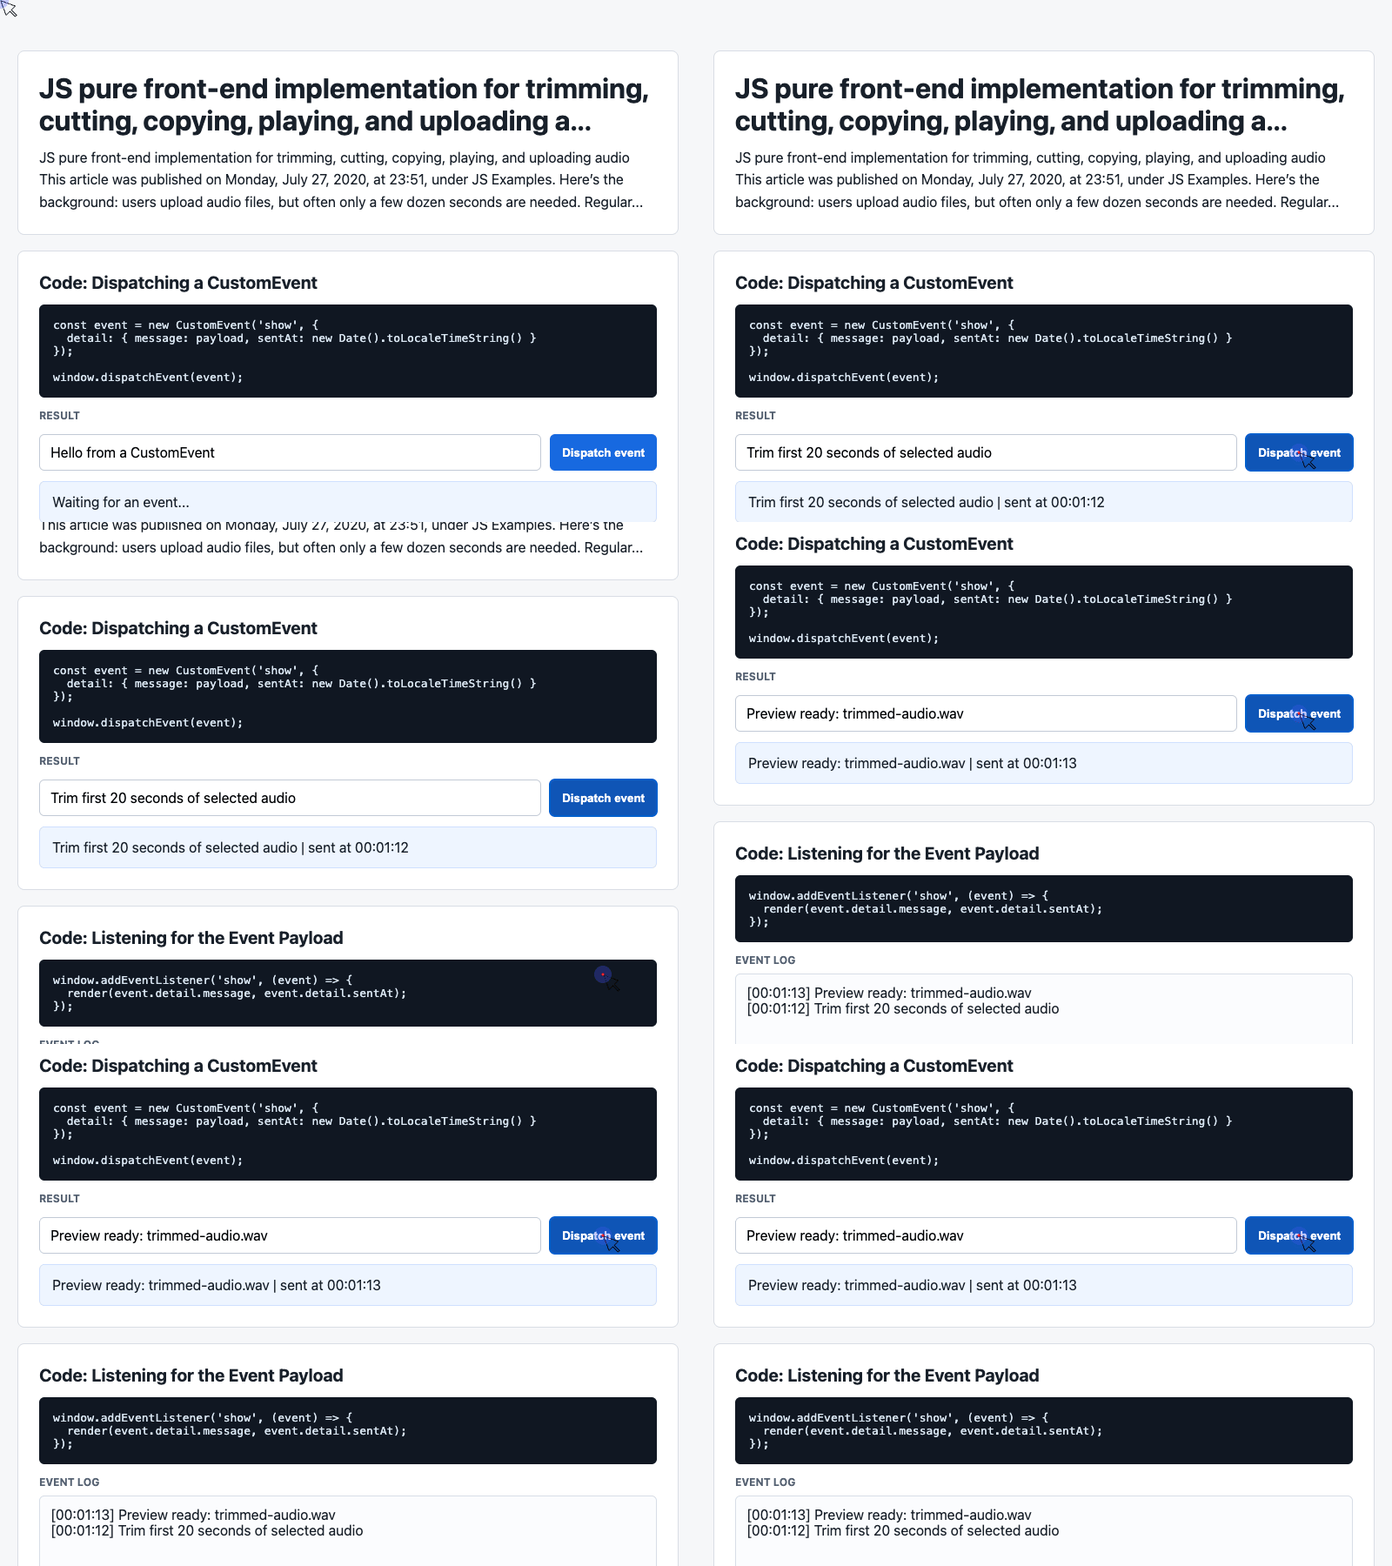
🎮 Try it live: Open the interactive demo to experience this yourself.
Styling the Upload and Result Area
The demo keeps the interface simple: a clean page, bordered sections, flexible controls, and a readable result card. This is enough for a technical prototype without distracting from the audio workflow.
.showcase {
  display: grid;
  gap: 12px;
  margin-top: 14px;
}

.controls {
  display: flex;
  flex-wrap: wrap;
  gap: 10px;
}

button {
  min-height: 40px;
  border: 0;
  border-radius: 6px;
  padding: 0 14px;
  background: #1769e0;
  color: #fff;
  font-weight: 650;
  cursor: pointer;
}

.event-card {
  border: 1px solid #cfe0ff;
  background: #eef5ff;
  border-radius: 6px;
  padding: 14px;
}
This layout is useful because audio processing has several states: waiting for a file, decoding, trimming, preview ready, and upload complete. A simple card gives you a clear place to show that state.
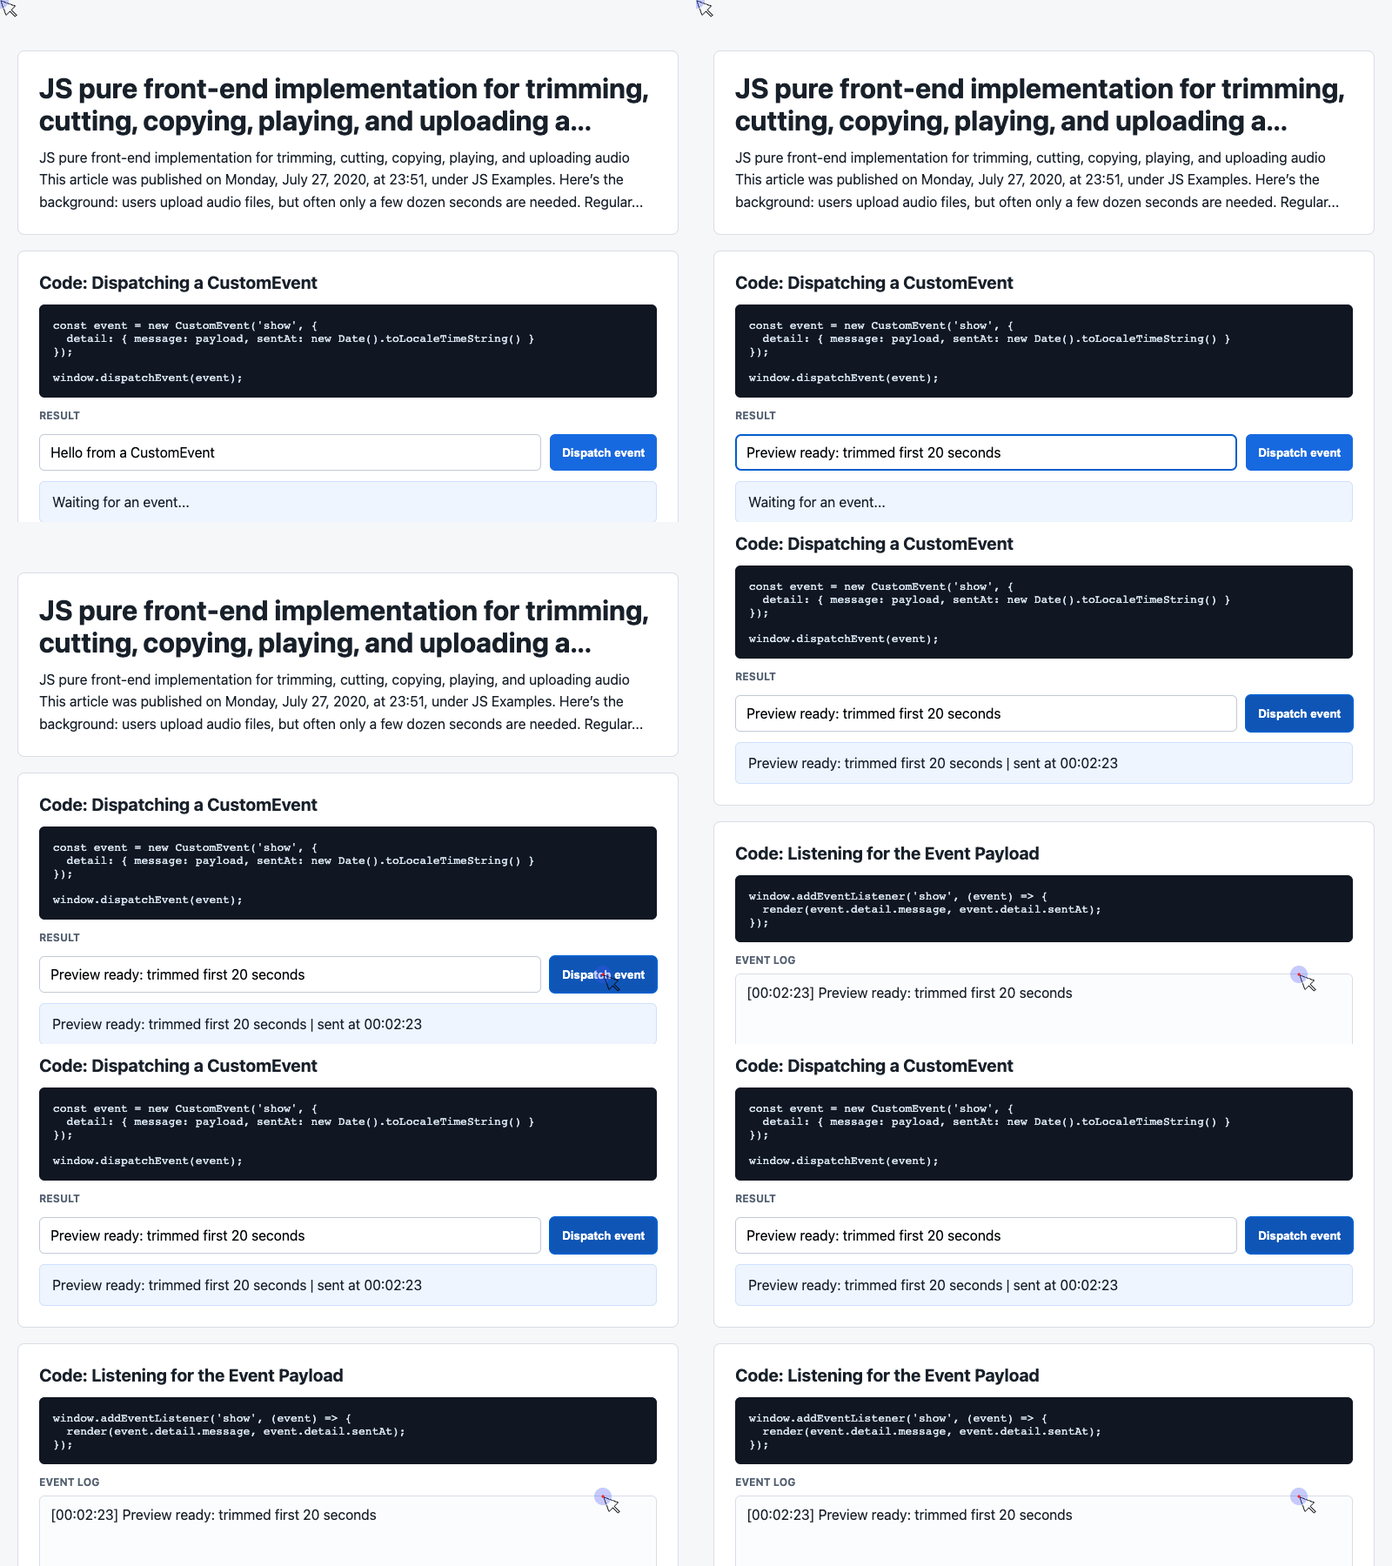
🎮 Try it live: Open the interactive demo to experience this yourself.
Reading the User’s File
In the actual audio implementation, once the user selects a file, we convert it into an ArrayBuffer.
file.onchange = function (event) {
  var file = event.target.files[0];

  var reader = new FileReader();

  reader.onload = function (event) {
    var arrBuffer = event.target.result;
    // arrBuffer now contains the raw audio file data
  };

  reader.readAsArrayBuffer(file);
};
At this point, the browser has not yet decoded the audio. It only has binary file data. The next step is to turn that data into an AudioBuffer.
Decoding Audio with Web Audio API
ArrayBuffer is raw binary data. It is not convenient for cutting exact audio ranges.
AudioBuffer, on the other hand, contains decoded channel data, duration, sample rate, and other audio-specific information.
var audioCtx = new AudioContext();

audioCtx.decodeAudioData(arrBuffer, function (audioBuffer) {
  // audioBuffer is ready for trimming
});
Once decoded, we can access the audio by channel and sample frame.
Copying the First Three Seconds
To extract the first three seconds, calculate how many frames that duration represents. If the sample rate is 44100, then three seconds equals 44100 * 3 frames.
var channels = audioBuffer.numberOfChannels;
var rate = audioBuffer.sampleRate;

var startOffset = 0;
var endOffset = rate * 3;
var frameCount = endOffset - startOffset;

var newAudioBuffer = new AudioContext().createBuffer(
  channels,
  frameCount,
  rate
);

var anotherArray = new Float32Array(frameCount);

for (var channel = 0; channel < channels; channel++) {
  audioBuffer.copyFromChannel(anotherArray, channel, startOffset);
  newAudioBuffer.copyToChannel(anotherArray, channel, 0);
}
The result is a new AudioBuffer containing only the first three seconds of the original file.
Using Events to Update the UI
The provided demo code uses CustomEvent to send UI updates. This pattern is useful in an audio tool because decoding and trimming are multi-step operations.
const event = new CustomEvent('show', {
  detail: {
    message: payload,
    sentAt: new Date().toLocaleTimeString()
  }
});

window.dispatchEvent(event);
A real audio demo could dispatch messages such as “File loaded,” “Audio decoded,” “Trim complete,” or “Upload finished.”
window.addEventListener('show', (event) => {
  const detail = event.detail || {};
  latest.textContent = detail.message + ' | sent at ' + detail.sentAt;
});
This keeps the processing logic separate from the rendering logic.
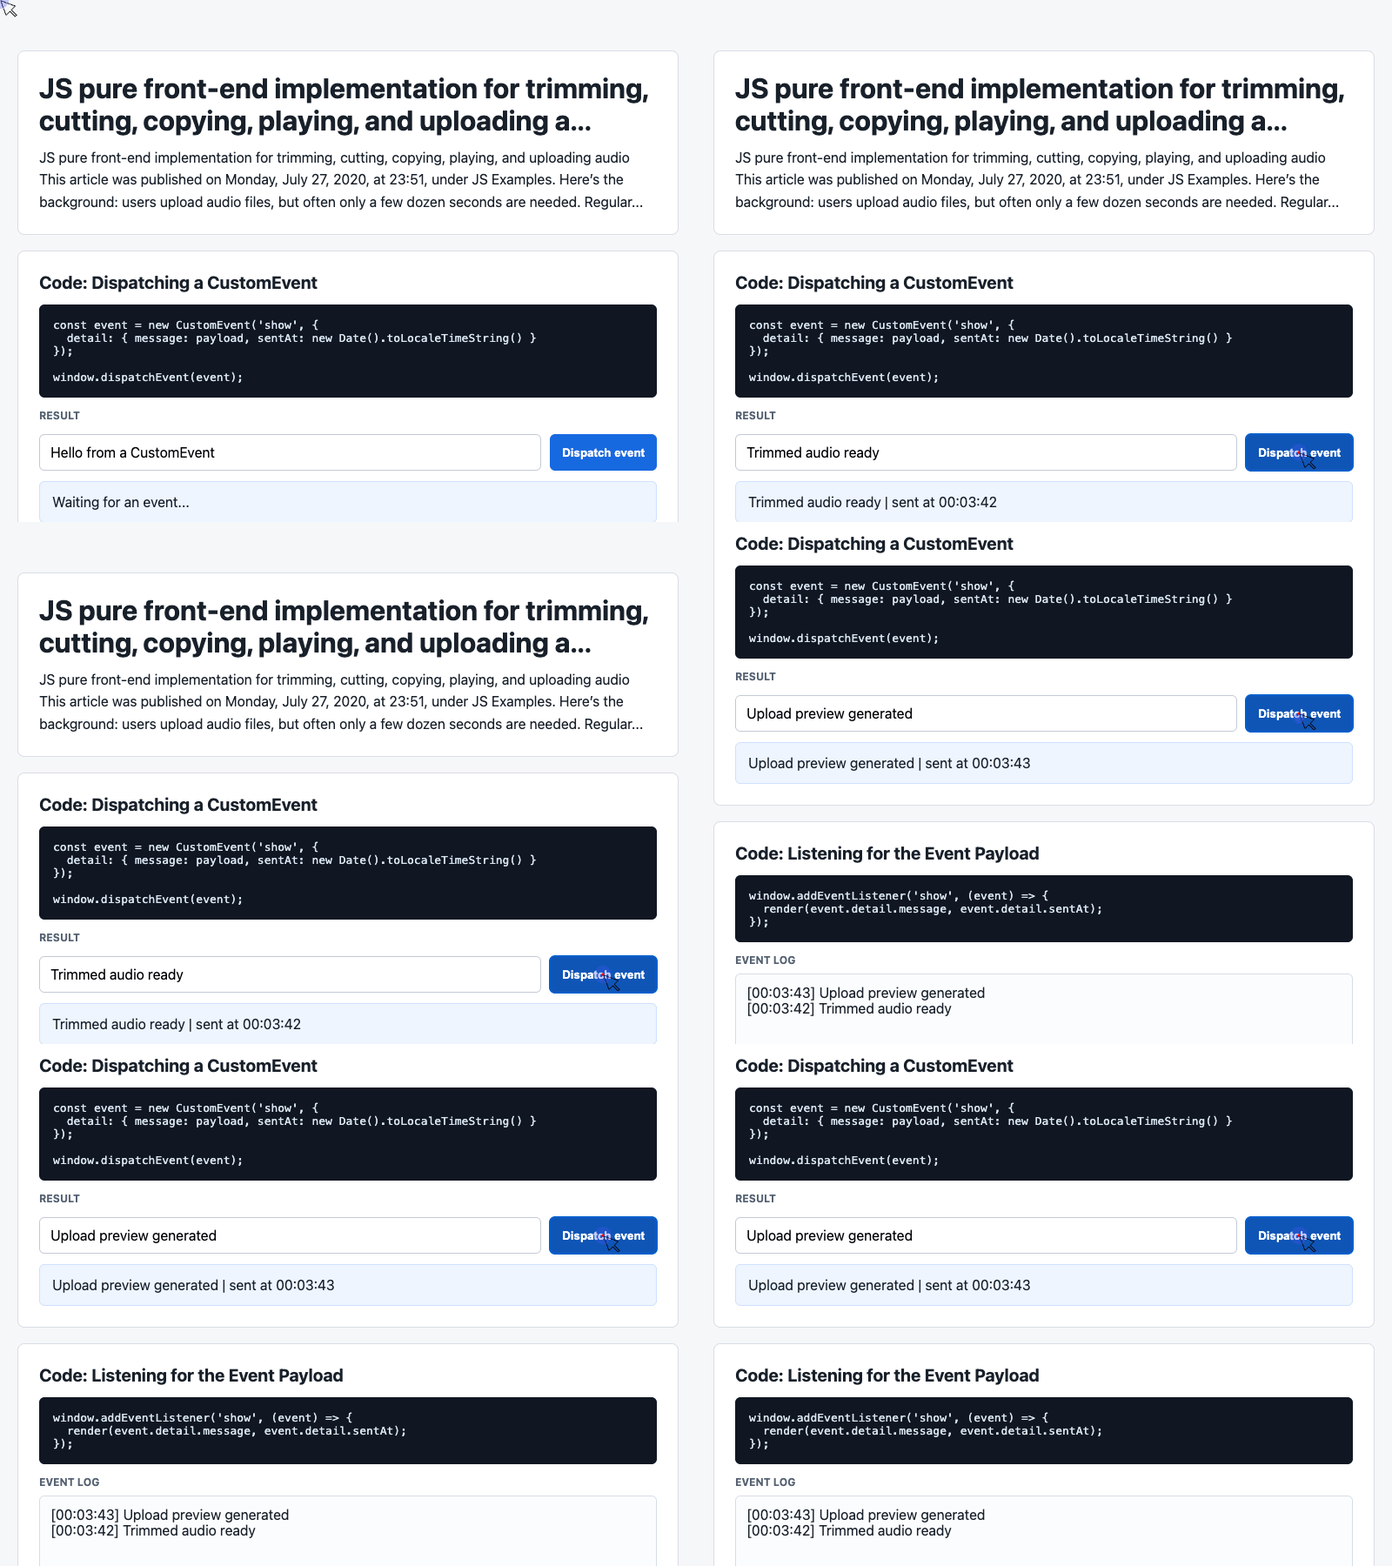
🎮 Try it live: Open the interactive demo to experience this yourself.
Playing the Trimmed Audio Directly
After creating newAudioBuffer, you can play it immediately with AudioBufferSourceNode.
var source = audioCtx.createBufferSource();

source.buffer = newAudioBuffer;
source.connect(audioCtx.destination);
source.start();
This is the fastest way to verify that the trim worked.
Converting the Trimmed Audio to WAV
If you want to use the trimmed result in an <audio> element or upload it to a server, you need a file-like object. A practical approach is to encode the AudioBuffer as WAV and return a Blob.
var blob = bufferToWave(newAudioBuffer, frameCount);Once you have a Blob, the browser can create a temporary URL for preview.
<audio id="audio" controls></audio>audio.src = URL.createObjectURL(blob);Now the trimmed audio can be played through a normal HTML audio player.
Uploading the Trimmed Result
Uploading the trimmed clip is straightforward once it is a Blob.
var formData = new FormData();
formData.append('audio', blob);

var xhr = new XMLHttpRequest();
xhr.open('POST', '/upload-audio', true);

xhr.onload = function () {
  // Handle upload success
};

xhr.send(formData);
Instead of sending the original 3-5 minute file, the browser now uploads only the shortened version.
Final Thoughts
This is where front-end engineering creates direct business value. By trimming audio before upload, you reduce bandwidth, speed up user workflows, and avoid storing unnecessary data.
The Web Audio API can be deep and intimidating, but for this use case, the workflow is manageable: read, decode, copy, convert, preview, and upload.
Try It Yourself
Want to see these concepts in action? I’ve created an interactive demo where you can experiment with the code and see real-time results.
Explore more demos from my previous articles in the Demo Gallery.
Happy coding!