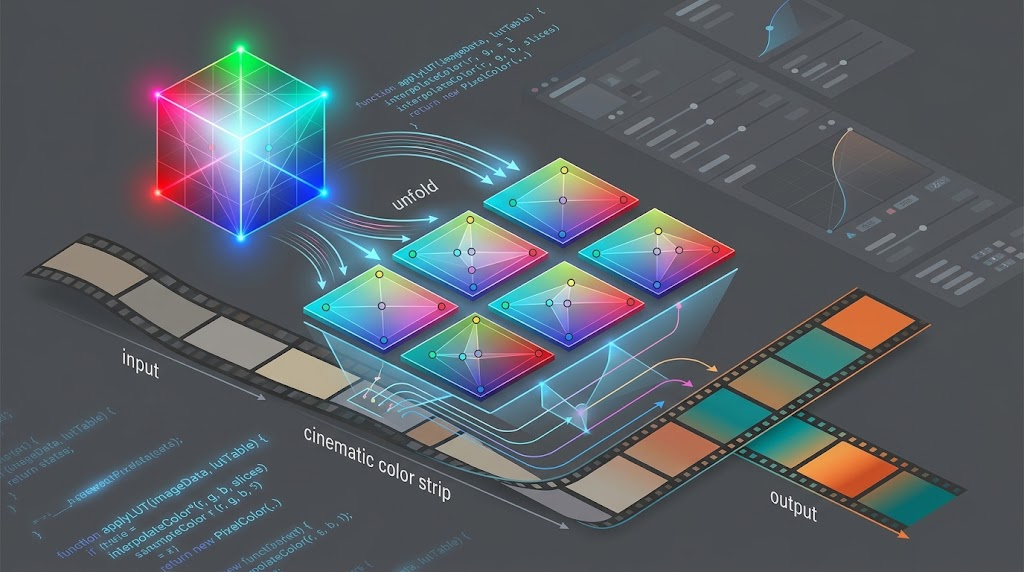
3D LUT filters are one of the core tools behind cinematic color grading. At a high level, a 3D LUT is a lookup table that remaps one RGB color to another RGB color. Instead of calculating a color transformation from scratch every time, the filter says: “When the input color is here, output this color instead.”
That sounds simple until you look at how the data is stored.
A 3D LUT represents red, green, and blue as coordinates in a cube. But common LUT formats such as .cube or .3dl flatten that cube into a two-dimensional data sequence. Each slice fixes one channel, usually blue, while red and green vary across the horizontal and vertical axes.
Why LUT Mapping Is Approximate
In ordinary 8-bit RGB, each channel has 256 possible values, producing more than 16 million color combinations. A perfect one-to-one LUT would need a huge 257 x 257 x 257 table, which is impractical for normal web and app use.
That is why real LUT files usually downsample the cube. Common sizes include:
17 x 17 x 1733 x 33 x 3364 x 64 x 64
This creates the key problem: most real RGB values do not land exactly on a LUT point. They fall between sampled points.
There are two ways to handle that:
- Use the nearest LUT point, which is fast but less accurate.
- Interpolate between neighboring points, which is more precise.
A Simple Mapping Example
Take deep sky blue: rgb(0, 191, 255).
LUT values are normalized between 0 and 1, so the color becomes approximately:
(0, 0.7490196, 1)For a 17 x 17 x 17 LUT, each normalized channel is multiplied by 16:
(0, 11.9843136, 16)Blue lands exactly on the final blue slice. Green is close to 12, and red is 0. If we use nearest-point mapping, we can jump directly to the corresponding LUT entry and read the output color.
This is fast, but it sacrifices smoothness because many nearby colors collapse into the same mapped value.
When Colors Fall Between Points
Now consider a less convenient color:
rgb(99, 131, 200)After normalization and scaling for a 17 x 17 x 17 LUT, it becomes roughly:
(6.2117647, 8.2196, 12.5490196)Every channel lands between LUT samples. A precise implementation needs the eight surrounding points in the cube, then blends their output colors according to the fractional offsets.
This process is called trilinear interpolation. It interpolates along red, then green, then blue.
Building a Small Browser Demo Shell
The generated demo code does not implement a LUT processor directly. Instead, it provides a clean browser-based shell: a readable article layout, input controls, a button, and an event-driven JavaScript flow.
That structure is useful for teaching or prototyping LUT logic because the color-mapping function can later be plugged into the same interaction pattern.
Here is the core HTML structure extracted from the demo:
<section>
  <h2>Code: Dispatching a CustomEvent</h2>
  <pre><code>const event = new CustomEvent('show', {
  detail: { message: payload, sentAt: new Date().toLocaleTimeString() }
});

window.dispatchEvent(event);</code></pre>

  <div class="label">Result</div>
  <div class="showcase">
    <div class="controls">
      <input id="payload" value="Hello from a CustomEvent">
      <button id="dispatch">Dispatch event</button>
    </div>
    <div class="event-card" id="latest">Waiting for an event...</div>
  </div>
</section>
This gives the demo a simple control surface: one input, one action button, and one result area. In a LUT demo, the input could become an RGB value, and the result area could show the mapped color.
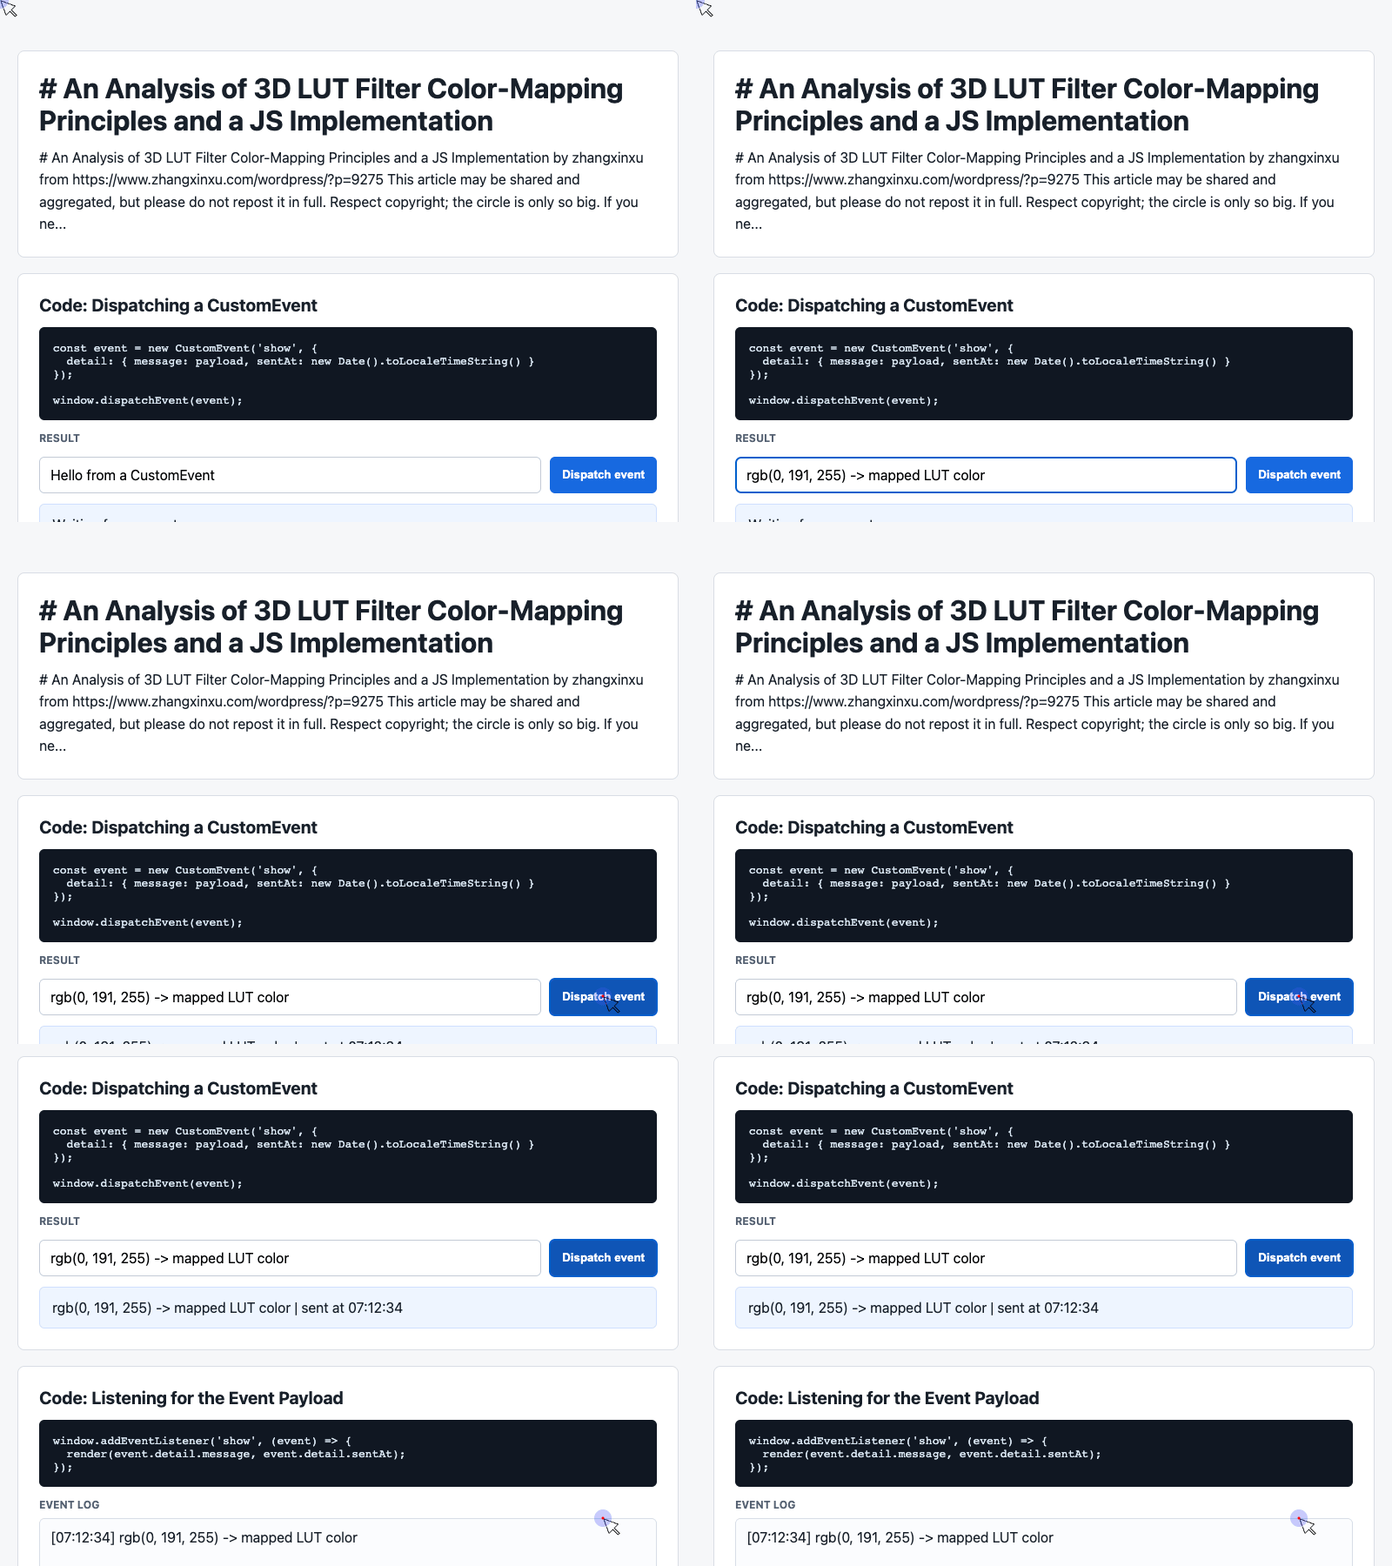
🎮 Try it live: Open the interactive demo to experience this yourself.
The styling keeps the page readable and focused:
.showcase {
  display: grid;
  gap: 12px;
  margin-top: 14px;
}

.controls {
  display: flex;
  flex-wrap: wrap;
  gap: 10px;
}

.event-card {
  border: 1px solid #cfe0ff;
  background: #eef5ff;
  border-radius: 6px;
  padding: 14px;
}
The important design choice here is flexibility. The controls wrap on smaller screens, while the result card remains visually distinct. For a technical color demo, that same pattern could display original and transformed color swatches side by side.
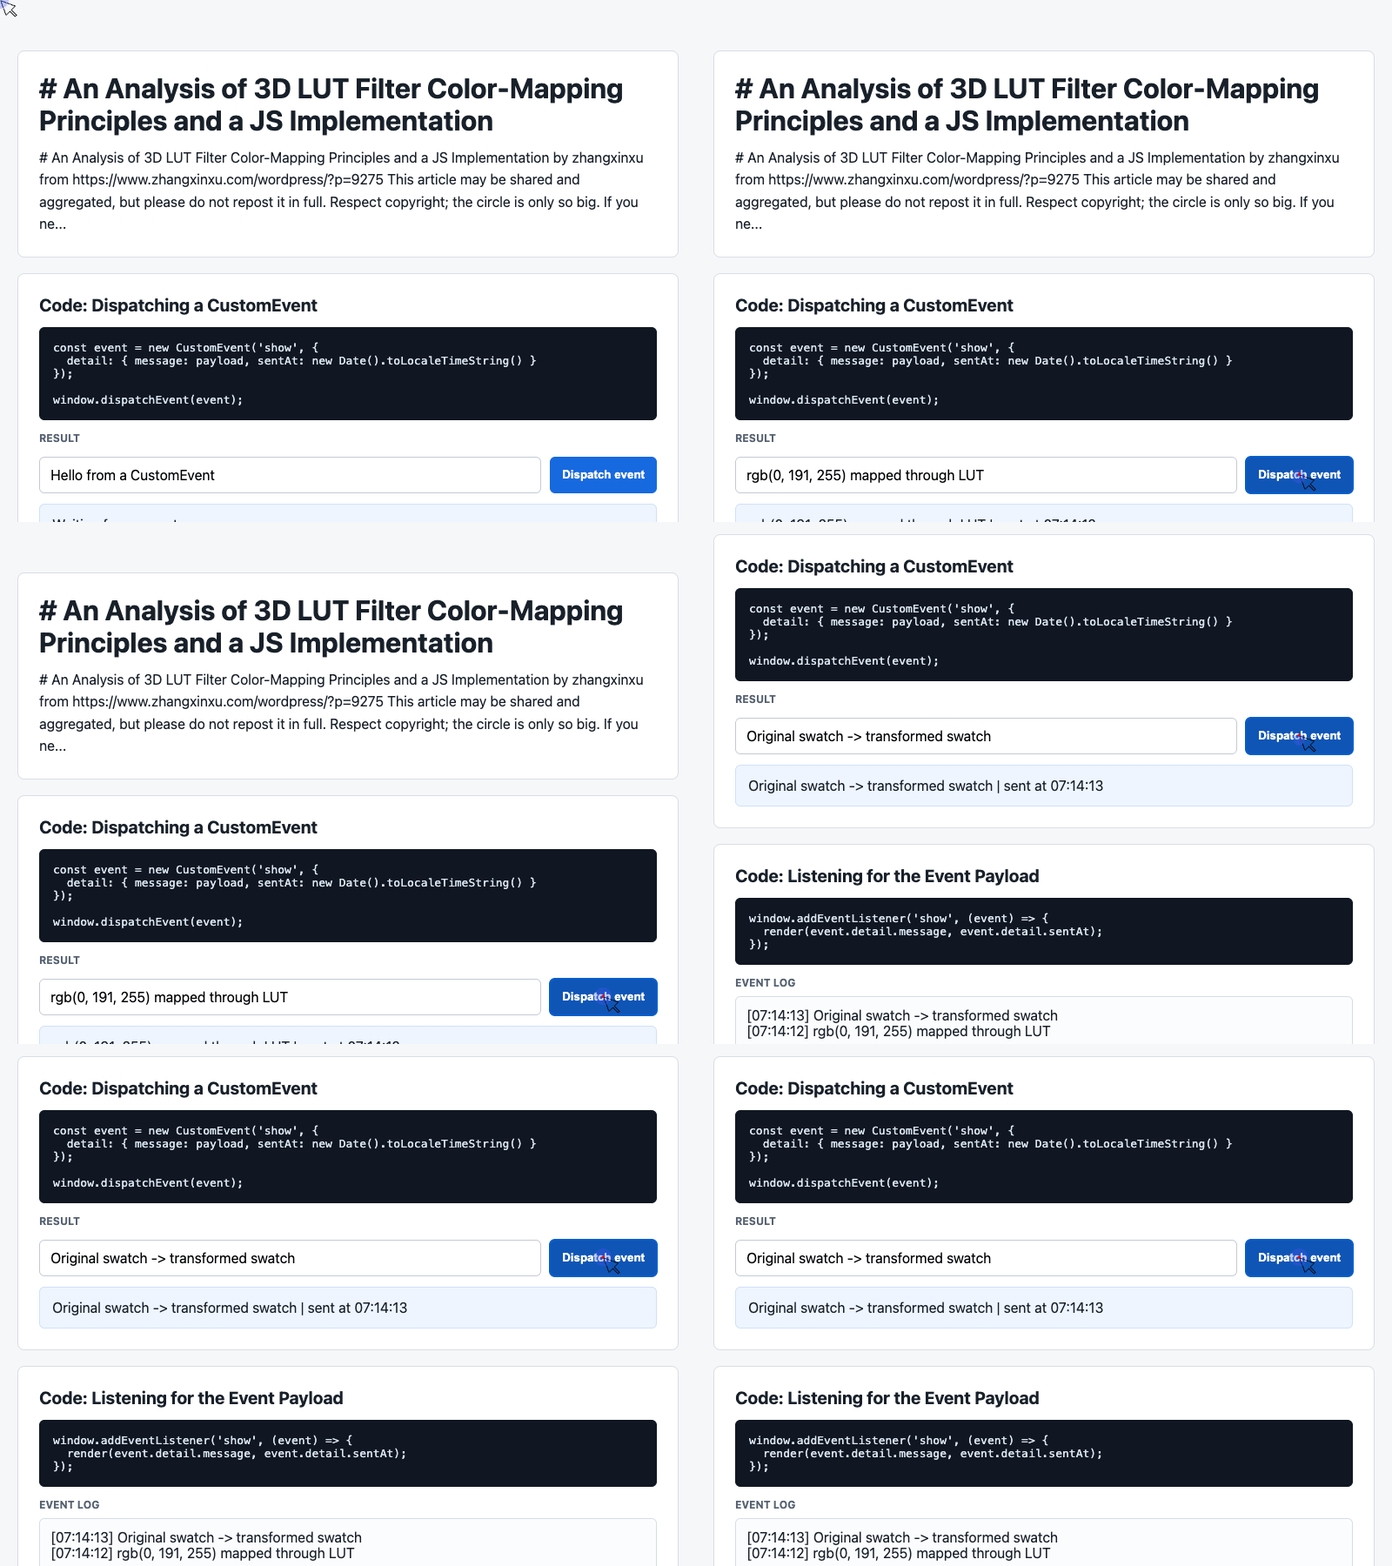
🎮 Try it live: Open the interactive demo to experience this yourself.
Finally, the JavaScript uses a CustomEvent to separate user interaction from rendering:
document.querySelector('#dispatch').addEventListener('click', () => {
  const message = input.value.trim() || 'Default CustomEvent payload';

  const event = new CustomEvent('show', {
    detail: { message, sentAt: new Date().toLocaleTimeString() }
  });

  window.dispatchEvent(event);
});

window.addEventListener('show', (event) => {
  const detail = event.detail || {};
  latest.textContent = detail.message + ' | sent at ' + detail.sentAt;

  history.unshift('[' + detail.sentAt + '] ' + detail.message);
  log.textContent = history.slice(0, 6).join('\n');
});
For a LUT implementation, this pattern can evolve naturally:
- Button click reads an RGB value.
- JavaScript dispatches a mapping request.
- A listener calculates the LUT output.
- The UI renders the transformed color and logs the result.
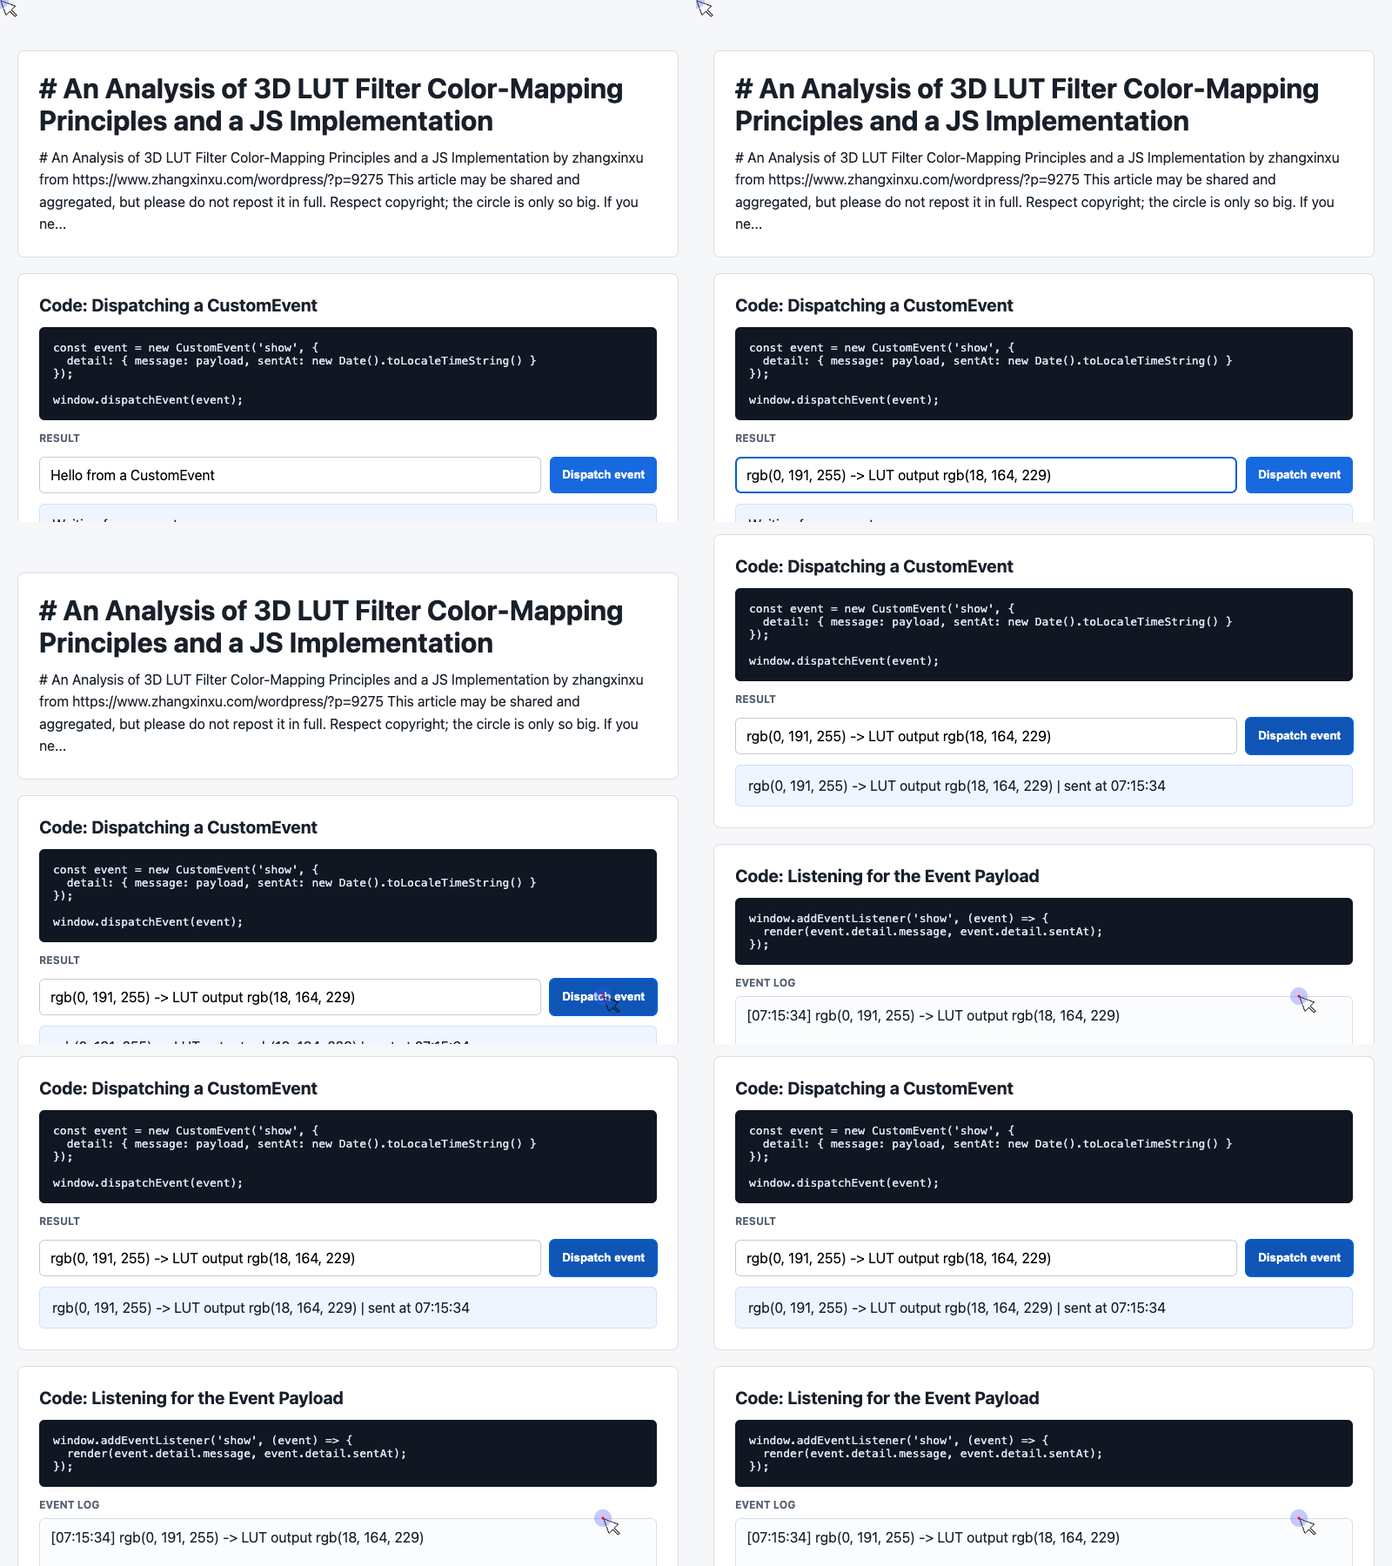
🎮 Try it live: Open the interactive demo to experience this yourself.
A Practical JavaScript LUT Workflow
A real browser-based LUT tool would usually follow this flow:
- Load a
.cubefile. - Parse metadata such as LUT size.
- Convert each LUT row into numeric RGB arrays.
- Normalize the source image or color input.
- Locate the surrounding LUT points.
- Apply nearest-neighbor mapping or trilinear interpolation.
- Render the result to canvas.
The event-driven demo shell is not the full color engine, but it is a reasonable foundation for presenting one. The missing piece is the LUT math itself: parsing the cube file and replacing the event payload with actual color data.
Closing Thoughts
3D LUTs are powerful because they compress complex color transformations into table lookups. The tradeoff is precision: smaller LUTs are faster and lighter, but they require interpolation to avoid banding and color jumps.
For production-quality results, nearest-point lookup is usually too crude. Trilinear interpolation gives smoother, more faithful color transitions while still keeping the LUT compact enough for practical JavaScript and canvas-based workflows.
Try It Yourself
Want to see these concepts in action? I’ve created an interactive demo where you can experiment with the code and see real-time results.
Explore more demos from my previous articles in the Demo Gallery.
Happy coding!