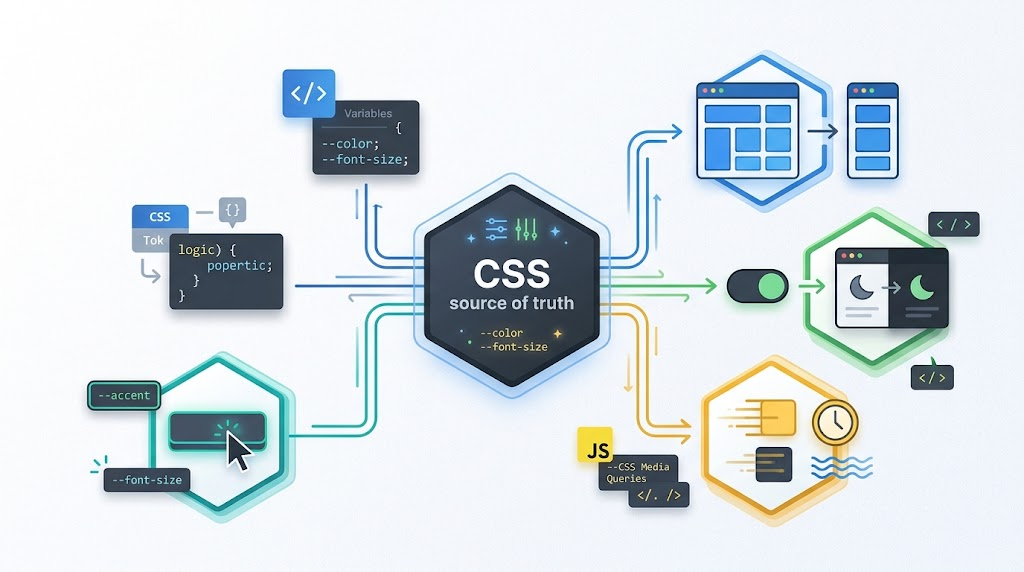
CSS is often better than JavaScript at answering environment questions.
It can detect viewport size, dark mode, pointer behavior, hover support, reduced motion preferences, and more. JavaScript can detect some of these too, especially with window.matchMedia(), but in real projects I often want one source of truth: the same CSS rule that controls the layout or theme should also tell JavaScript how to behave.
That is where passing parameters from CSS to JavaScript becomes useful.
Why Pass Parameters Through CSS?
A common example is dark mode:
@media (prefers-color-scheme: dark) {
  /* Dark mode styles */
}

@media (prefers-color-scheme: light) {
  /* Light mode styles */
}
CSS can apply the correct theme automatically. But JavaScript may also need to know the current mode: perhaps to render a different chart, load different assets, or change interaction behavior.
Another example is responsive breakpoints. A team may write this in CSS:
@media screen and (max-width: 640px) {
  /* Mobile layout */
}
Then somewhere else, JavaScript repeats the same number:
if (screen.width < 640) {
  // Mobile interaction behavior
}
That works until the breakpoint changes. If CSS is updated to 768px and the JavaScript condition is forgotten, layout and behavior drift apart.
The better approach is to let CSS own the environmental decision, then let JavaScript read the result.
Method 1: Use a Pseudo-Element as a CSS Signal
One simple technique is to write a value into the content property of a pseudo-element.
@media (any-hover: none) {
  body::before {
    content: "hoverNone";
    display: none;
  }
}
JavaScript can then read that generated content:
const hoverSignal = getComputedStyle(document.body, "::before").content;

if (hoverSignal === '"hoverNone"') {
  // Use click/tap behavior
} else {
  // Use hover behavior
}
This is useful when the value is small and categorical: hover supported or not, mobile mode or desktop mode, compact layout or regular layout.
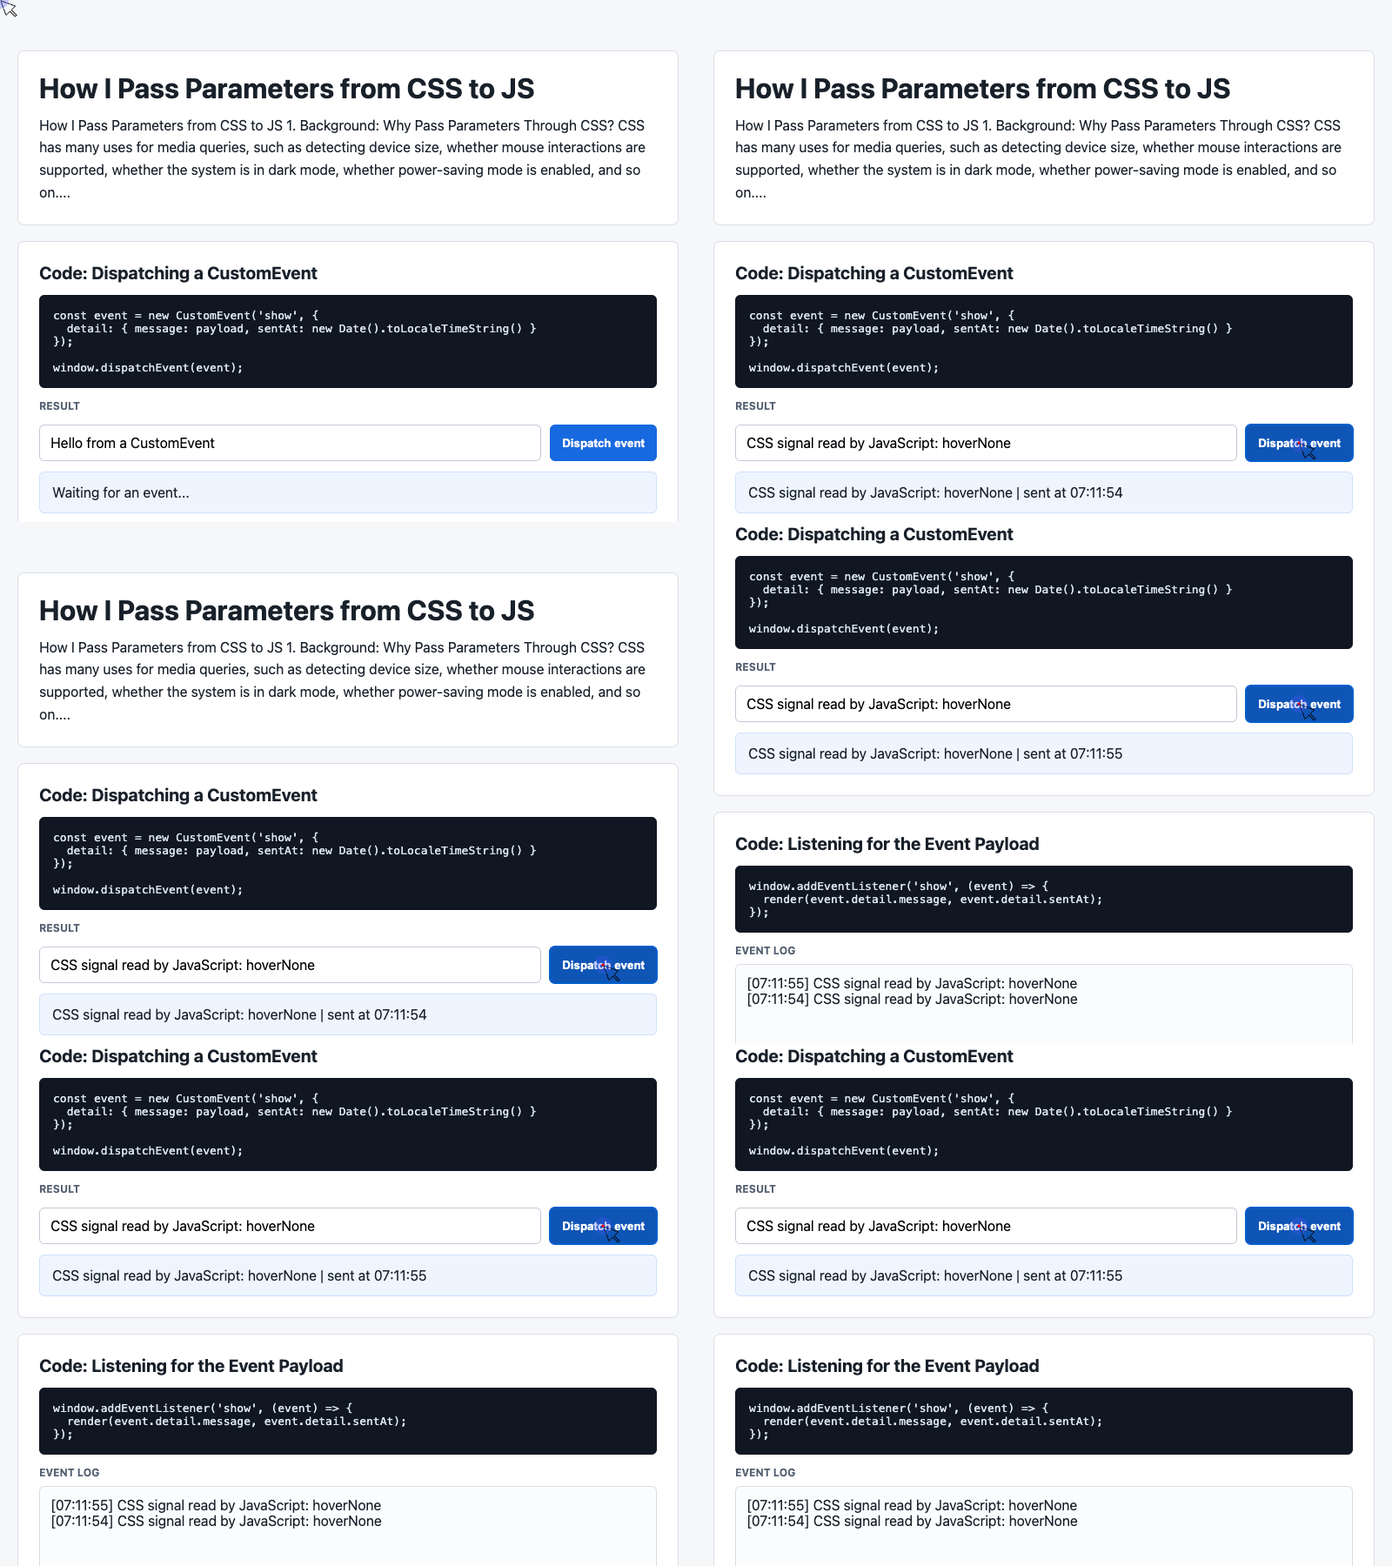
🎮 Try it live: Open the interactive demo to experience this yourself.
The advantage is compatibility. The downside is that pseudo-elements are awkward when you need to pass several values at once.
Method 2: Use CSS Custom Properties
For richer configuration, CSS variables are usually a better fit.
Here is a focused version of the demo page’s root styling, extended with a --mode variable:
:root {
  color-scheme: light;
  font-family: Inter, ui-sans-serif, system-ui, sans-serif;
  --mode: "unknown";
}

@media (prefers-color-scheme: dark) {
  :root {
    color-scheme: dark;
    --mode: "dark";
    --color-link: #bfdbff;
    --color-text: #ffffff;
  }
}

@media (prefers-color-scheme: light) {
  :root {
    --mode: "light";
    --color-link: #34538b;
    --color-text: #18202a;
  }
}
JavaScript can read the same value from the computed style of the document root:
const mode = getComputedStyle(document.documentElement)
  .getPropertyValue("--mode")
  .trim();

if (mode === '"dark"') {
  console.log("Dark mode is active");
} else {
  console.log("Light or default mode is active");
}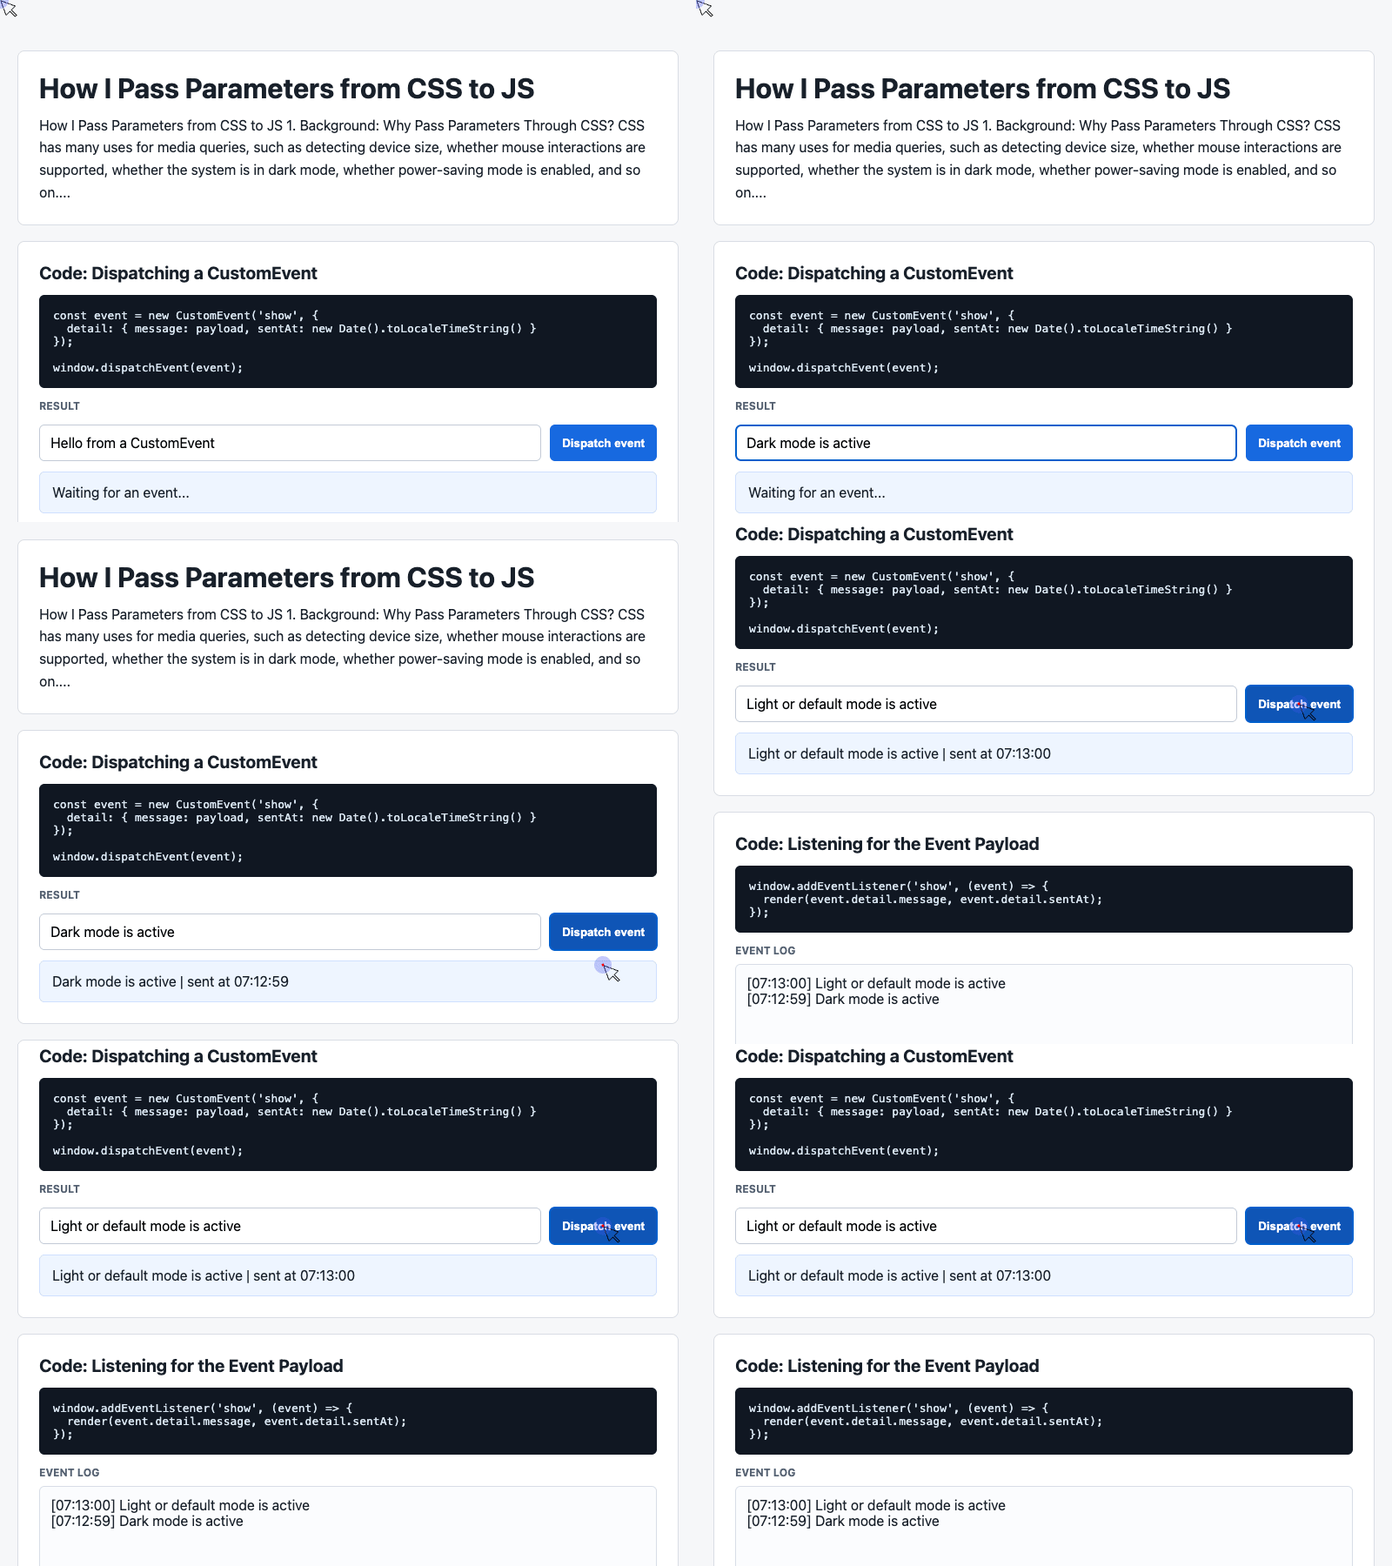
🎮 Try it live: Open the interactive demo to experience this yourself.
This scales much better than pseudo-element content. You can define several values in CSS and let JavaScript consume only the ones it needs.
Building a Small Demo Interface
The provided demo code uses a clean section-based layout with a result panel. This kind of structure works well for showing CSS-to-JS values in the browser.
<section>
  <h2>Detected CSS Parameter</h2>

  <div class="showcase">
    <div class="event-card" id="latest">
      Waiting for CSS state...
    </div>
  </div>
</section>
The visual container comes from the demo CSS:
.showcase {
  display: grid;
  gap: 12px;
  margin-top: 14px;
}

.event-card {
  border: 1px solid #cfe0ff;
  background: #eef5ff;
  border-radius: 6px;
  padding: 14px;
}
Then JavaScript can write the computed CSS value into the result card:
const latest = document.querySelector("#latest");

const mode = getComputedStyle(document.documentElement)
  .getPropertyValue("--mode")
  .trim();

latest.textContent = `Current CSS mode: ${mode}`;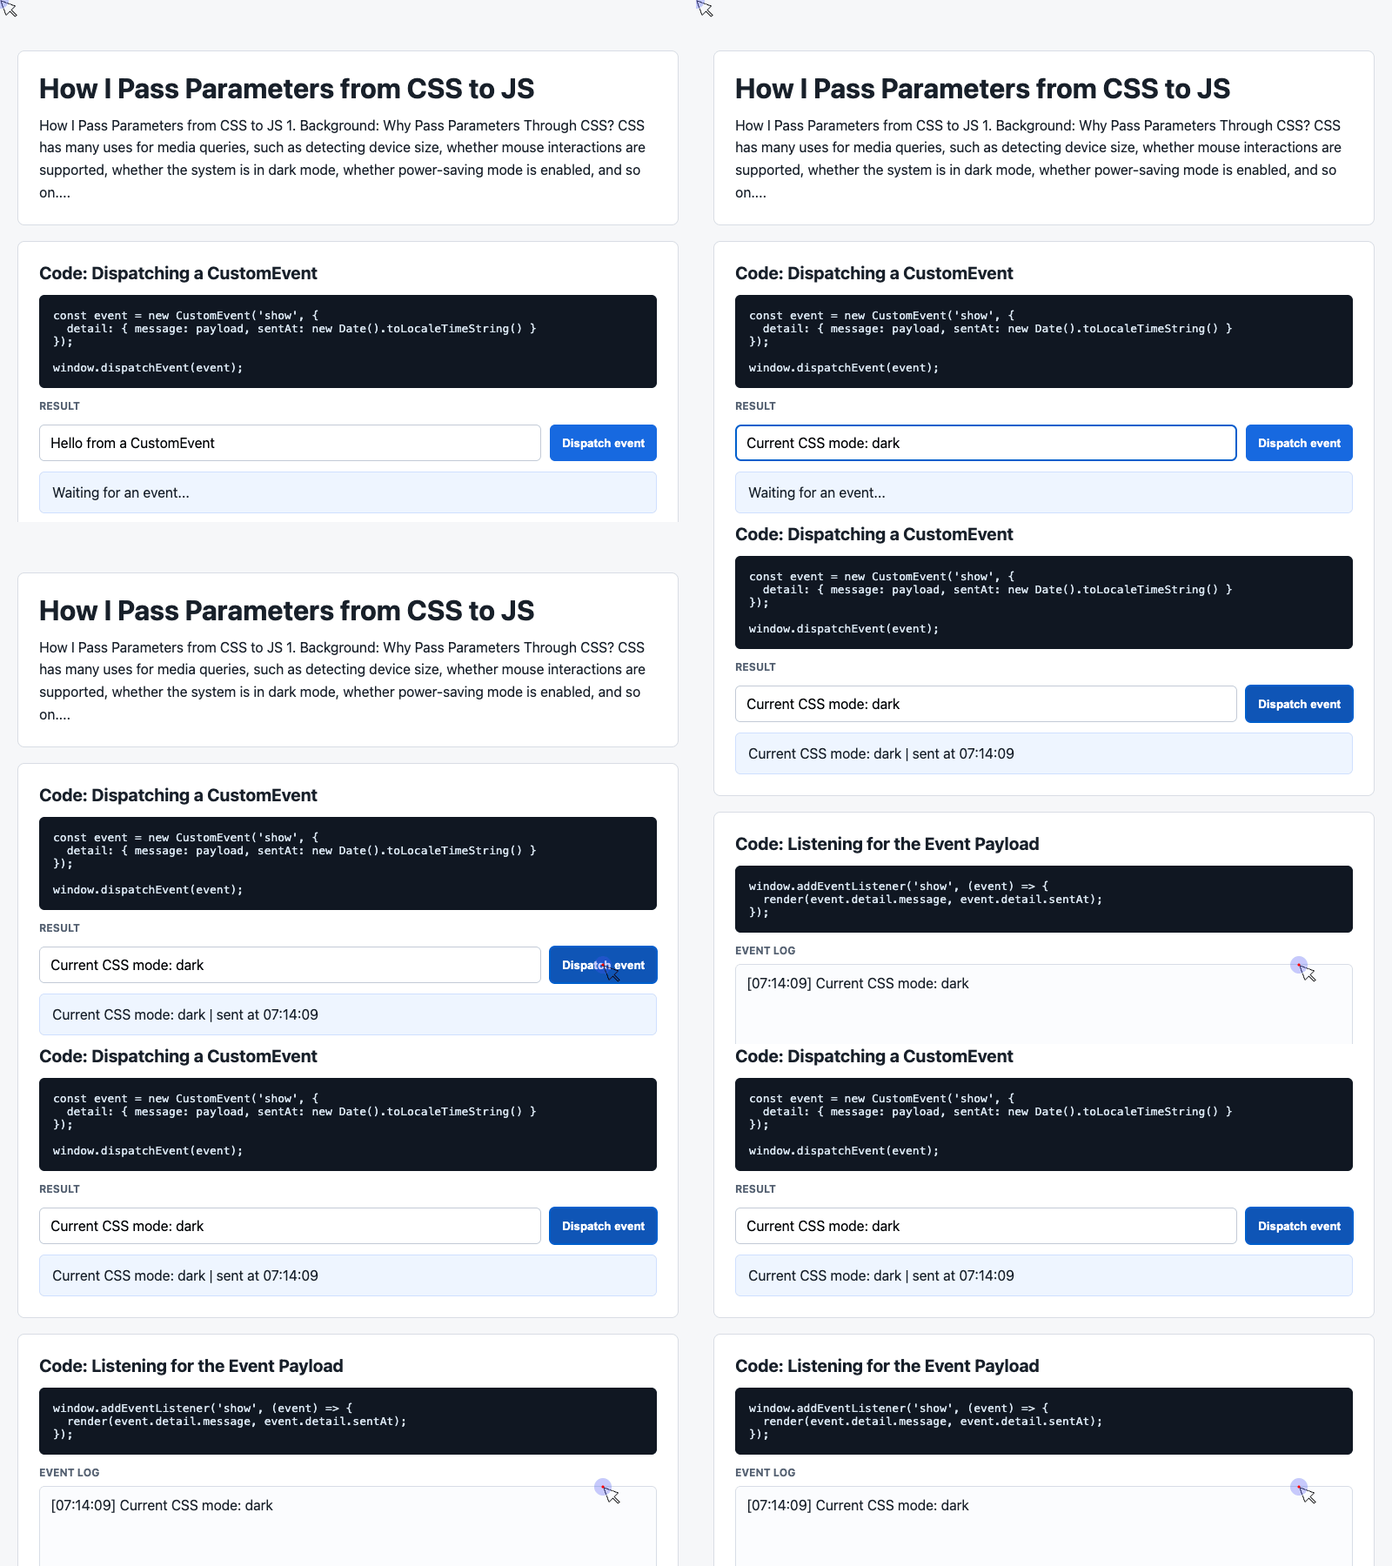
🎮 Try it live: Open the interactive demo to experience this yourself.
Optional: Dispatch a Custom Event After Reading CSS
The demo code also includes a useful event pattern. Once JavaScript reads a CSS parameter, it can broadcast the result to the rest of the app with CustomEvent.
const event = new CustomEvent("show", {
  detail: {
    message: mode,
    sentAt: new Date().toLocaleTimeString()
  }
});

window.dispatchEvent(event);
Other parts of the page can listen for that value:
window.addEventListener("show", (event) => {
  render(event.detail.message, event.detail.sentAt);
});
This keeps the CSS-reading logic in one place. Components that care about the result can subscribe to the event instead of repeating getComputedStyle() everywhere.
When Should You Use Each Method?
Use pseudo-element content when you only need to pass one small signal, such as hoverNone, mobile, or compact.
Use CSS custom properties when you need multiple values, theme tokens, or a more maintainable configuration surface.
For many media-query cases, window.matchMedia() is also available and should be considered. But when CSS is already making the layout or theme decision, reading the computed CSS value keeps CSS and JavaScript aligned around the same source of truth.
Closing Thoughts
Passing parameters from CSS to JavaScript is not a trick I use everywhere. But for responsive behavior, theme-aware rendering, and device capability detection, it is a practical way to avoid duplicated constants and drifting logic.
CSS decides what the environment means. JavaScript reads that decision and responds.
Try It Yourself
Want to see these concepts in action? I’ve created an interactive demo where you can experiment with the code and see real-time results.
Explore more demos from my previous articles in the Demo Gallery.
Happy coding!