Understand the browser’s validation tools—and connect them to an interactive, event-driven interface.
Adapted from zhangxinxu’s original article, with updated technical explanations and examples drawn from the supplied demo.
A browser’s “Please fill out this field” message is the most familiar face of native form validation. Add required to an input, attempt to submit the form, and the browser flags the missing value.
Behind that message sits a useful JavaScript API. It can check individual controls, explain why a value failed, display feedback, and incorporate rules specific to your application.
Understanding these capabilities can save you from rebuilding validation logic the browser already provides.
1. The Three Layers of Native Validation
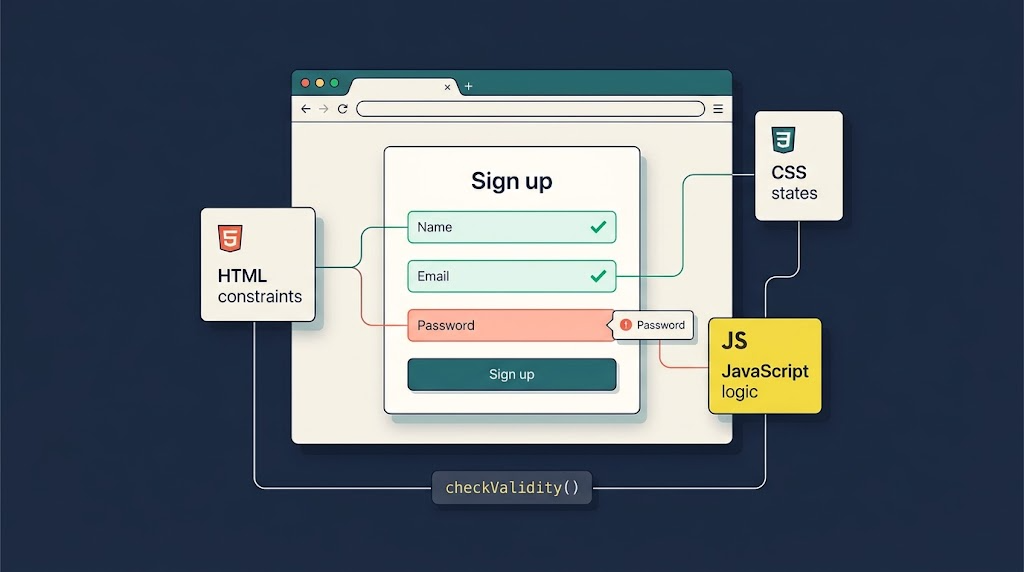
Native form validation connects three parts of the web platform:
- HTML defines constraints through attributes such as
required,type,pattern,min, andmaxlength. - CSS reflects validation state through selectors such as
:required,:optional,:valid, and:invalid. - JavaScript inspects and controls validation through methods, properties, and events.
Together, these form the Constraint Validation API: the browser’s mechanism for determining whether form values satisfy their declared rules. MDN’s constraint validation guide explains how these layers interact.
The most useful methods and properties are:
| API | Purpose |
|---|---|
checkValidity() | Check whether a control or form passes validation. |
reportValidity() | Check validity and display browser feedback for failures. |
setCustomValidity(message) | Set or clear a custom validation error. |
validity | Inspect the individual validation states. |
validationMessage | Read the current validation message. |
willValidate | Determine whether a control participates in validation. |
Let’s examine what each one does before connecting them to a working interface.
2. Checking, Reporting, and Setting Errors
checkValidity(): Does the value pass?
Calling input.checkValidity() returns a Boolean:
truewhen the control satisfies its constraints—or is excluded from constraint validation.falsewhen an eligible control fails validation.
It also fires an invalid event when the control fails. It does not display the browser’s validation popup by itself. Reading input.validity.valid gives you the validity state without triggering that event. MDN: checkValidity()
For a whole form, use form.checkValidity(). This checks its associated controls and fires invalid events on the failing controls, rather than on the form itself. MDN: form validation checks
reportValidity(): Show the user what failed
Calling input.reportValidity() performs a validation check and returns a Boolean too.
The difference is feedback: when validation fails, the browser displays the problem unless the invalid event is canceled. This makes it useful for buttons that should explicitly check a field before continuing. MDN: reportValidity()
setCustomValidity(): Add an application rule
setCustomValidity() does more than change an error message.
Passing a nonempty string marks the control as invalid. Passing '' clears that custom error, allowing the browser’s remaining constraints to determine validity.
For example, input.setCustomValidity('Please select a city.') creates a custom validation failure. Calling input.setCustomValidity('') removes it.
Always clear an obsolete custom error. Editing the input does not automatically remove an error your JavaScript previously set. MDN: setCustomValidity()
This is how application rules—such as matching two password fields—can participate in native validation.
3. Understanding the validity Object
A Boolean tells you whether validation failed. The validity property helps explain why.
It returns a read-only ValidityState object. Each failure flag becomes true when its corresponding condition applies; valid summarizes whether all constraints are satisfied. MDN: ValidityState
| Property | Meaning when true |
|---|---|
valueMissing | A required value or selection is missing. |
typeMismatch | An email or URL has invalid syntax. |
patternMismatch | The value fails the specified pattern. |
tooShort | User-entered text falls below minlength. |
tooLong | User-entered text exceeds maxlength. |
rangeUnderflow | The value falls below min. |
rangeOverflow | The value exceeds max. |
stepMismatch | The value does not align with the allowed step and its base. |
badInput | The browser cannot convert the user’s input to the required value type. |
customError | A nonempty custom validation message is set. |
valid | No validation failure applies. |
A few details matter in practice:
Length constraints have special behavior. minlength and maxlength are checked on user-provided input, not simply because JavaScript assigns a value. Browsers also commonly prevent users from typing beyond maxlength. MDN: constraint validation
:out-of-range concerns range limits. It applies to range underflow or overflow. A step mismatch or text-length error alone does not activate it. HTML Standard: range selectors
There is no standard native valid event. Use input or change to observe edits and inspect validity. The native invalid event occurs when validation checks fail; it is not a general notification for every keystroke. HTML Standard: constraint validation
validationMessage: Read the feedback
input.validationMessage contains the current error text. It is empty when the control is valid or excluded from validation.
Browser-generated wording depends on the browser and its language settings, so avoid treating a particular English sentence as a fixed API result. MDN: client-side form validation
willValidate: Check participation
input.willValidate answers whether the control is eligible for validation, rather than whether its value passes.
For example, a disabled input or an input with type="hidden" does not participate. An ordinary editable text input generally does. MDN: willValidate
4. Practical Example: Validate Before Dispatching an Event
The supplied demo sends a message through a CustomEvent, displays the latest message, and maintains an event log.
Its original input has no validation constraints. We can extend that example by checking the message before dispatching the event.
The following three snippets reuse its elements, event payload, and rendering logic. The HTML and click handler add validation; the final listener is extracted directly from the demo. Keep the demo’s CSS, replace its relevant markup, and place both JavaScript snippets together after the HTML, replacing the original script.
Example 1: Define the Input Constraints
Start with the demo’s input, button, result card, and log. Add a label, a required value, and length constraints.
<label for="payload">Message (5–80 characters)</label>
<div class="controls">
  <input id="payload" required minlength="5" maxlength="80"
         value="Hello from a CustomEvent">
  <button id="dispatch" type="button">Dispatch event</button>
</div>

<div class="event-card" id="latest" role="status">
  Waiting for an event...
</div>
<div class="log" id="event-log">No events yet.</div>
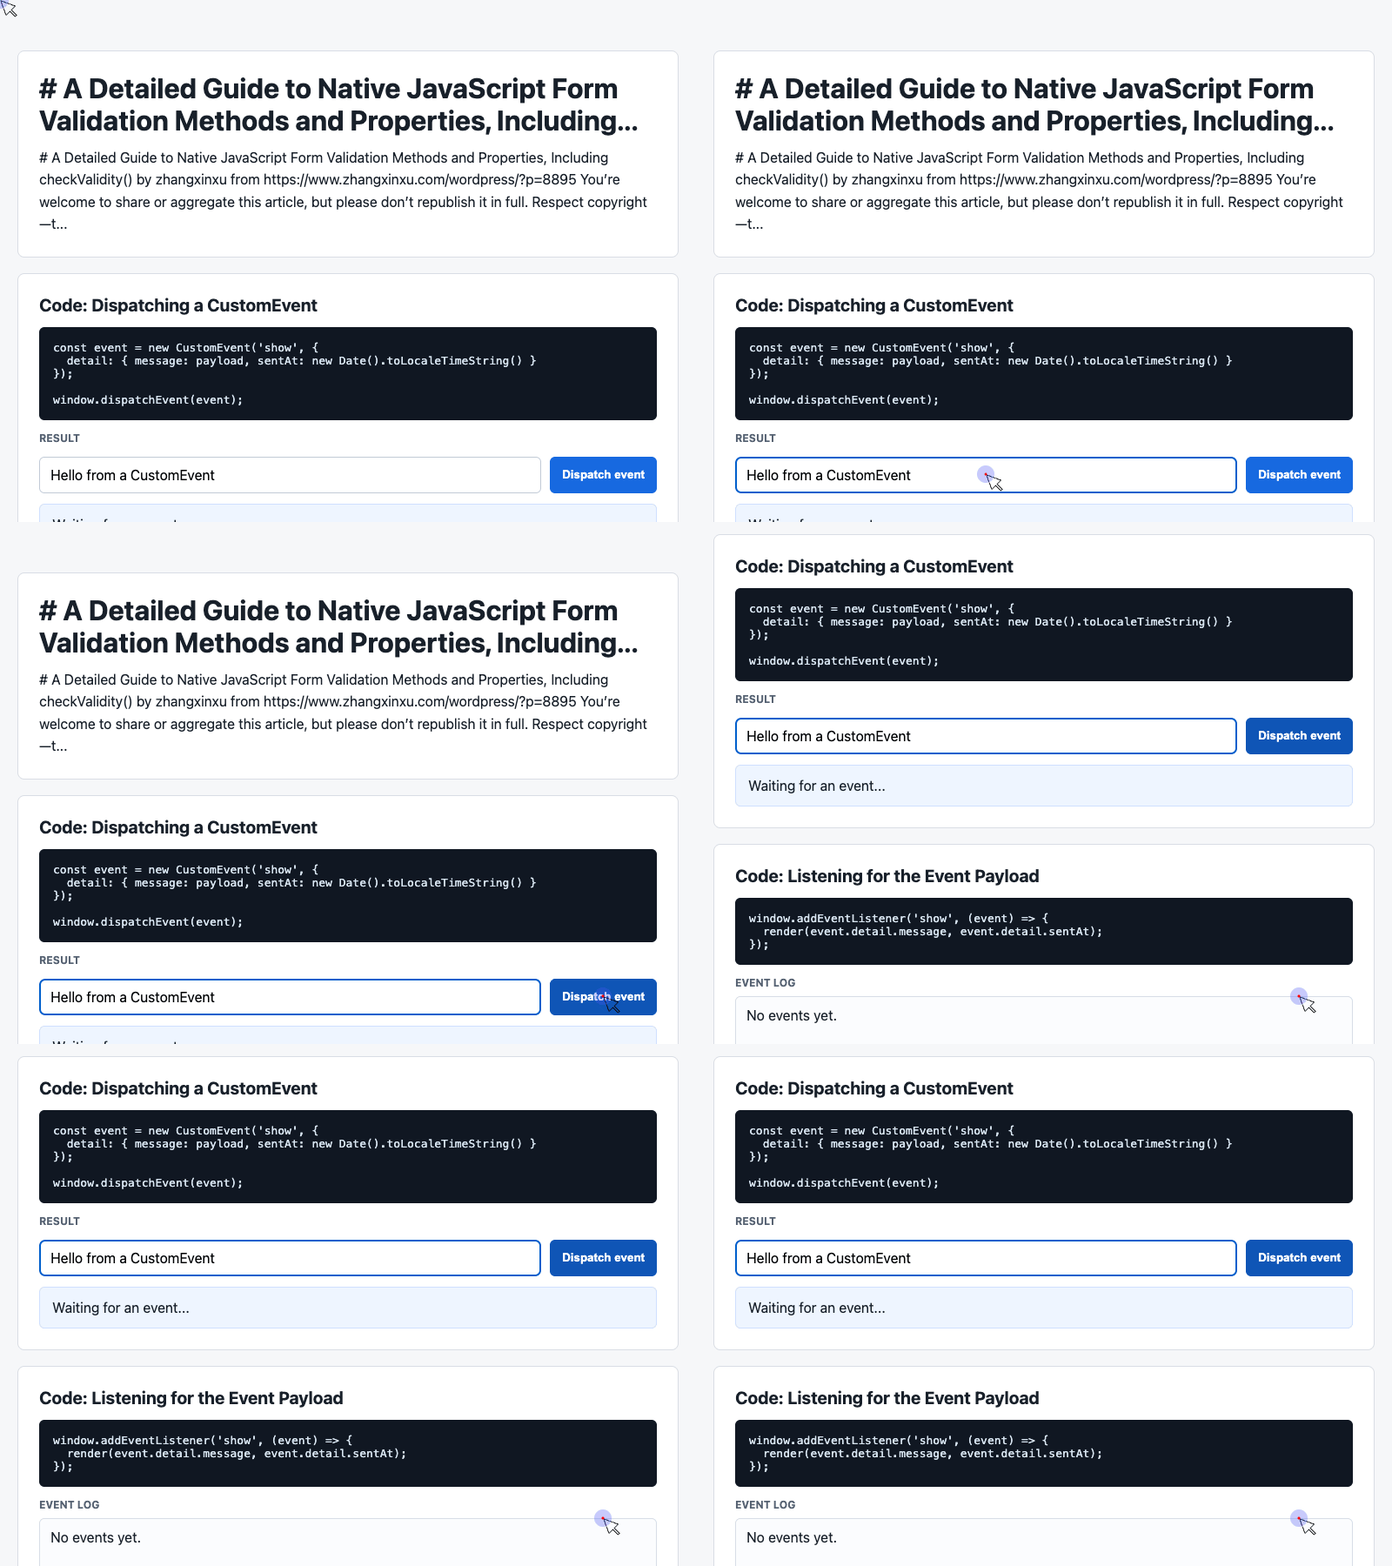
🎮 Try it live: Open the interactive demo to experience this yourself.
The browser now knows the field’s basic rules. The role="status" addition also gives assistive technology a way to announce updates to the latest-message area.
Because this example uses a regular button, JavaScript will explicitly trigger validation.
Example 2: Check the Message Before Sending It
HTML’s required attribute rejects an empty text field, but whitespace is still a value. Add a custom rule to reject messages made entirely of spaces.
The workflow becomes straightforward: update the custom rule, check validity, report any failure, and dispatch only after success.
This adaptation retains the demo’s CustomEvent payload and dispatch mechanism:
const input = document.querySelector('#payload');

function updateCustomError() {
  const onlyWhitespace =
    input.value.length > 0 && input.value.trim().length === 0;

  input.setCustomValidity(
    onlyWhitespace ? 'Please enter more than whitespace.' : ''
  );
}

input.addEventListener('input', updateCustomError);

document.querySelector('#dispatch').addEventListener('click', () => {
  updateCustomError();

  if (!input.checkValidity()) {
    input.reportValidity();
    return;
  }

  const message = input.value.trim();
  const event = new CustomEvent('show', {
    detail: { message, sentAt: new Date().toLocaleTimeString() }
  });

  window.dispatchEvent(event);
});
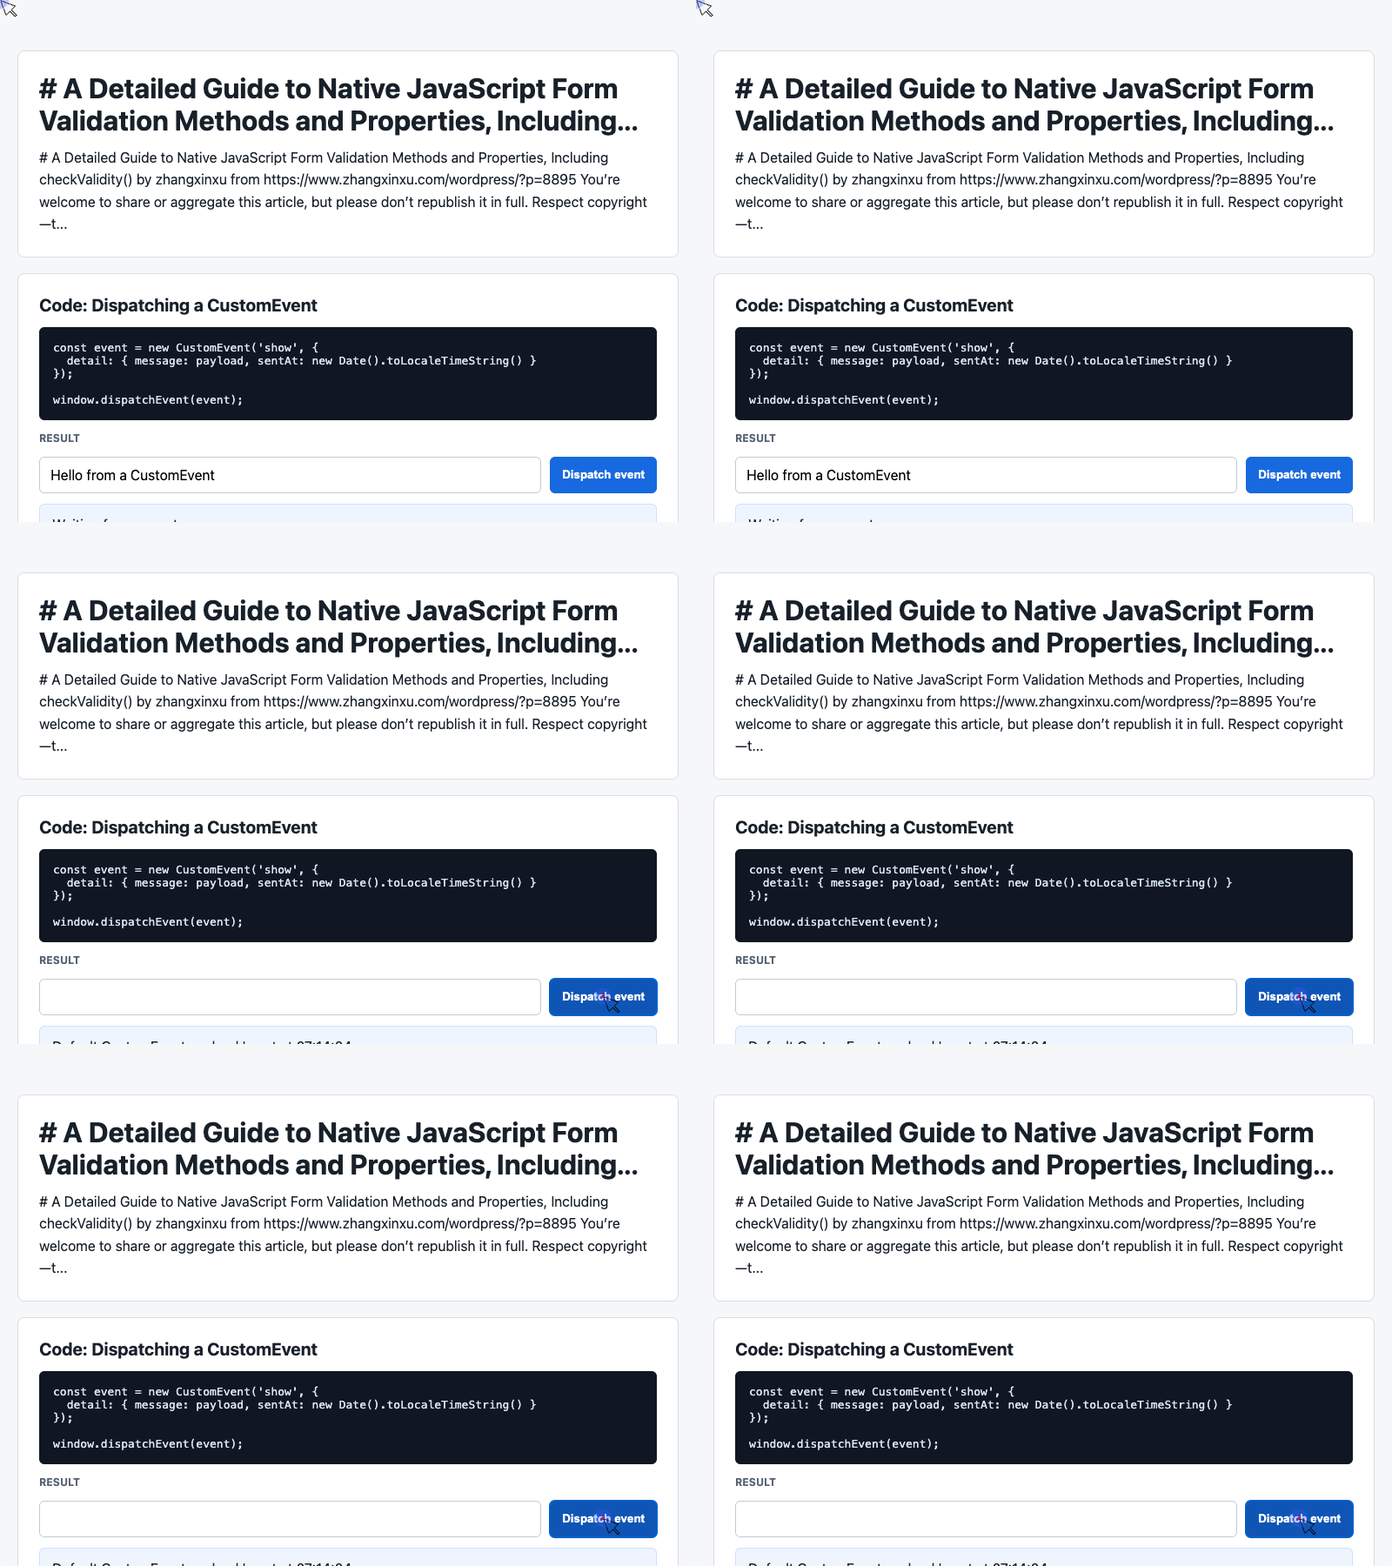
🎮 Try it live: Open the interactive demo to experience this yourself.
The custom error is recalculated while the user types and immediately before dispatch. Returning an empty string from the successful branch clears any previous custom failure.
The original demo substituted a default message for blank input. This version asks the user to correct the value before sending an event. HTML length constraints apply to the entered text; the dispatched payload has surrounding whitespace removed.
Here, both validation methods appear to make their roles explicit. Calling them in succession checks an invalid control twice and can fire invalid twice. If you only need a check with browser feedback, replace that conditional with if (!input.reportValidity()) return;.
Example 3: Render the Accepted Message
Once validation succeeds, the demo’s existing listener can display the event payload.
The following code is extracted directly from its script:
const latest = document.querySelector('#latest');
const log = document.querySelector('#event-log');
const history = [];

window.addEventListener('show', (event) => {
  const detail = event.detail || {};
  latest.textContent = detail.message + ' | sent at ' + detail.sentAt;
  history.unshift('[' + detail.sentAt + '] ' + detail.message);
  log.textContent = history.slice(0, 6).join('\n');
});
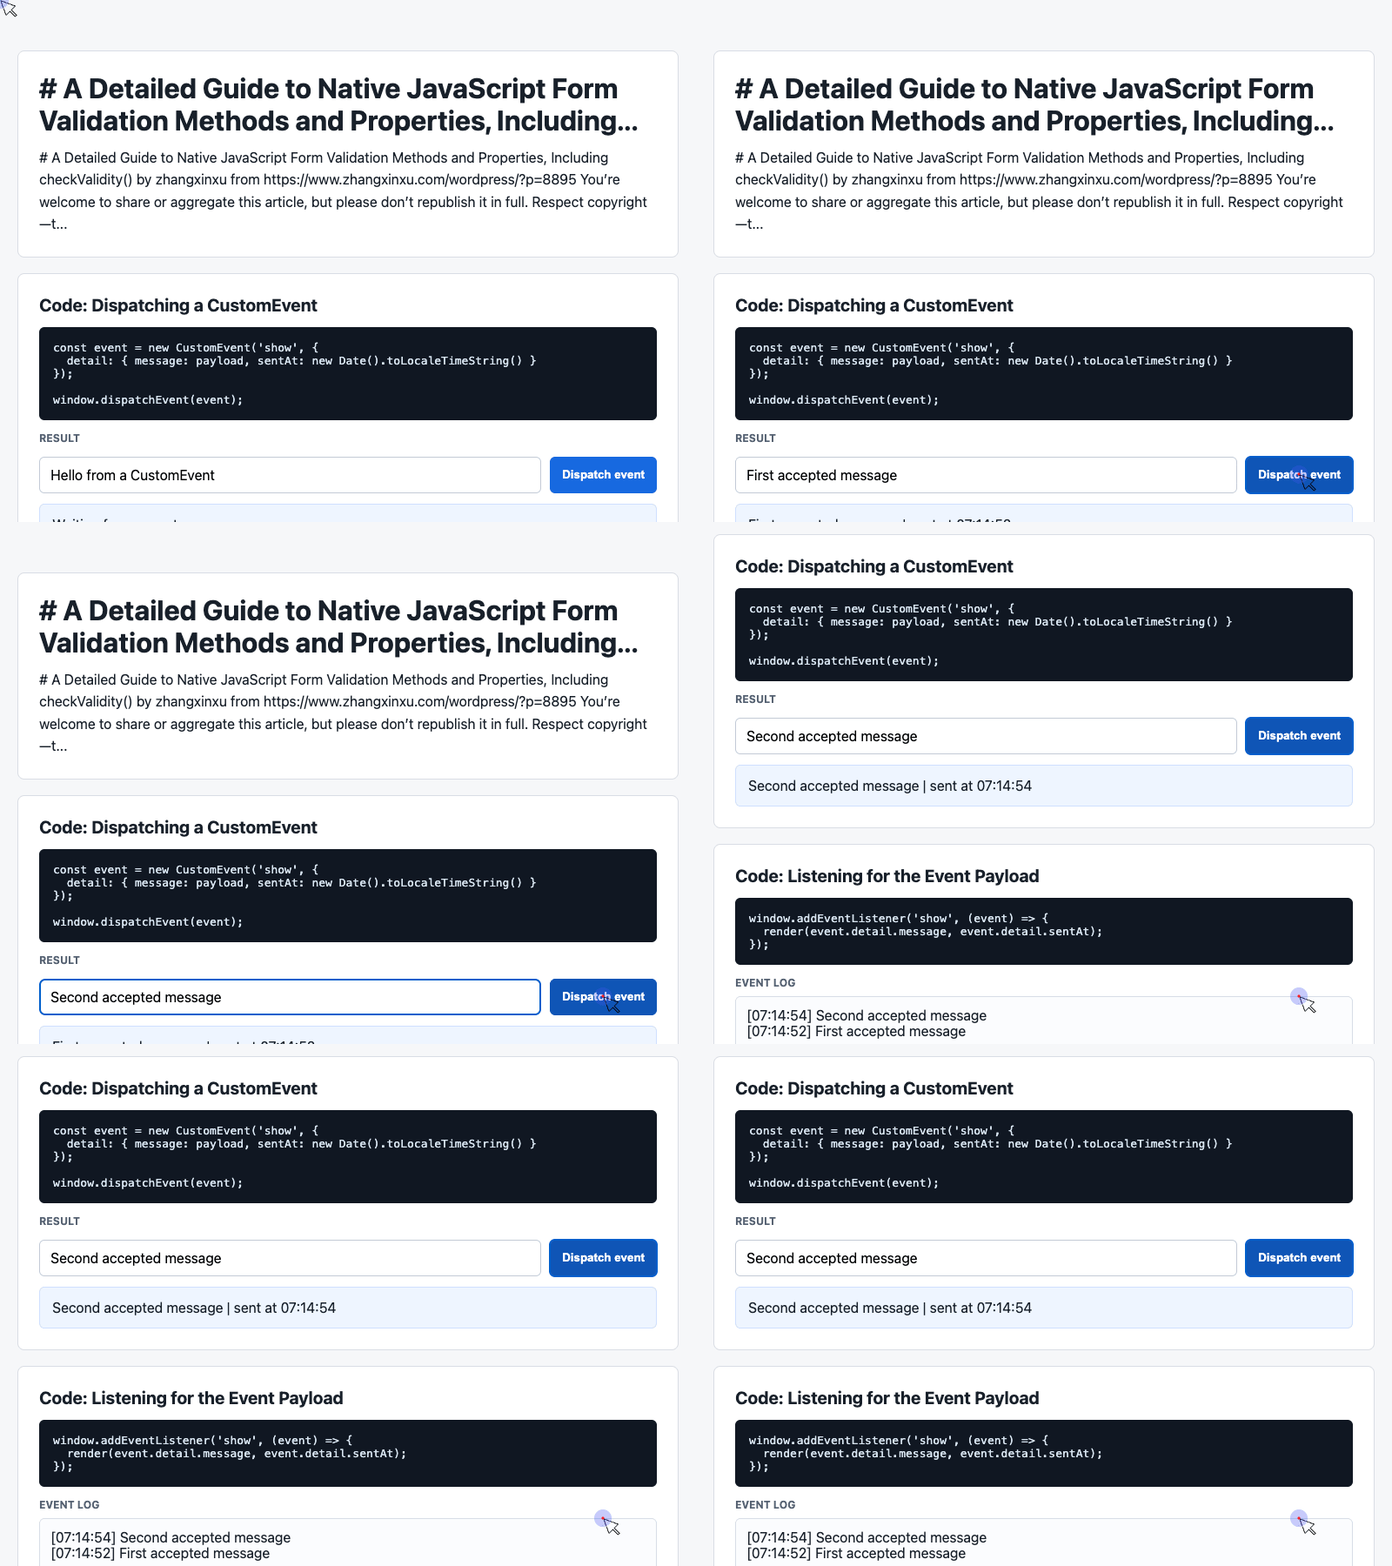
🎮 Try it live: Open the interactive demo to experience this yourself.
The listener updates the result card and displays the six most recent entries. Using textContent ensures the message is rendered as text.
The application-defined show event connects the button’s logic to the display. Validation happens before that event is dispatched by the click handler; the event itself provides no validation guarantee.
5. Verify the Behavior
With all three snippets in place, try these inputs:
| Action | Expected result |
|---|---|
| Clear the input and click the button. | Native required-field feedback appears; no event is dispatched. |
| Type three characters and click. | The browser reports the minimum-length failure. |
| Enter five spaces and click. | The custom whitespace message appears. |
| Enter “Hello from validation” and click. | The result card and event log update. |
| Correct a previously invalid message. | The obsolete custom error clears, allowing valid input through. |
Type the short value manually when checking minlength, because assigning a short string through JavaScript does not exercise the same native length-validation behavior.
6. Browser Support and Form Submission
These core APIs are widely available in current browsers. The original article’s IE9 polyfill discussion reflects an earlier compatibility landscape; legacy requirements should be checked method by method. MDN: validation API compatibility
For actual forms, remember that submission behavior matters: ordinary interactive submission performs validation, while calling form.submit() directly bypasses it. The novalidate attribute also disables automatic validation during submission. MDN: constraint validation behavior
Client-side validation improves feedback, but submitted data still needs validation on the server. MDN: form validation fundamentals
Conclusion
Native form validation provides a compact foundation for useful interfaces:
- Declare standard rules in HTML.
- Use
checkValidity()to evaluate them. - Use
reportValidity()to display feedback. - Inspect
validitywhen you need the reason for failure. - Use
setCustomValidity()to incorporate application rules—and clear them when resolved.
The event demo shows how these pieces fit into everyday JavaScript: validate the input, explain any problem, and continue the interaction once the value is acceptable.
Try It Yourself
Want to see these concepts in action? I’ve created an interactive demo where you can experiment with the code and see real-time results.
Explore more demos from my previous articles in the Demo Gallery.
Happy coding!