
Giving an everyday form control a little more room to breathe.
Adapted from zhangxinxu’s original article, with technical corrections and companion demo examples.
A textarea can feel spacious when you start typing and cramped three sentences later. A small resize handle solves that problem: drag the corner, make more room, and keep writing.
Chrome and Firefox offered that convenience while Internet Explorer and the original Edge lacked support for CSS resize. That gap motivated this polyfill.
The distinction matters today: this article concerns Internet Explorer and Edge Legacy, the version built on EdgeHTML. Modern Chromium-based Edge supports native CSS resizing. See MDN’s browser compatibility reference.
A Small Handle With More Responsibilities Than You Might Expect
The visible feature is simple: a dotted handle in the textarea’s bottom-right corner, inspired by Firefox.
The behavior takes more care. A useful polyfill needs to respect the permitted resizing direction, keep its handle aligned with the control, and accommodate textareas added after the page loads.
The original implementation describes support for:
- Resizing horizontally, vertically, or in both directions.
- Textareas displayed inline, inline-block, or as blocks.
- Handle positioning that adapts to changes in the textarea’s display setting.
- Dynamically inserted textareas without additional initialization.
The original demonstration was recorded in IE9, the stated minimum supported version. Its most useful design choice is the integration model: include the script and declare the behavior in markup.
Declare the Direction, Then Include the Script
The polyfill uses a resize attribute with three supported values: both, horizontal, and vertical.
This attribute is a convention used by the polyfill, not a standard HTML textarea attribute. CSS attribute selectors map those same values to native resizing in browsers that support it.
The following compact setup combines the original article’s markup and CSS. It assumes you have obtained resize-polyfill.js from the original project and placed it beside the page.
<style>
  textarea {
    vertical-align: top;
    box-sizing: border-box;
    resize: none;
    overflow: auto;
  }

  textarea[resize] { resize: both; }
  textarea[resize="vertical"] { resize: vertical; }
  textarea[resize="horizontal"] { resize: horizontal; }
</style>

<label>
  Resize freely
  <textarea resize="both"></textarea>
</label>

<label>
  Resize vertically
  <textarea resize="vertical"></textarea>
</label>

<label>
  Resize horizontally
  <textarea resize="horizontal"></textarea>
</label>

<script src="./resize-polyfill.js"></script>
🎮 Try it live: Open the interactive demo to experience this yourself.
The base rule disables resizing until a textarea opts in through the attribute. The more specific selectors then choose the permitted direction. overflow: auto lets overflowing content scroll, and box-sizing: border-box makes assigned dimensions include padding and borders.
There is one correction to the supplied article: its horizontal selector sets resize: both. The example above uses resize: horizontal, so native behavior matches the attribute’s meaning. The direction values are documented in MDN’s resize reference.
No initialization call is required by the original polyfill. That keeps adoption straightforward, especially on pages where textareas appear dynamically.
What the Supplied Demo Actually Demonstrates
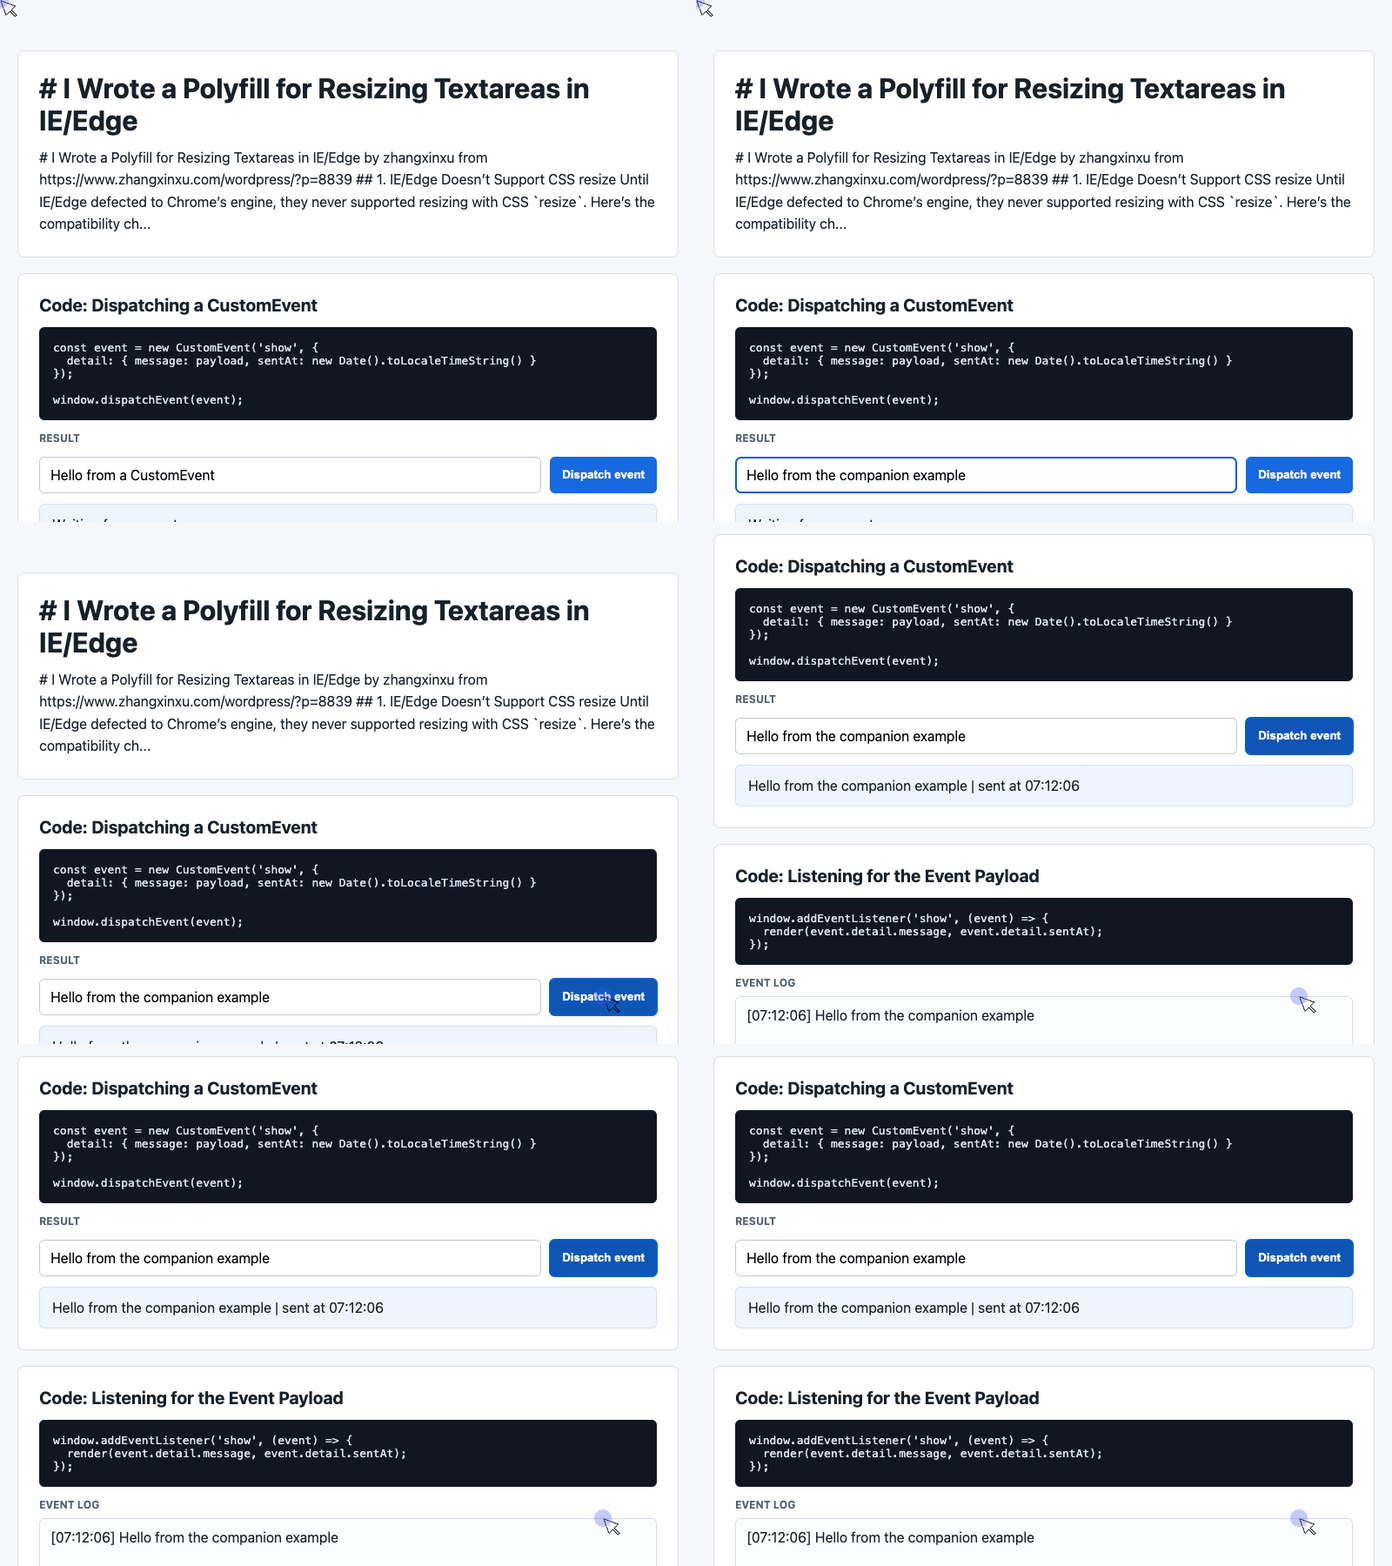
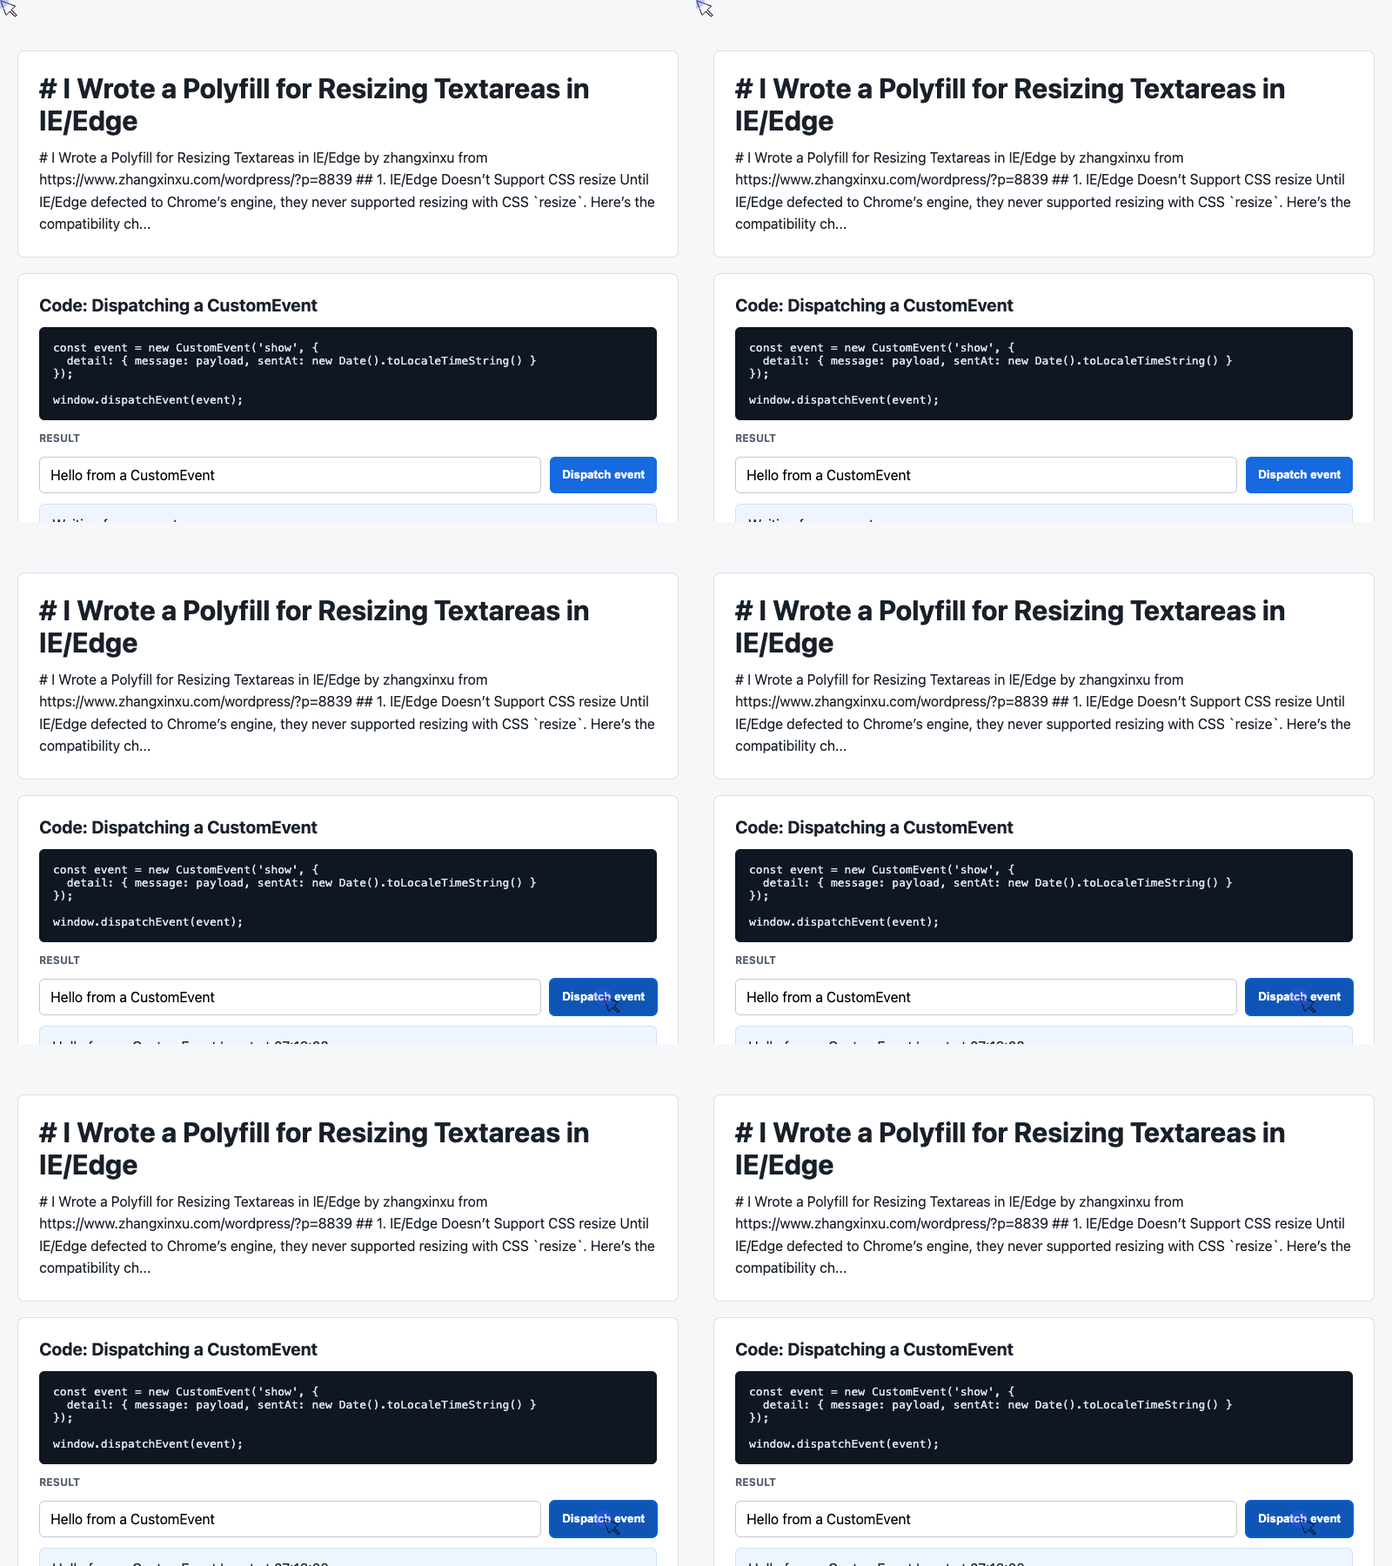
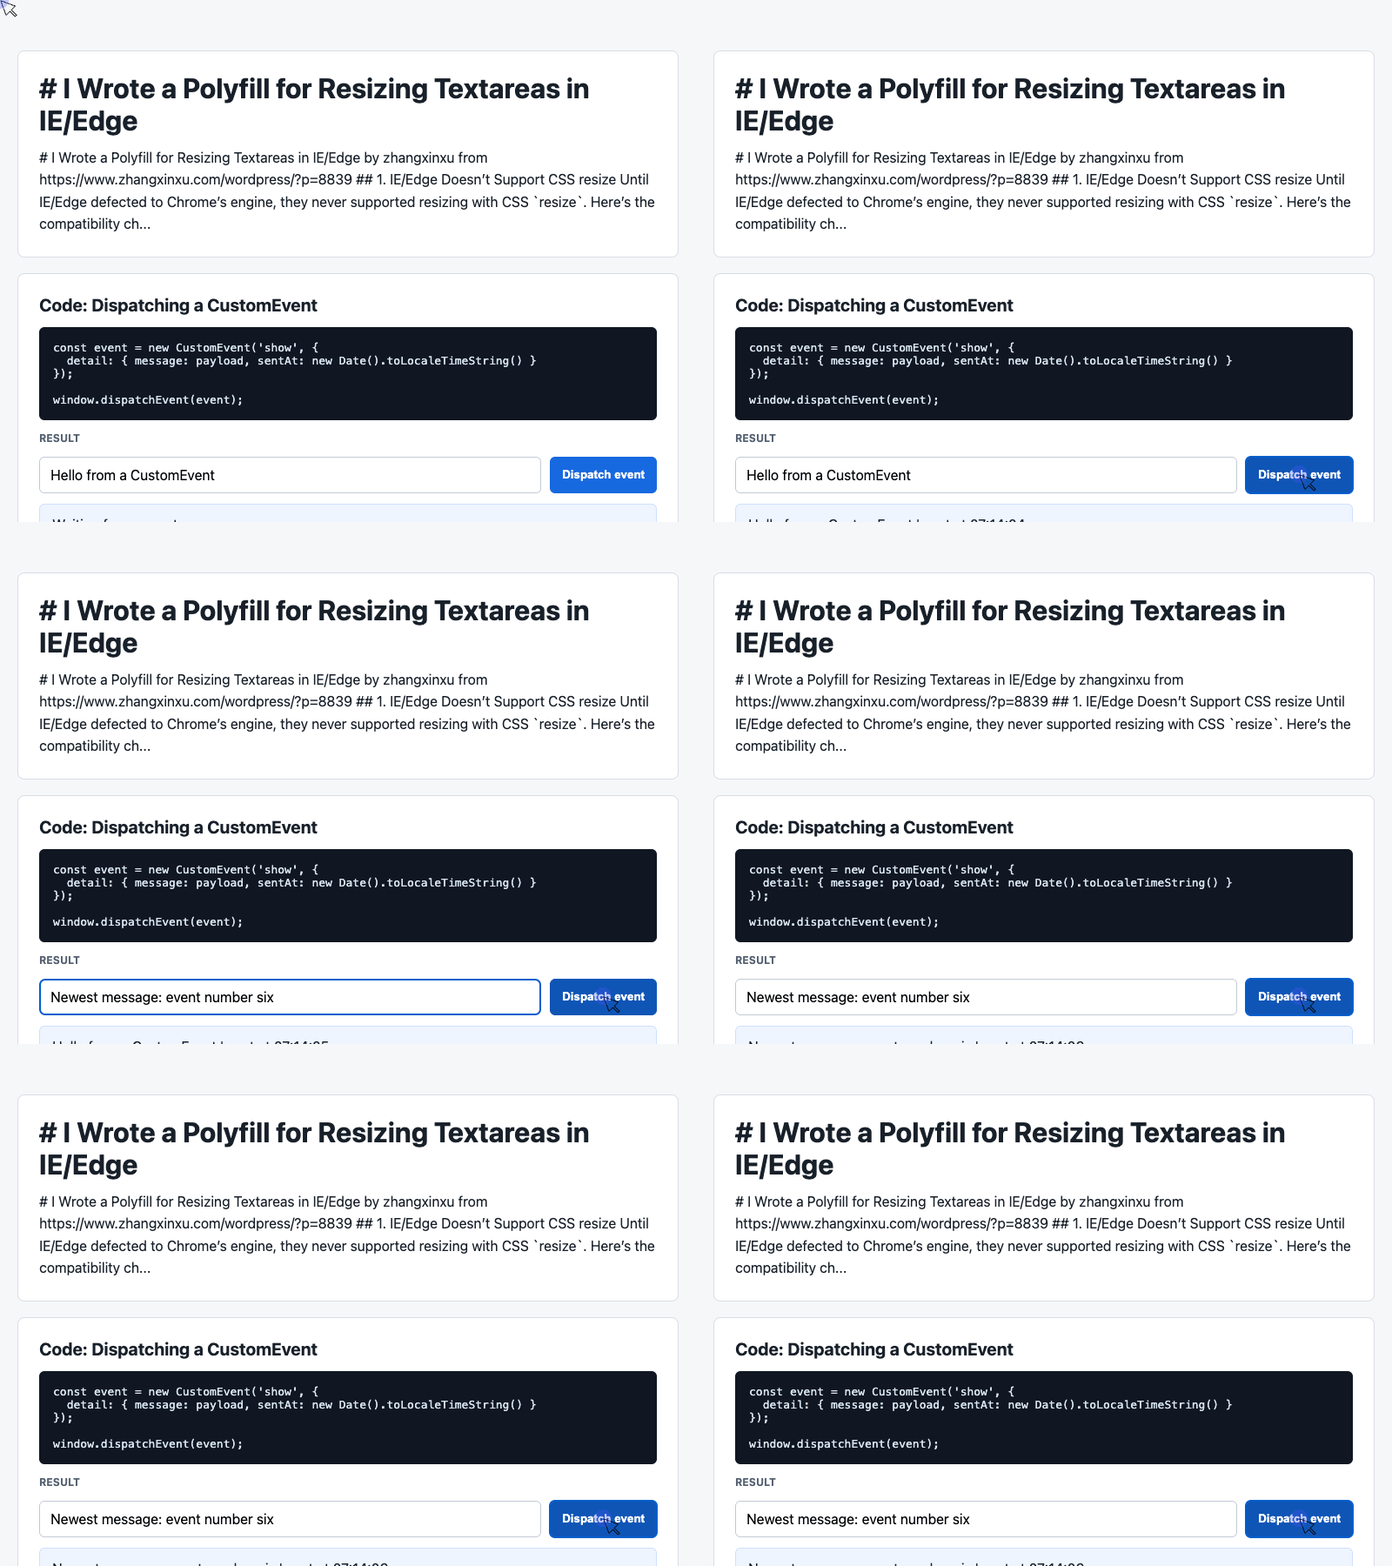
The accompanying generated demo needs a clarification: it contains a CustomEvent playground, not the textarea resize implementation. It has a message input, a dispatch button, a latest-message card, and an event log. It does not contain the resize handle or dragging logic.
Still, two extracts from that demo illustrate a useful companion technique: separating an interaction from the code that displays its outcome.
For a resize component, a similar pattern could report size changes to a status panel. That would require an explicit connection to the resizing code; the supplied demo does not implement that connection.
Send a Message Through a Custom Event
The first extract reads the input and dispatches a show event. Its detail object carries the message and a timestamp.
This code uses the supplied demo’s existing #payload input and #dispatch button. Run it after those elements exist. Together with the listener in the next section, it produces the visible message update.
const input = document.querySelector('#payload');

document.querySelector('#dispatch').addEventListener('click', () => {
  const message = input.value.trim() || 'Default CustomEvent payload';
  const event = new CustomEvent('show', {
    detail: { message, sentAt: new Date().toLocaleTimeString() }
  });
  window.dispatchEvent(event);
});
🎮 Try it live: Open the interactive demo to experience this yourself.
The click handler prepares data and announces an event. It leaves rendering to the listener.
The fallback message also makes an empty or whitespace-only input produce a visible result. The detail property is the standard place to attach application data to a custom event, as explained in MDN’s CustomEvent documentation.
Display the Latest Event and Recent History
The second extract handles presentation. It updates the latest-message card and places newer messages at the top of the log.
It uses the demo’s existing #latest and #event-log elements. Install this listener before clicking the dispatch button.
const latest = document.querySelector('#latest');
const log = document.querySelector('#event-log');
const history = [];

window.addEventListener('show', (event) => {
  const detail = event.detail || {};
  latest.textContent = detail.message + ' | sent at ' + detail.sentAt;
  history.unshift('[' + detail.sentAt + '] ' + detail.message);
  log.textContent = history.slice(0, 6).join('\n');
});
🎮 Try it live: Open the interactive demo to experience this yourself.
Using textContent displays the message as text. The demo’s white-space: pre-wrap styling preserves the log’s line breaks.
One implementation detail deserves attention: slice(0, 6) limits the displayed entries, while the history array continues growing. A long-running application would also need to cap the stored history.
These two extracts are modern-browser examples. Their arrow functions and CustomEvent constructor usage should not be mistaken for IE9-compatible polyfill code.
Keep the Compatibility Promise Narrow
The original polyfill targets <textarea> elements and states support for IE9 and later. That promise belongs to the original resize script, not the separately generated event demo.
For integration, start with a straightforward block-level textarea layout, as the original author recommends. Then check the behaviors your page needs: each resize direction, dynamic insertion, and any layout changes that could move the handle.
Extending support to other elements deserves additional work. Changing the selector may identify different targets, but it does not establish that handle positioning, sizing, and layout behavior will work correctly for them.
The strongest part of this approach is its small public interface: markup selects the behavior, CSS supplies native support, and the script fills the historical browser gap.
Leave Yourself Room to Stretch, Too
The original article closes with a return to weekly basketball after a long break. Despite getting home late, the author felt refreshed and focused enough to finish writing.
That is a fitting ending for a project about making room. Sometimes a small adjustment—a larger writing area, a simpler integration, or an evening away from the keyboard—makes the next task feel easier.
Try It Yourself
Want to see these concepts in action? I’ve created an interactive demo where you can experiment with the code and see real-time results.
Explore more demos from my previous articles in the Demo Gallery.
Happy coding!