A clearer way to find the page’s scrolling element—and put it to work.
By zhangxinxu · Original article
Reproduction notice: Personal websites may reproduce the original article in full without permission, provided they retain the author, source, and links. Any website may aggregate excerpts. Commercial use requires the author’s permission.
Why Does document.scrollingElement Exist?
Reading the page’s vertical scroll position is straightforward: window.pageYOffset gives you the current offset.
Changing that position takes a different approach. Assigning a value to pageYOffset does not scroll the page. You can use window.scrollTo(), or work directly with the scrolling element’s scrollTop property. These interfaces are defined in the CSSOM View specification.
The second approach historically raised a compatibility question: which element represents the page’s scroll position—html or body?
The original article described desktop browsers exposing the offset through document.documentElement.scrollTop, while some mobile browsers exposed it through document.body.scrollTop. Developers often handled the difference by assigning the same value to both properties.
It worked, but it left application code responsible for a browser detail.
Updated on August 1, 2024
On Android and iOS, the page’s scrolling element is now also the html element. The distinction described in the original article now concerns quirks mode.
For modern HTML documents in standards mode, document.scrollingElement returns document.documentElement. In quirks mode, it can return document.body or null, depending on the document’s conditions. The specification defines these rules explicitly.
The supplied demo begins with <!doctype html>, which puts it in standards mode.
Control the Page’s Position in One Line
document.scrollingElement gives the scrolling element a clear, discoverable name.
On a loaded standards-mode page, moving to a vertical offset of 400 CSS pixels requires just one assignment:
document.scrollingElement.scrollTop = 400;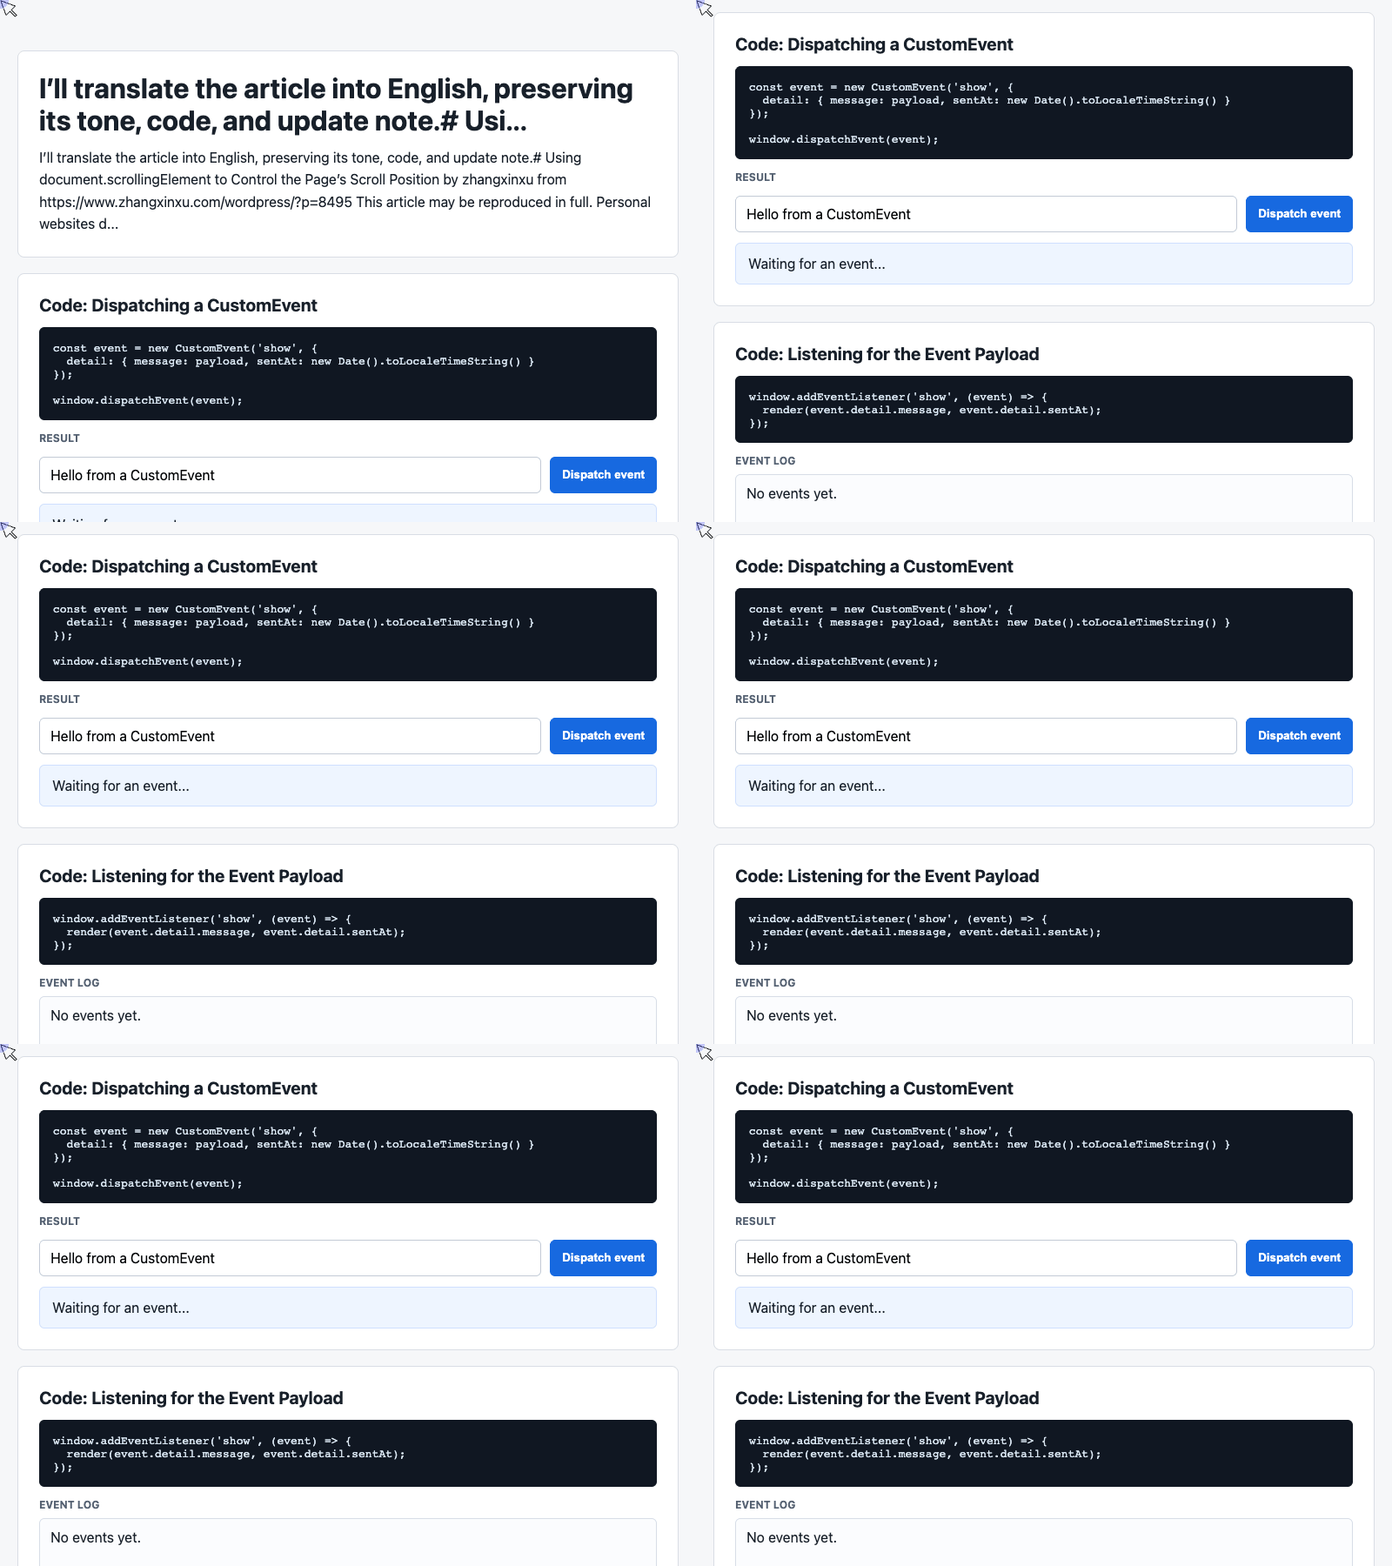
🎮 Try it live: Open the interactive demo to experience this yourself.
The browser moves the page to the requested offset, within its available scroll range. Use a sufficiently tall page when testing; a page that fits entirely inside the viewport cannot scroll down by 400 pixels.
For a back-to-top action, the same operation becomes document.scrollingElement.scrollTop = 0.
You can also inspect document.scrollingElement.tagName. On the supplied standards-mode HTML document, it should return HTML on both desktop and mobile.
Connect the Supplied Demo to a Scroll Action
The supplied working demo illustrates CustomEvent: a button dispatches a message, and a listener updates a result card and event log. It does not contain scrolling functionality.
That event pattern can still support a practical scrolling example. Keep the demo’s controls and event dispatching code, then adapt its listener to interpret a numeric message as a requested scroll offset.
The workflow becomes:
Enter an offset → click the button → dispatch the event → update the interface and scroll the page.
Dispatch a Value from the Button
This excerpt comes directly from the demo’s executable JavaScript. It reads the input, packages its value with a timestamp, and dispatches the show event:
const input = document.querySelector('#payload');

document.querySelector('#dispatch').addEventListener('click', () => {
  const message = input.value.trim() || 'Default CustomEvent payload';
  const event = new CustomEvent('show', {
    detail: { message, sentAt: new Date().toLocaleTimeString() }
  });
  window.dispatchEvent(event);
});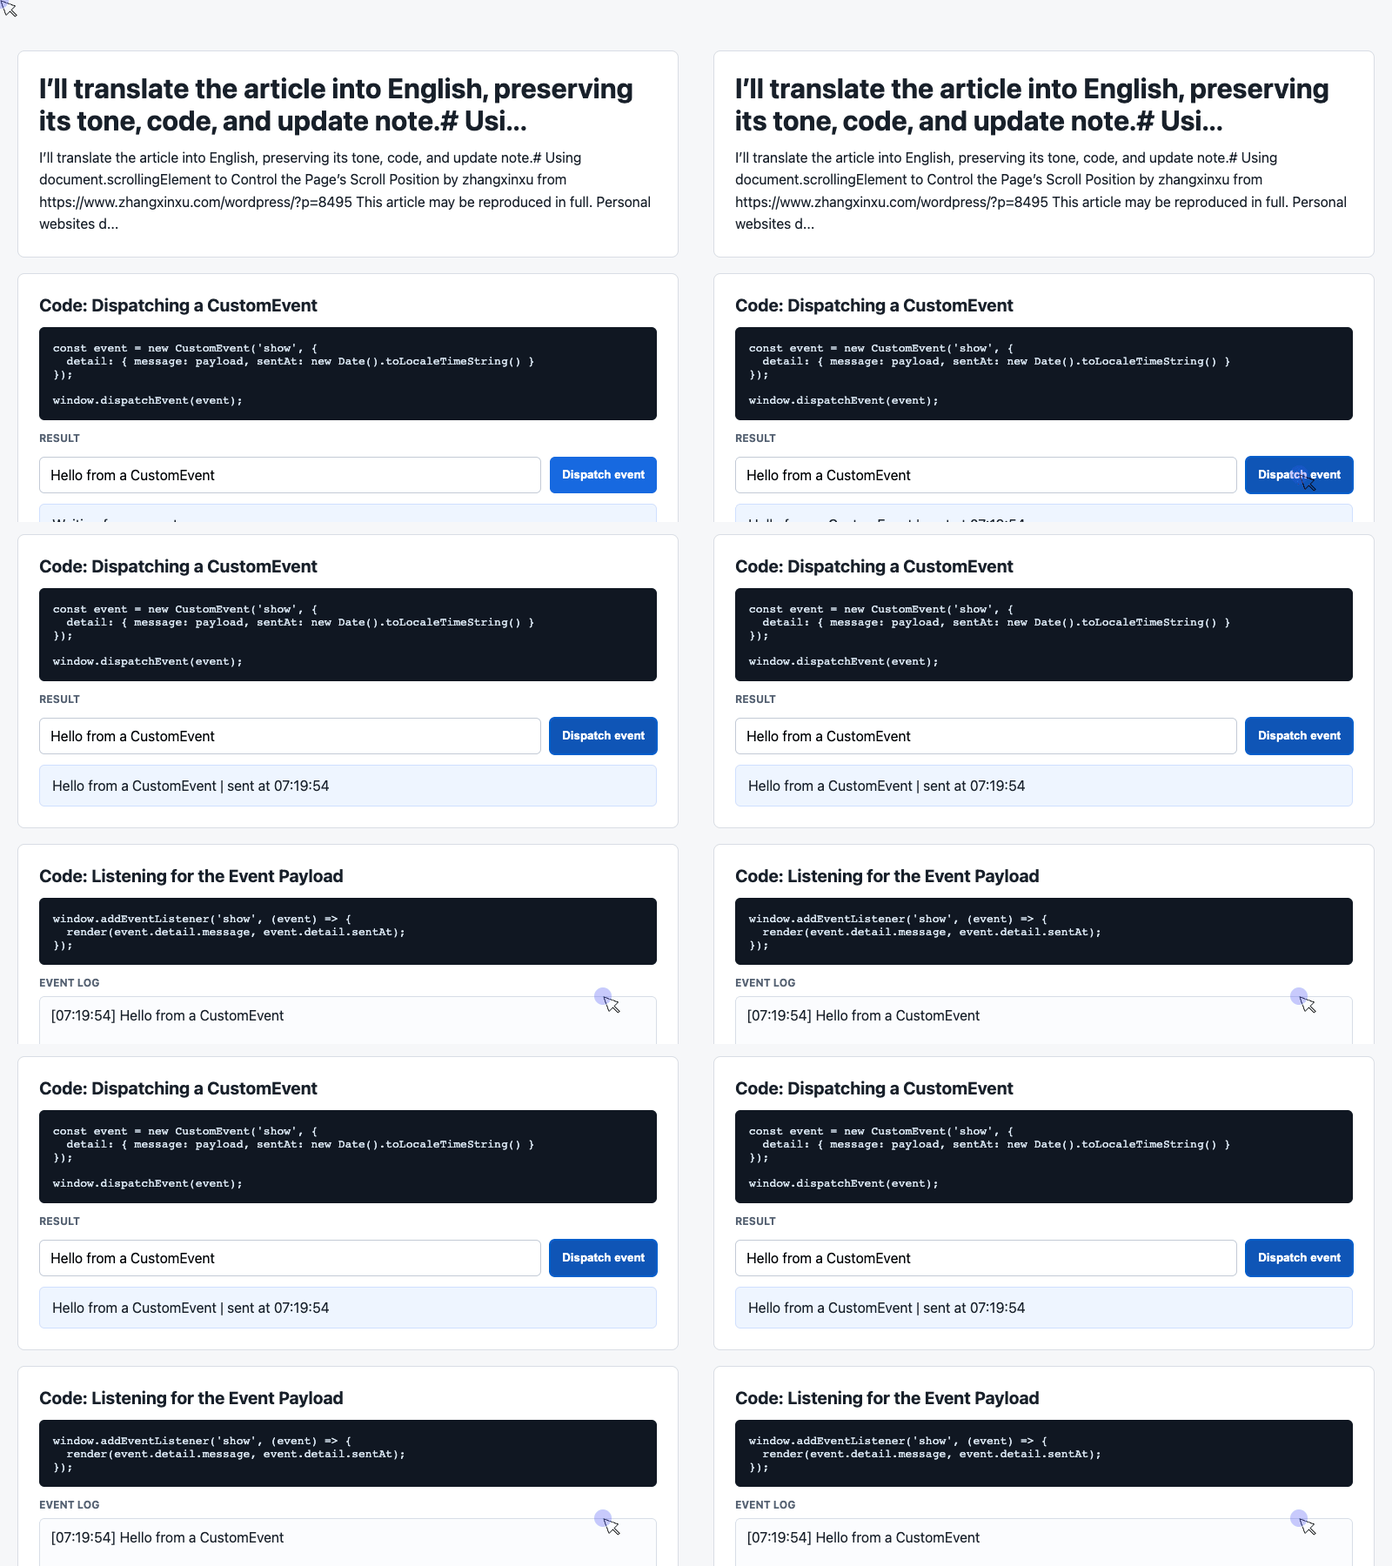
🎮 Try it live: Open the interactive demo to experience this yourself.
In the original demo, the existing listener displays the message and timestamp. The button itself only sends the data.
To try the scrolling adaptation below, replace the input’s default message with 400. The dispatcher can remain exactly as written: the listener will handle the conversion to a number.
Extend the Listener to Scroll the Page
The following excerpt retains the demo’s result-card and history logic. The marked addition converts the message to a number, validates it, and writes it to the scrolling element.
Replace the original listener with this version, keeping the demo’s existing latest, log, and history declarations:
window.addEventListener('show', (event) => {
  const detail = event.detail || {};
  latest.textContent = detail.message + ' | sent at ' + detail.sentAt;
  history.unshift('[' + detail.sentAt + '] ' + detail.message);
  log.textContent = history.slice(0, 6).join('\n');

  // Added for the scrolling adaptation.
  const top = Number(detail.message);
  const scroller = document.scrollingElement;
  if (scroller && Number.isFinite(top) && top >= 0) {
    scroller.scrollTop = top;
  }
});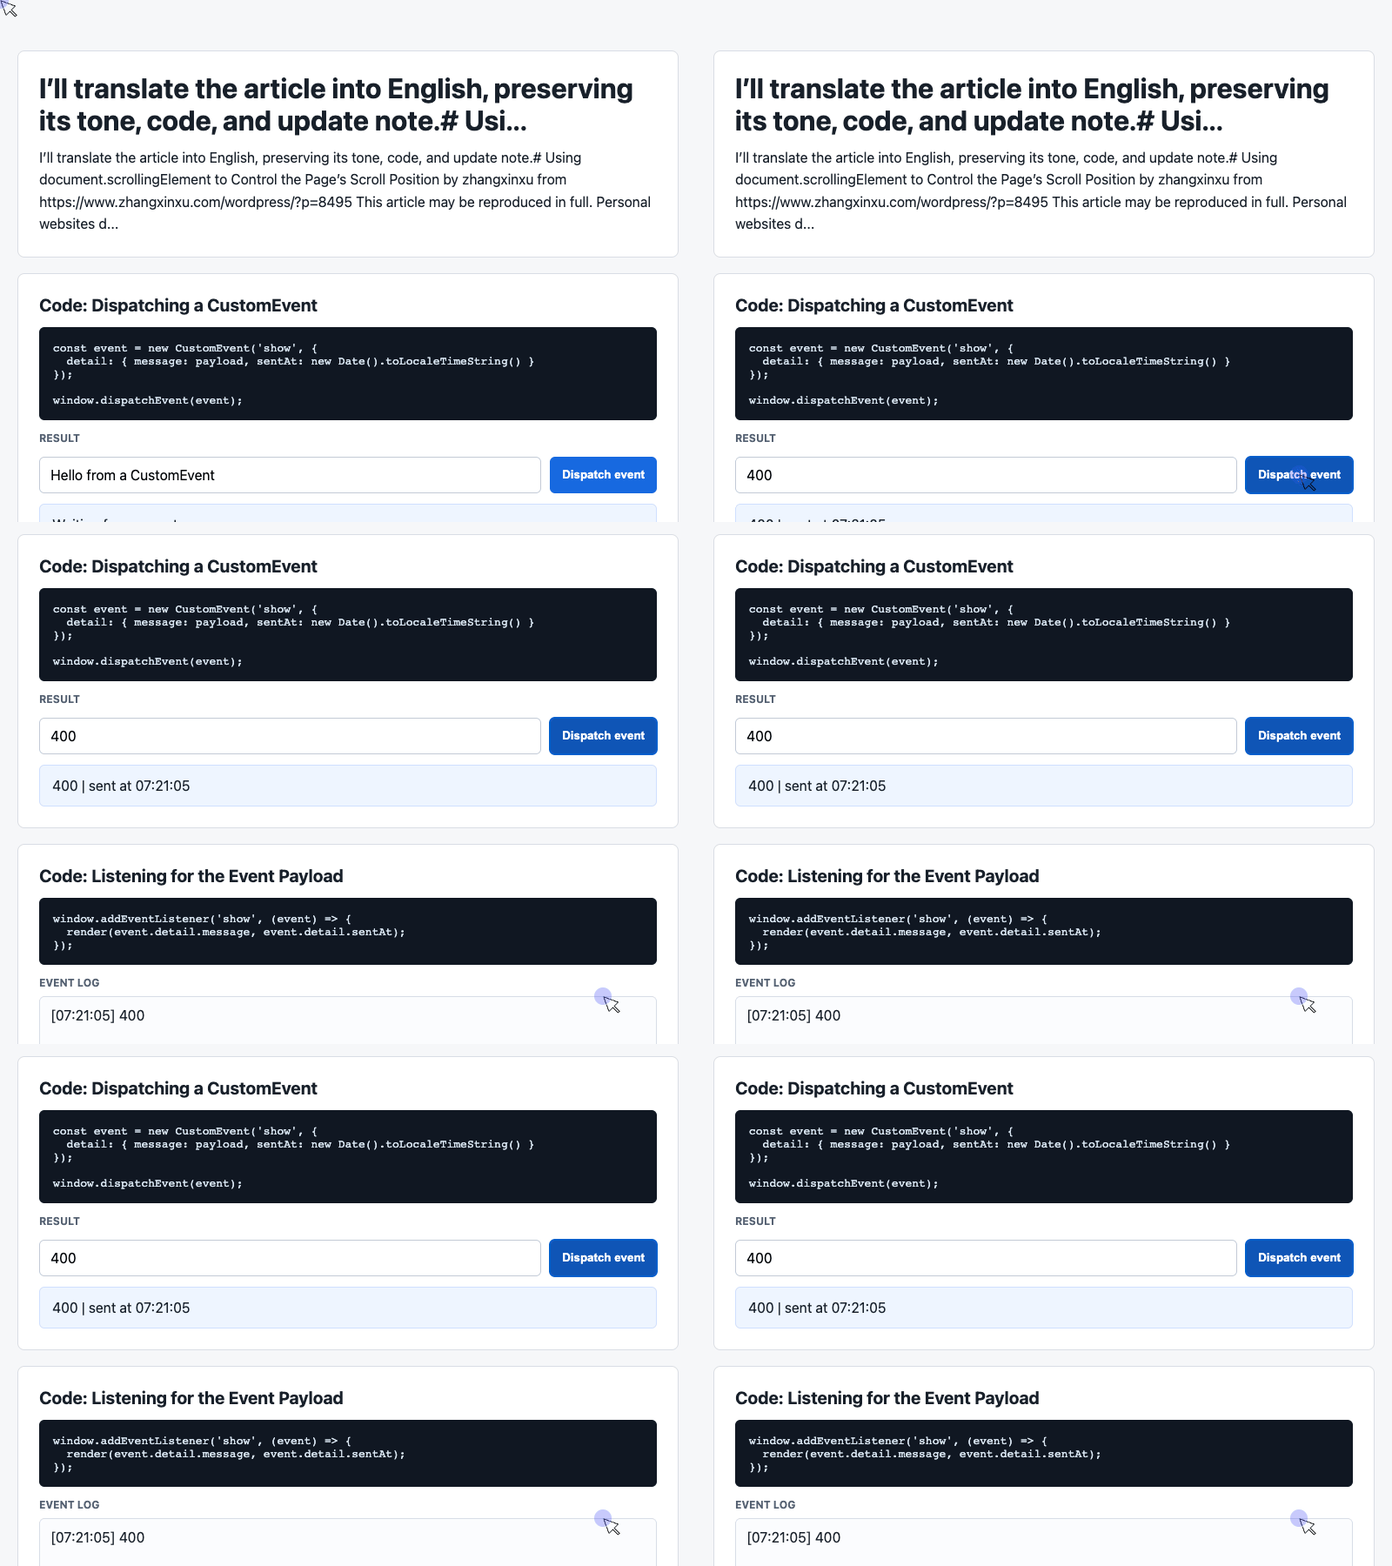
🎮 Try it live: Open the interactive demo to experience this yourself.
Numeric messages now control the page’s position. A message such as 400 requests an offset of 400 pixels; 0 returns the page to the top.
Ordinary text still appears in the result card and log, but it does not trigger scrolling. The element check also handles cases where document.scrollingElement returns null.
Add enough content below the demo to create a visible scroll range. Its compact layout may otherwise fit within a desktop viewport.
For a simple back-to-top button, assigning scrollTop directly is sufficient. The event pattern becomes useful when the same interaction also updates a status display, records activity, or coordinates other interface behavior.
Supporting Older Browsers
If your project needs legacy browser support, the original article points to Mathias Bynens’s document.scrollingElement polyfill.
Include scrollingelement.js before code that uses the property. The repository lists testing in Chrome, Opera 11.64+, Firefox 3.5+, Internet Explorer 8+, and Safari 8+. Those versions describe the polyfill’s tested coverage, rather than native support.
Give the Scrolling Element a Name
The appeal of document.scrollingElement is its clarity. It expresses which element you want to work with, while the browser resolves the document-specific behavior.
When your code needs direct access to the page’s scroll position, document.scrollingElement.scrollTop makes that intent easy to read—and easy to maintain.
Try It Yourself
Want to see these concepts in action? I’ve created an interactive demo where you can experiment with the code and see real-time results.
Explore more demos from my previous articles in the Demo Gallery.
Happy coding!