Where to listen, which measurements to read, and why the document behaves differently from an ordinary element.
By zhangxinxu · Original article
Adapted for Medium, with current-browser clarifications and practical excerpts from the supplied demo.
The original author permits full reproduction on personal websites when attribution, the source, and article links are retained. Excerpts may be aggregated; commercial use requires contacting the author for permission.
I. The Question and Topics Tested
Scrolling looks simple. The user moves down the page, an event fires, and JavaScript checks a number.
But which object receives that event? Which property tells us how far the page has moved? And when we say “one screen,” whose height are we measuring?
This beginner-level quiz explores three closely related concepts:
- Listening for window scrolling.
- Reading the viewport’s height and scroll position.
- Measuring ordinary elements with their own scrolling content.
The original Bilibili Q&A began at 10:15 a.m. and lasted roughly 40 minutes. Participants’ answers are available in the GitHub discussion.
Before comparing APIs, picture the viewport as a frame looking onto a longer document. Its height, the document’s total height, and the distance already scrolled describe three different things.
II. Q&A
1. Do You Need to Throttle Every Scroll Handler?
Several participants included a throttling function in their answers.
The intention makes sense: scrolling can generate frequent events, and throttling limits how often a handler performs its work.
For this quiz, however, a small handler that reads a position and compares it with a height can stay simple. Adding a timer introduces behavior that readers must also understand.
The practical decision depends on what the handler does. Expensive calculations or repeated DOM updates deserve more attention than a basic comparison. If fast scrolling produces visible stuttering, investigate the work inside the handler and consider throttling. MDN’s scroll-event documentation makes this same performance distinction.
Start with a clear handler. Add scheduling when the workload calls for it.
2. Where Should You Attach the Window’s Scroll Listener?
The original experiment attached listeners to four objects: window, document, document.documentElement, and document.body.
In the reported tests, listeners on window and document fired during page scrolling. Listeners attached directly to <html> and <body> did not.
A livestream participant also reported a phone on which the document listener failed. That observation led to the original recommendation: use window as the default target for page scrolling.
That remains a straightforward choice: window.addEventListener('scroll', handler).
Current-browser clarification: document is also a supported target for document scrolling. The reported phone behavior should be read as a historical observation, rather than a general rule. MDN documents the document’s scroll event.
There is a useful distinction here: the object receiving an event and the object exposing its measurements do not have to be the same object. Receiving a document scroll event does not imply that document.scrollTop is the property to read.
For a scrolling panel inside the page, attach the listener to that panel.
3. How Do You Get the Window’s Scroll Position?
The original article compared three familiar expressions:
window.pageYOffsetdocument.documentElement.scrollTopdocument.body.scrollTop
Its tests found different results on desktop and mobile browsers, while window.pageYOffset worked across both groups.
For current development, window.scrollY expresses the intent clearly: it returns the document’s vertical scroll offset. window.pageYOffset is its alias, and the value can contain fractional pixels. MDN: scrollY.
The original desktop fallback was:
var winScrollTop = window.pageYOffset || document.documentElement.scrollTop;
That expression belongs to the article’s legacy-browser context. Avoid turning the original desktop/mobile observations into a universal compatibility rule.
When you need the element responsible for document scrolling, use document.scrollingElement. In standards mode, it identifies document.documentElement; quirks mode has different rules. MDN: scrollingElement.
4. How Do You Get the Browser Window’s Height?
The original answer used window.innerHeight, with document.documentElement.clientHeight as a fallback:
var winHeight = window.innerHeight || document.documentElement.clientHeight;
The fallback addressed older browsers that lacked innerHeight.
There is also a measurement difference to understand. window.innerHeight returns the layout viewport’s height including a horizontal scrollbar, if present. The root element’s clientHeight returns the viewport height excluding that scrollbar. MDN: innerHeight.
The root element is a special case. On an ordinary element, clientHeight describes its inner box. On <html> in standards mode, it describes the viewport. Adding a border to <html> does not turn that value into an ordinary element measurement. MDN: clientHeight.
The original article also described the root element’s offsetHeight and scrollHeight as equivalent. Treat that as an observation about the tested layout. The APIs have different definitions, so their equality is not a general guarantee. CSSOM View measurement definitions.
5. What Changes for an Ordinary Scrolling Element?
For a scrolling element, listen on the element and read its own scrollTop.
To determine whether a conventional vertical container has scrolled more than one visible container height, compare dom.scrollTop > dom.clientHeight.
Why clientHeight? Because the relevant threshold is the container’s inner viewing area.
The other height APIs answer different questions:
| API | What it measures | Useful distinction |
|---|---|---|
clientHeight | Inner height, including padding | Excludes borders and horizontal scrollbars; returns an integer |
offsetHeight | Layout height, including padding, borders, and a horizontal scrollbar | Returns an integer |
scrollHeight | Height of the scrolling content, including content outside the visible area | Useful for understanding overflow |
getBoundingClientRect().height | Height of the rendered bounding rectangle | Includes padding and borders; can be fractional and reflect transforms |
These distinctions follow the CSSOM View definitions, MDN’s offsetHeight reference, and its bounding-rectangle documentation.
For example, a panel might have a clientHeight of 300 pixels and a scrollHeight of 900 pixels. The first describes its visible inner height; the second describes the content it must accommodate.
Choosing the API becomes easier once you can name the quantity you need.
6. Practical Demo: Make Event Handling Visible
The supplied working demo illustrates custom event dispatch and listening. It gives us a useful companion exercise for the event-handling concepts above.
The flow is easy to follow: a button reads an input, dispatches an event on window, and a listener updates a result card and an event log.
A native scroll event is generated by the browser. In this demo, application code creates a CustomEvent named show and supplies its own payload.
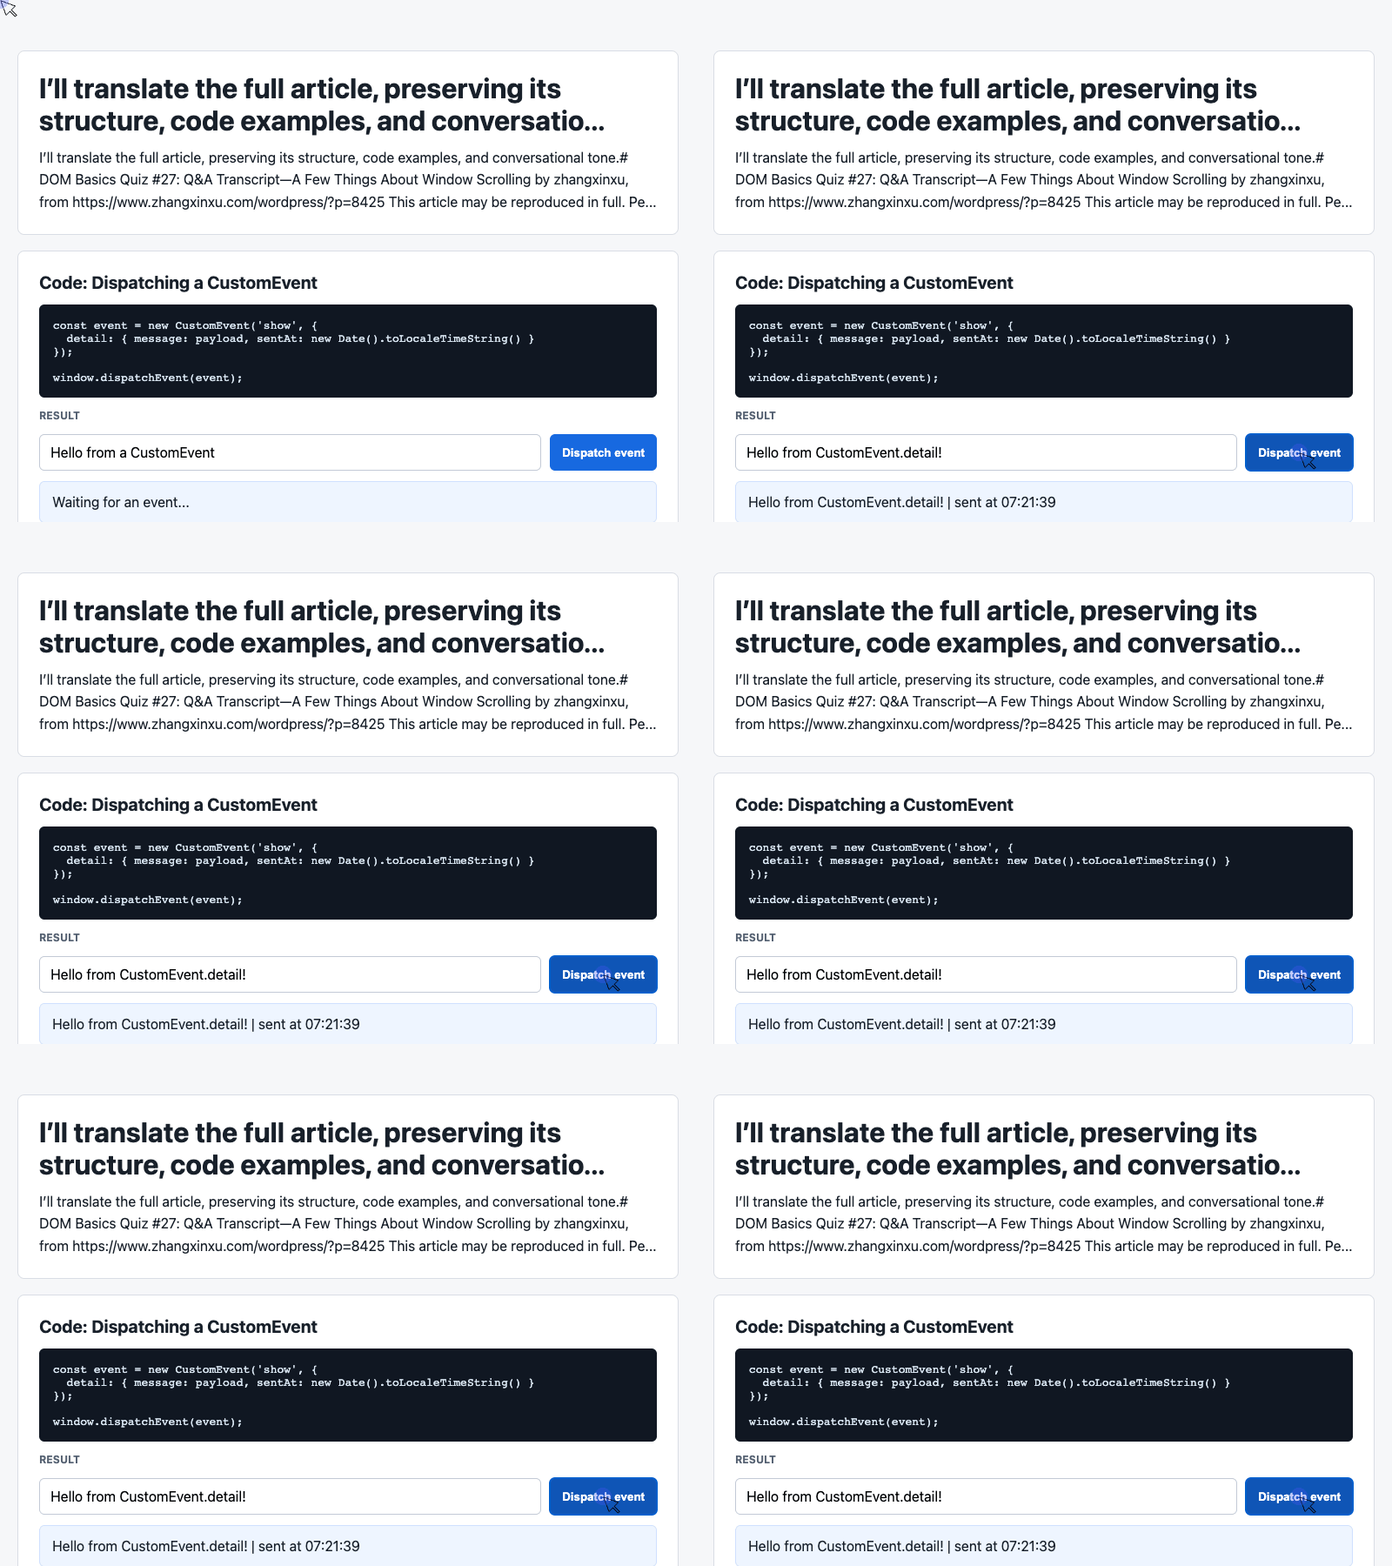
Example 1: Dispatch an Event With a Payload
This excerpt comes from the demo’s actual script. The input variable refers to the #payload field initialized earlier in the page.
When the button is clicked, the handler trims the text, supplies a default for empty input, and sends a message with a timestamp.
document.querySelector('#dispatch').addEventListener('click', () => {
  const message = input.value.trim() || 'Default CustomEvent payload';
  const event = new CustomEvent('show', {
    detail: { message, sentAt: new Date().toLocaleTimeString() }
  });
  window.dispatchEvent(event);
});
🎮 Try it live: Open the interactive demo to experience this yourself.
The detail property carries the data supplied when the custom event is created. The listener can read that payload without reaching back into the input field. MDN: CustomEvent.detail.
In the complete demo, the receiving listener below produces the visible update. Dispatching the event connects the button’s action to that listener.
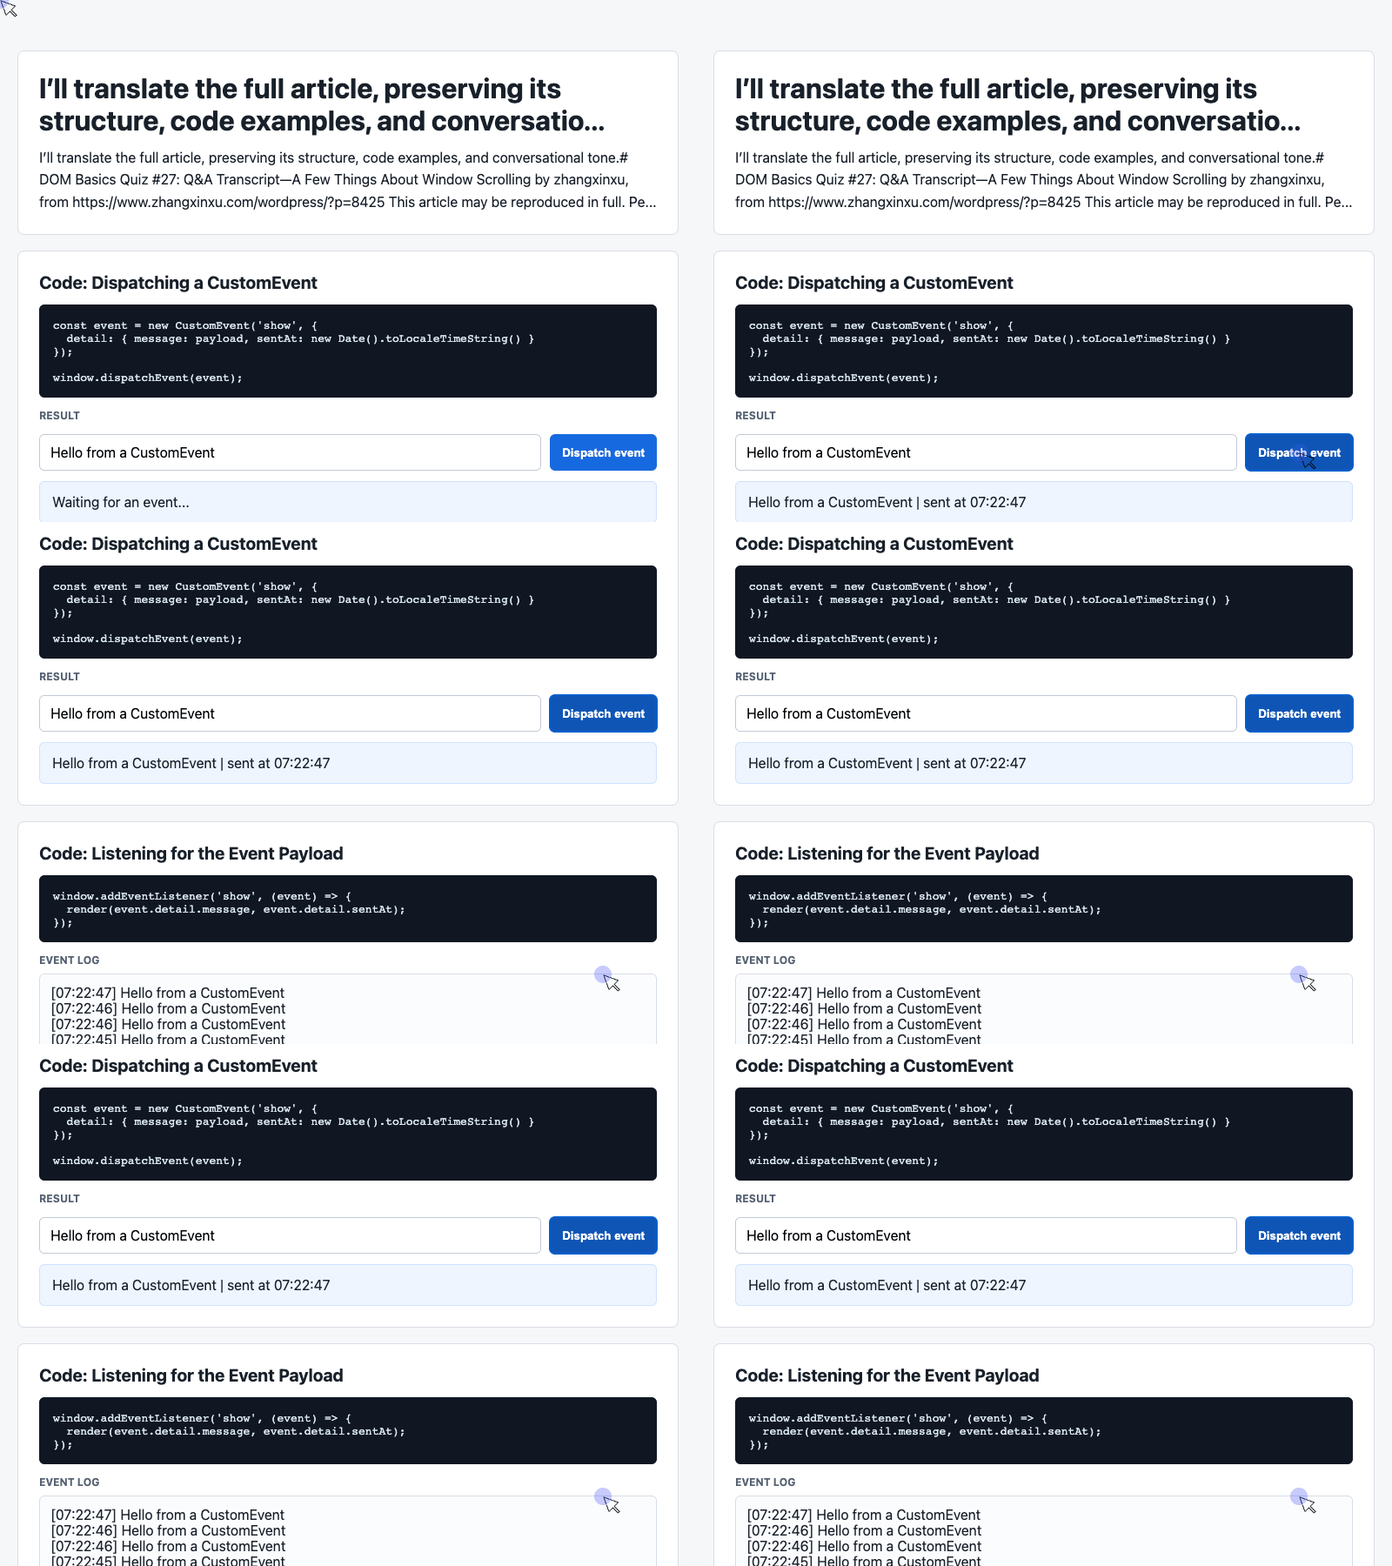
Example 2: Listen, Render, and Keep a Visible History
The demo initializes latest and log as references to the result card and log element, with history starting as an empty array.
The listener extracts the payload, updates the card, and displays the six most recent messages.
window.addEventListener('show', (event) => {
  const detail = event.detail || {};
  latest.textContent = detail.message + ' | sent at ' + detail.sentAt;
  history.unshift('[' + detail.sentAt + '] ' + detail.message);
  log.textContent = history.slice(0, 6).join('\n');
});
🎮 Try it live: Open the interactive demo to experience this yourself.
unshift() puts the newest entry first. slice(0, 6) limits the displayed history to six entries, while join('\n') places each entry on its own line. The demo’s white-space: pre-wrap styling preserves those line breaks.
The visible list is capped at six entries; the underlying array continues growing.
This listener also shows how the scrolling discussion connects to everyday DOM code: choose the event target, register a handler, obtain the relevant data, and update the interface. For native scrolling, that data comes from measurements such as window.scrollY or an element’s scrollTop.
III. Summary of the Key Points
For page scrolling, window.addEventListener('scroll', handler) is a clear default. Modern browsers also support document scroll listeners.
Read the page’s vertical position with window.scrollY or its alias, window.pageYOffset. Use document.scrollingElement when you need the scrolling element itself.
For viewport height, understand the scrollbar difference between window.innerHeight and the root element’s clientHeight.
For an ordinary scrolling container, read its own scrollTop and compare it with clientHeight when the threshold is one visible container height.
Keep the height APIs distinct: inner viewing area, layout border box, scrolling content, and rendered bounding rectangle each serve a different purpose.
Important Reference Documentation
The scrolling and geometry APIs discussed here belong to the CSSOM View Module.
The original article recommends its companion piece, “A Roundup of CSSOM View Module Topics.” For the underlying API definitions, consult the CSSOM View Module specification.
Historical Livestream Announcement
The original article closed with an announcement that CSS Quiz #2 would be posted the following Wednesday. Because Saturday was a workday and Chinese New Year was approaching, the live Q&A would resume after the holiday.
The author also invited readers to join his fan group by adding zhangxinxu-job on WeChat, including “入群” (“join the group”) and their name in the friend request.
His closing wish to fellow learners: Happy New Year, and may every bust turn into a blessing.
Try It Yourself
Want to see these concepts in action? I’ve created an interactive demo where you can experiment with the code and see real-time results.
Explore more demos from my previous articles in the Demo Gallery.
Happy coding!